Recently I had cause to setup two Debian 12 servers on AMD EPYC. Initially, I was reaching for Slackware as I always do. Ultimately, I chose Debian. This was due to a concern for the next engineer who will one day take my place. Debian is nearly universally known, while Slackware is not. One of these two servers needed to run a container system, and I decided to give Portainer a try. Largely, the choice of Portainer was motivated by its licensing. The business license is free for up to three nodes, and I needed two. Seemed like a wonderful fit. So far, it has been. At some point, the second server will be added to Portainer as the second node. How does one go about setting up a Debian server running Portainer?
First, download a Debian installer image. Once that's in hand, you can either burn the image to a DVD, or you can image it a USB drive. For the USB method, you can do dd if=debian-12.2.0-amd64-DVD-1.iso of=/dev/sdn but replace sdn with whatever the designation for your USB drive is (you can find this with lsblk).
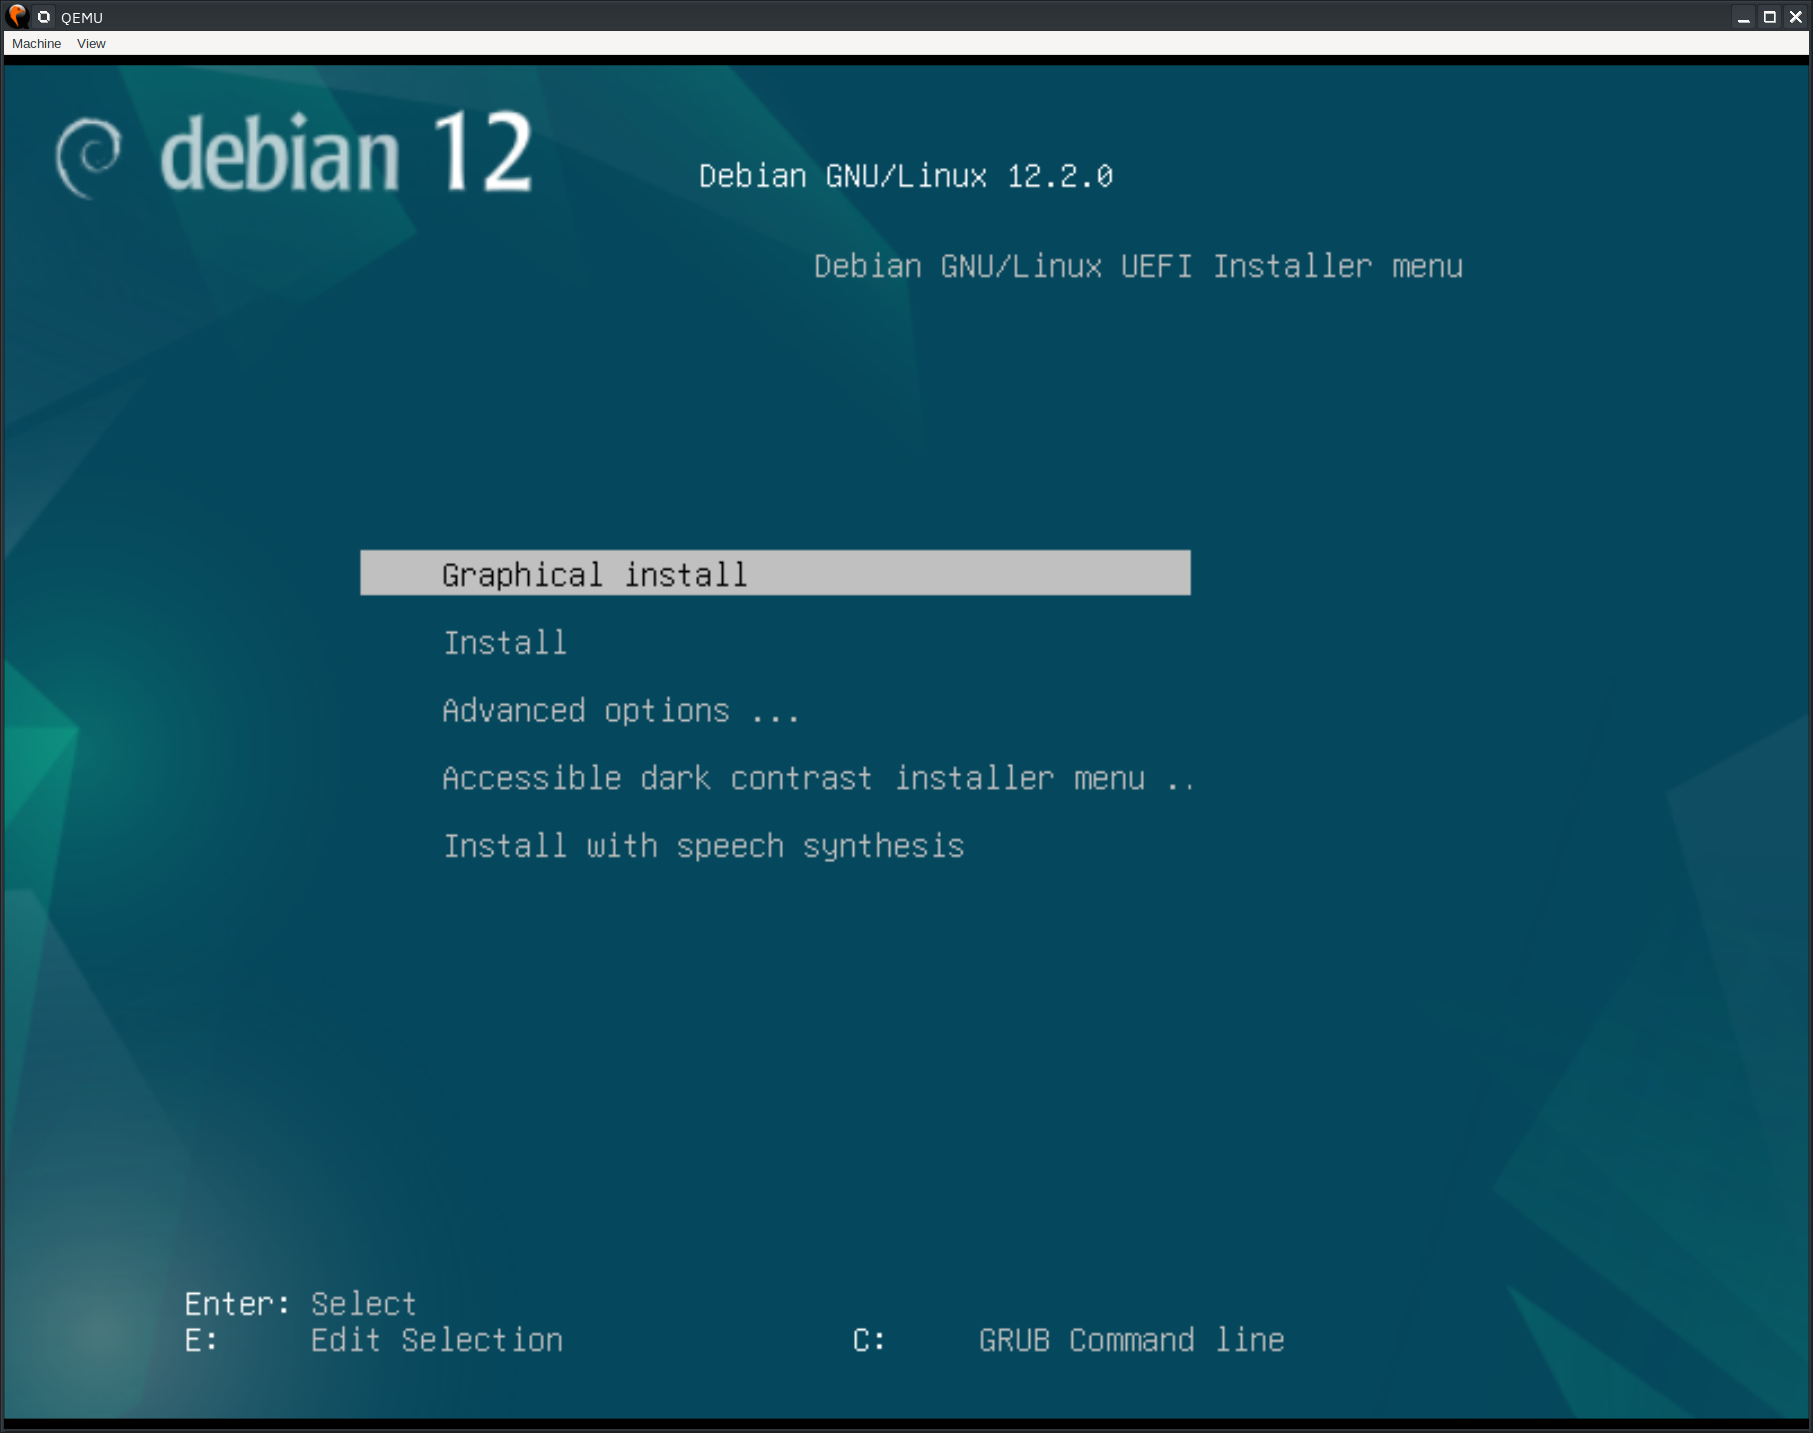
The second step will depend upon your motherboard. On my own system, pressing F11 will give me a boot menu, but your UEFI settings could be very different. Either way, once booted you'll see something like the following.
Hit enter on the graphical install option.
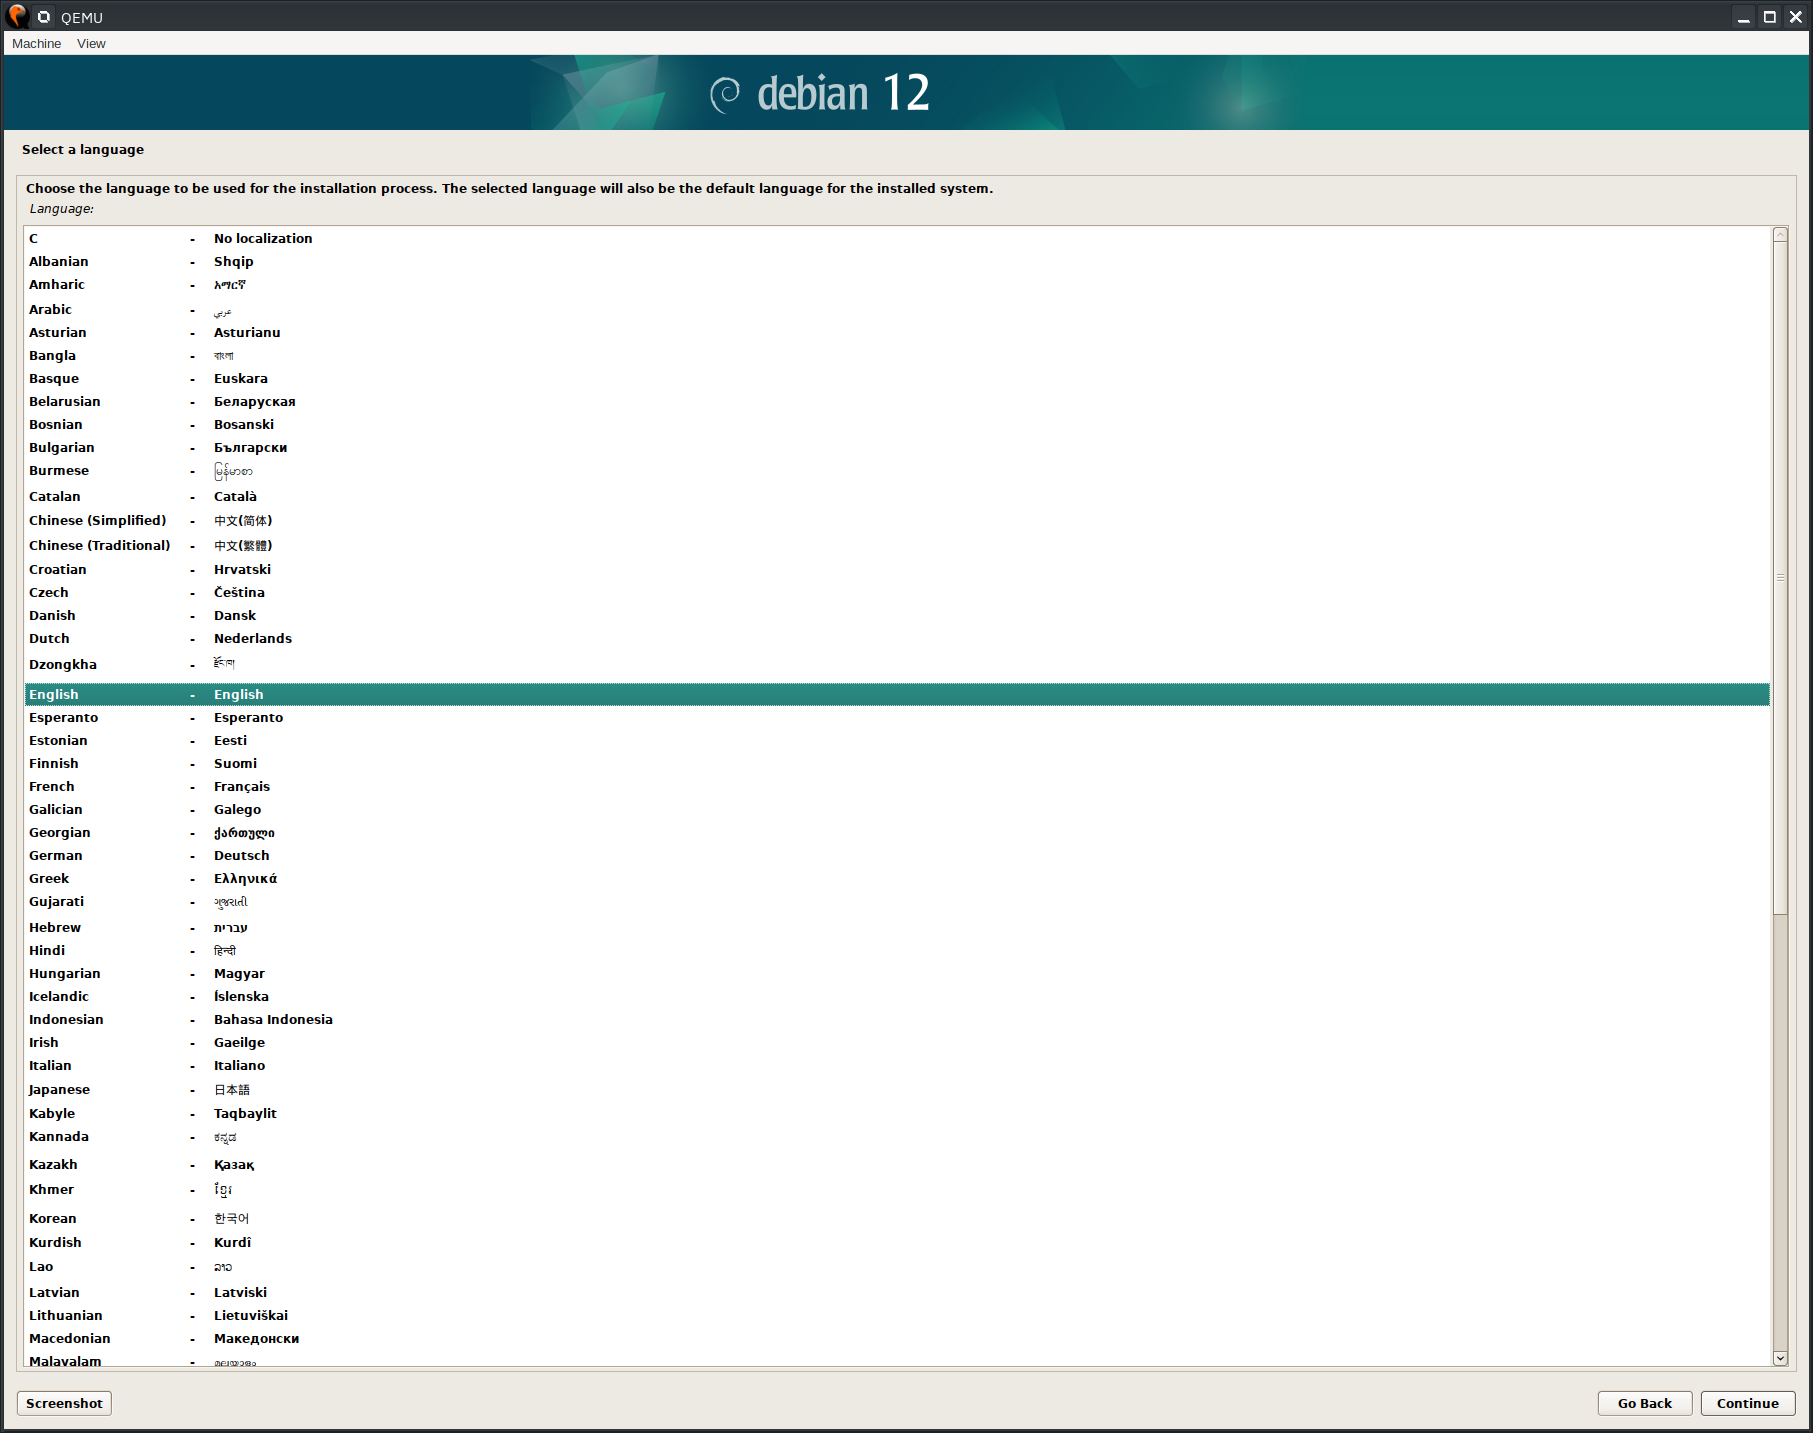
Here, you need to select your language. For the sake of our examples, I will stick with English.
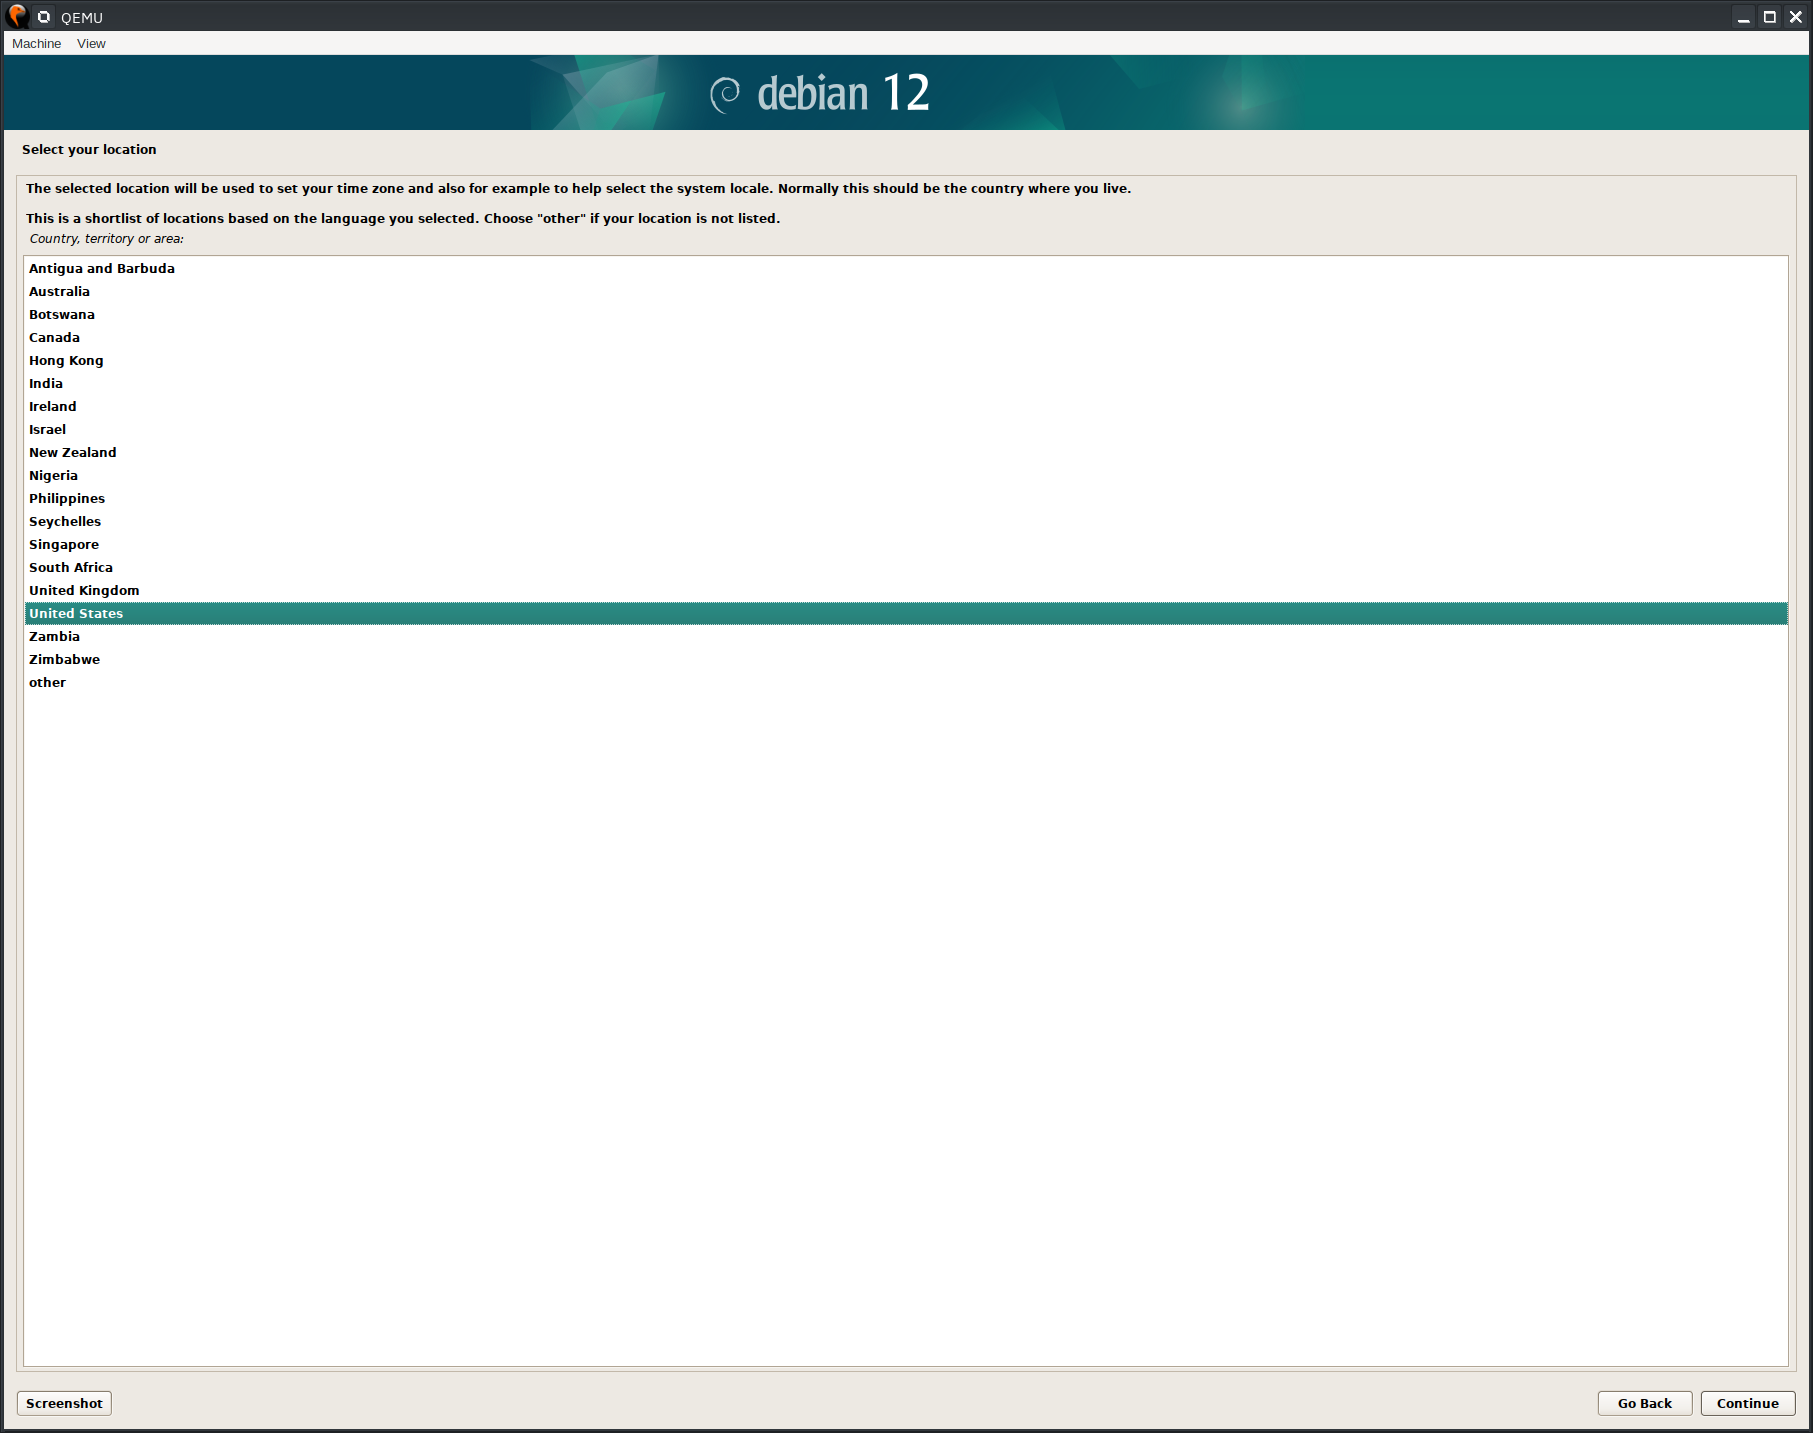
Here, you will select your location. For most of my readers, this will be either the United States or India, but I know there are others among you. Select as appropriate.
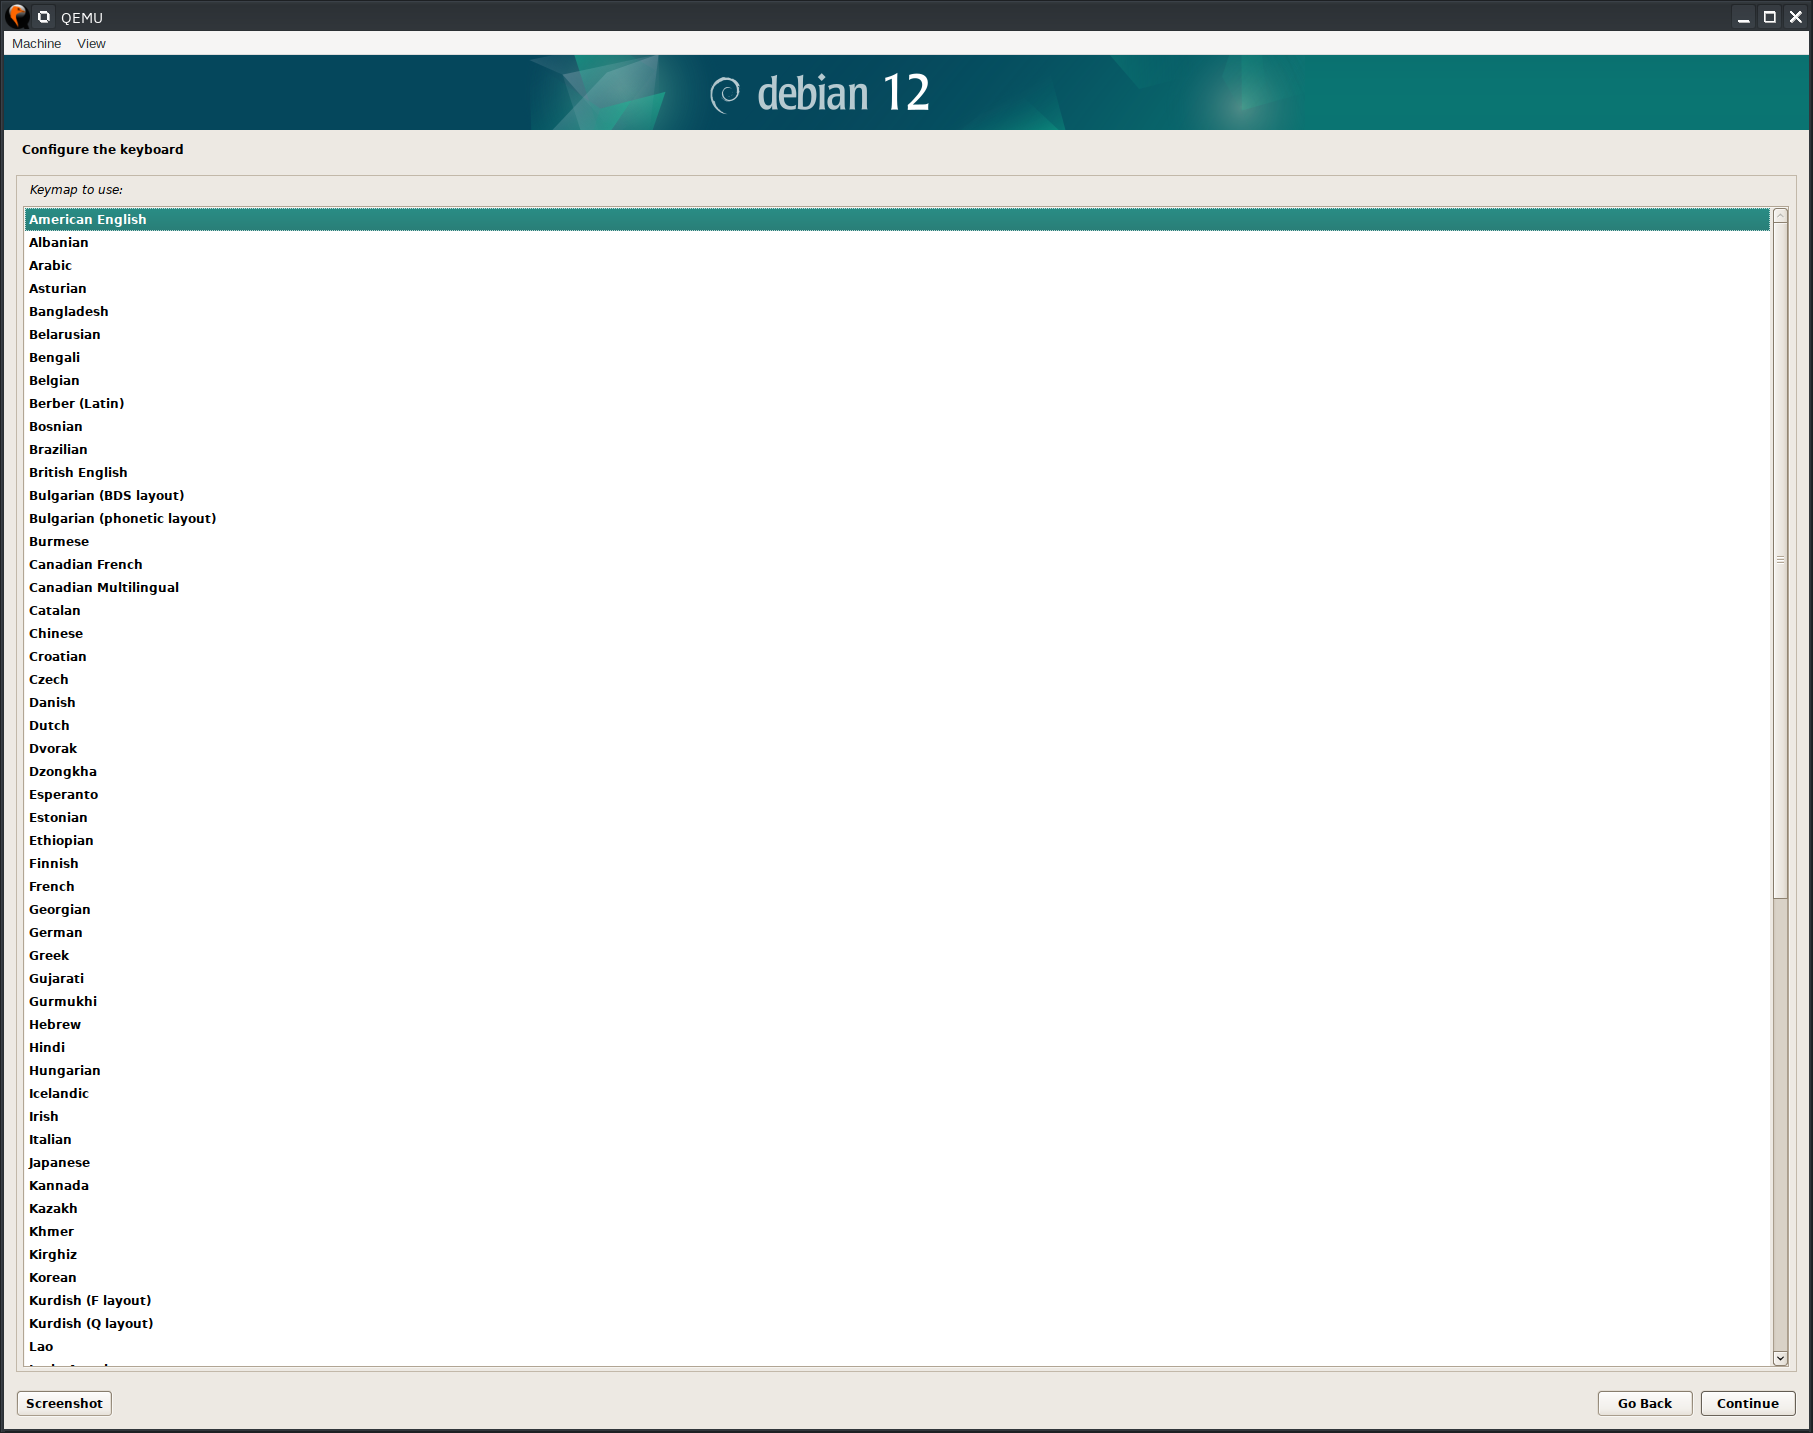
Keyboard layout selection, choose what's appropriate for you.
The installer will then go through various auto-detection screens, and network autodetection. After those are complete, you will either set the hostname or accepts the default of "debian."
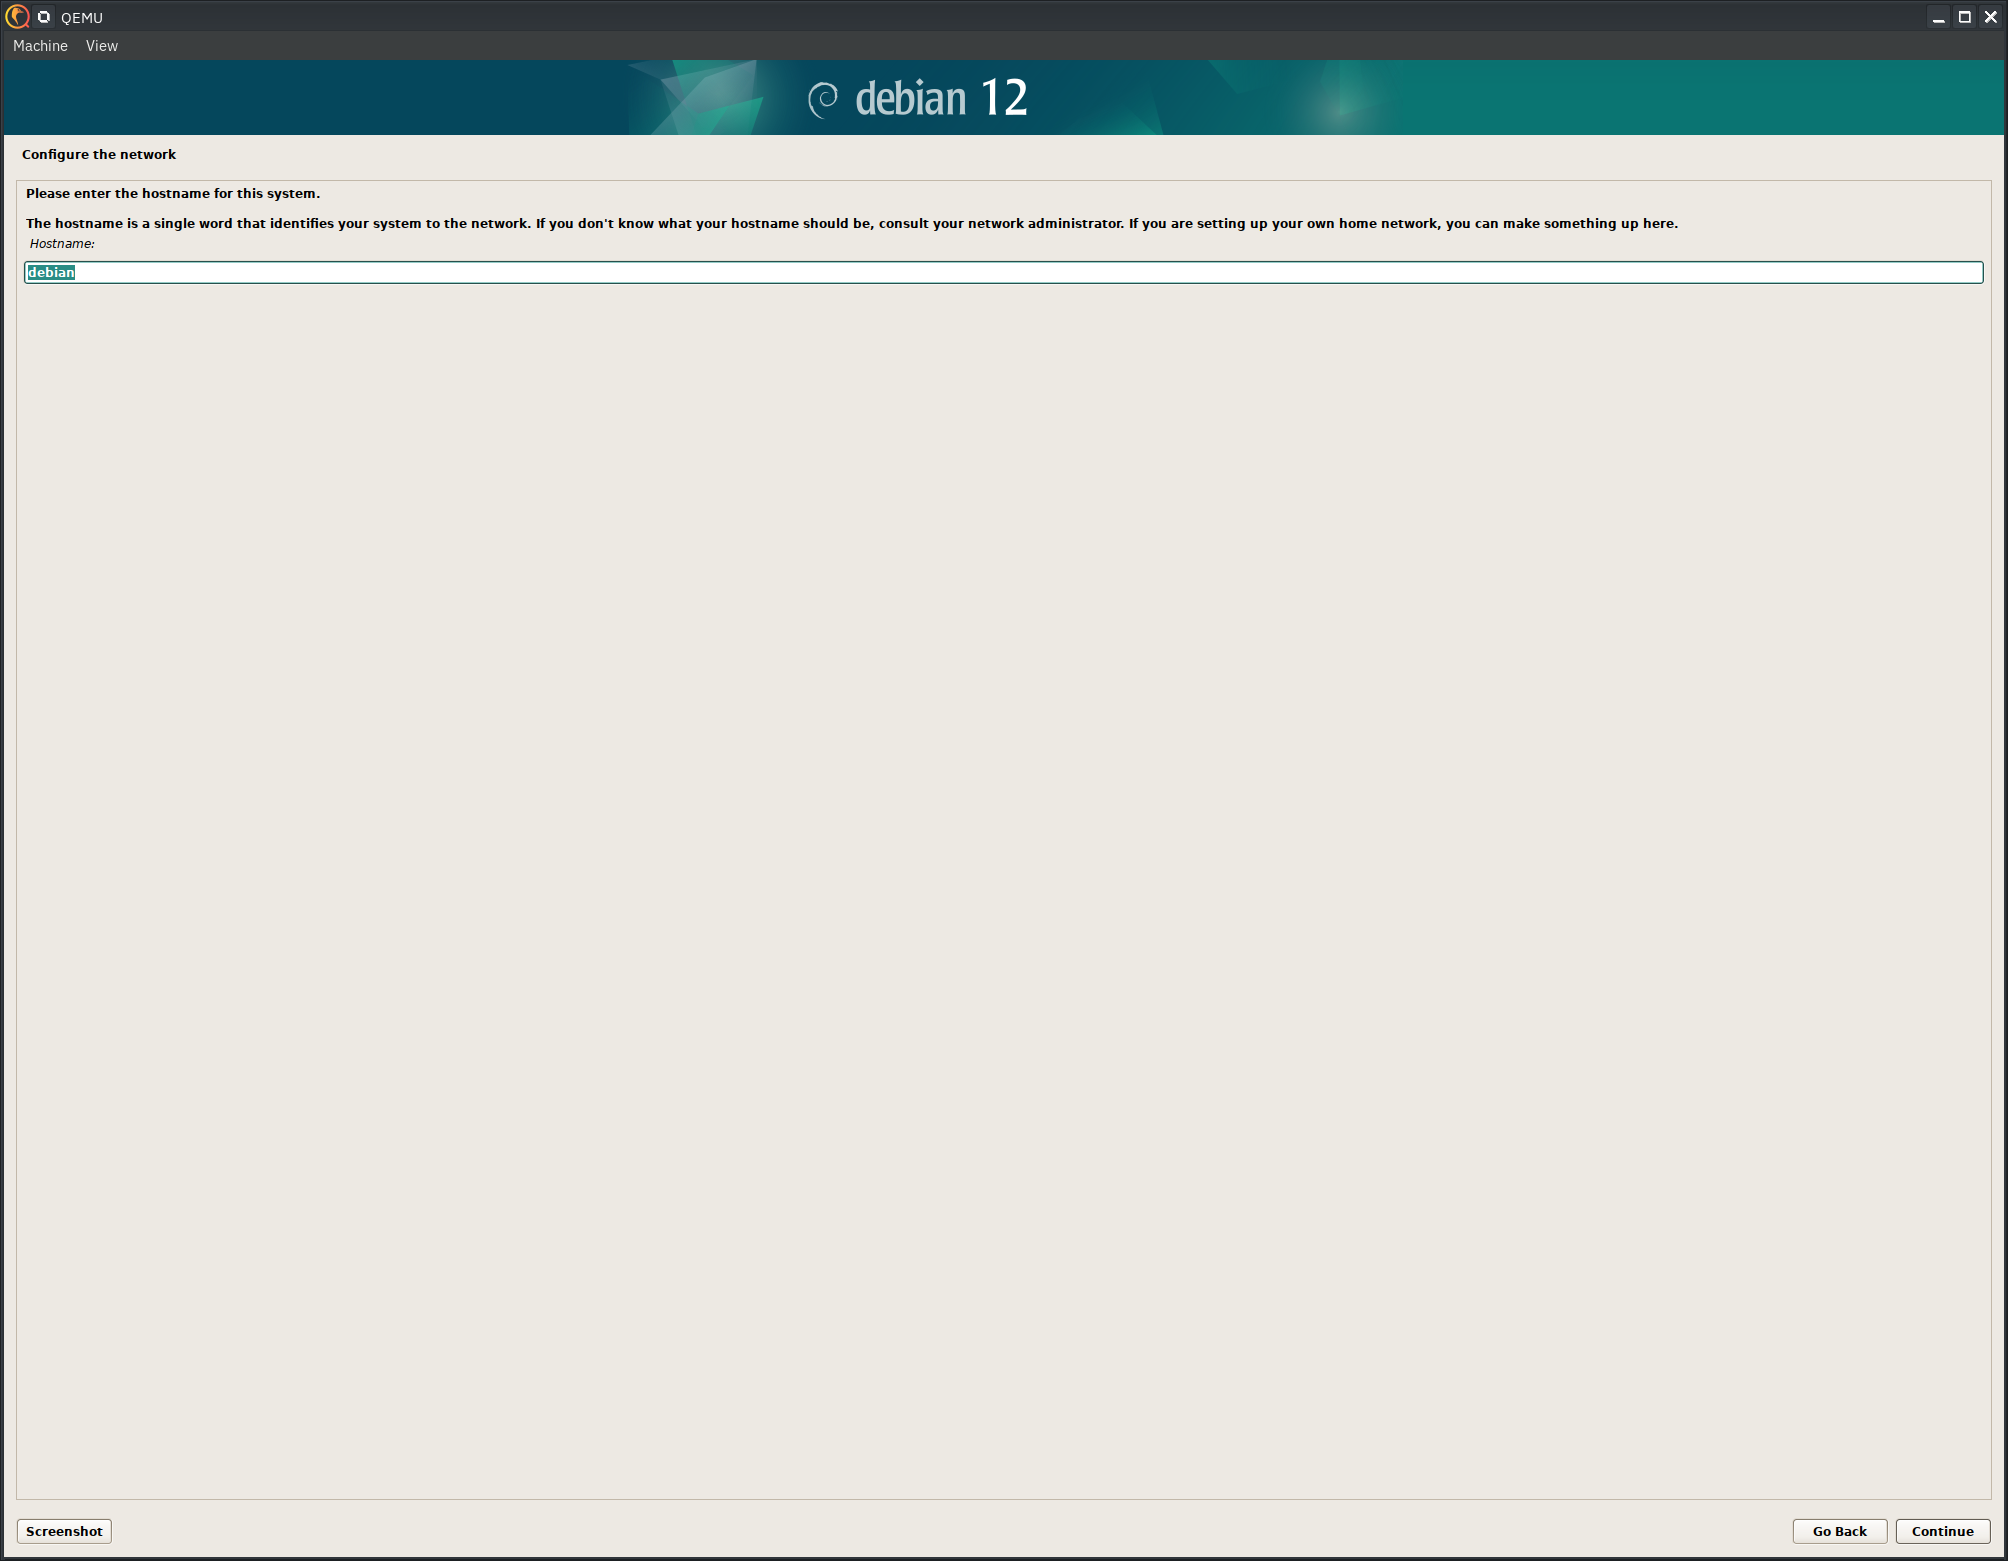
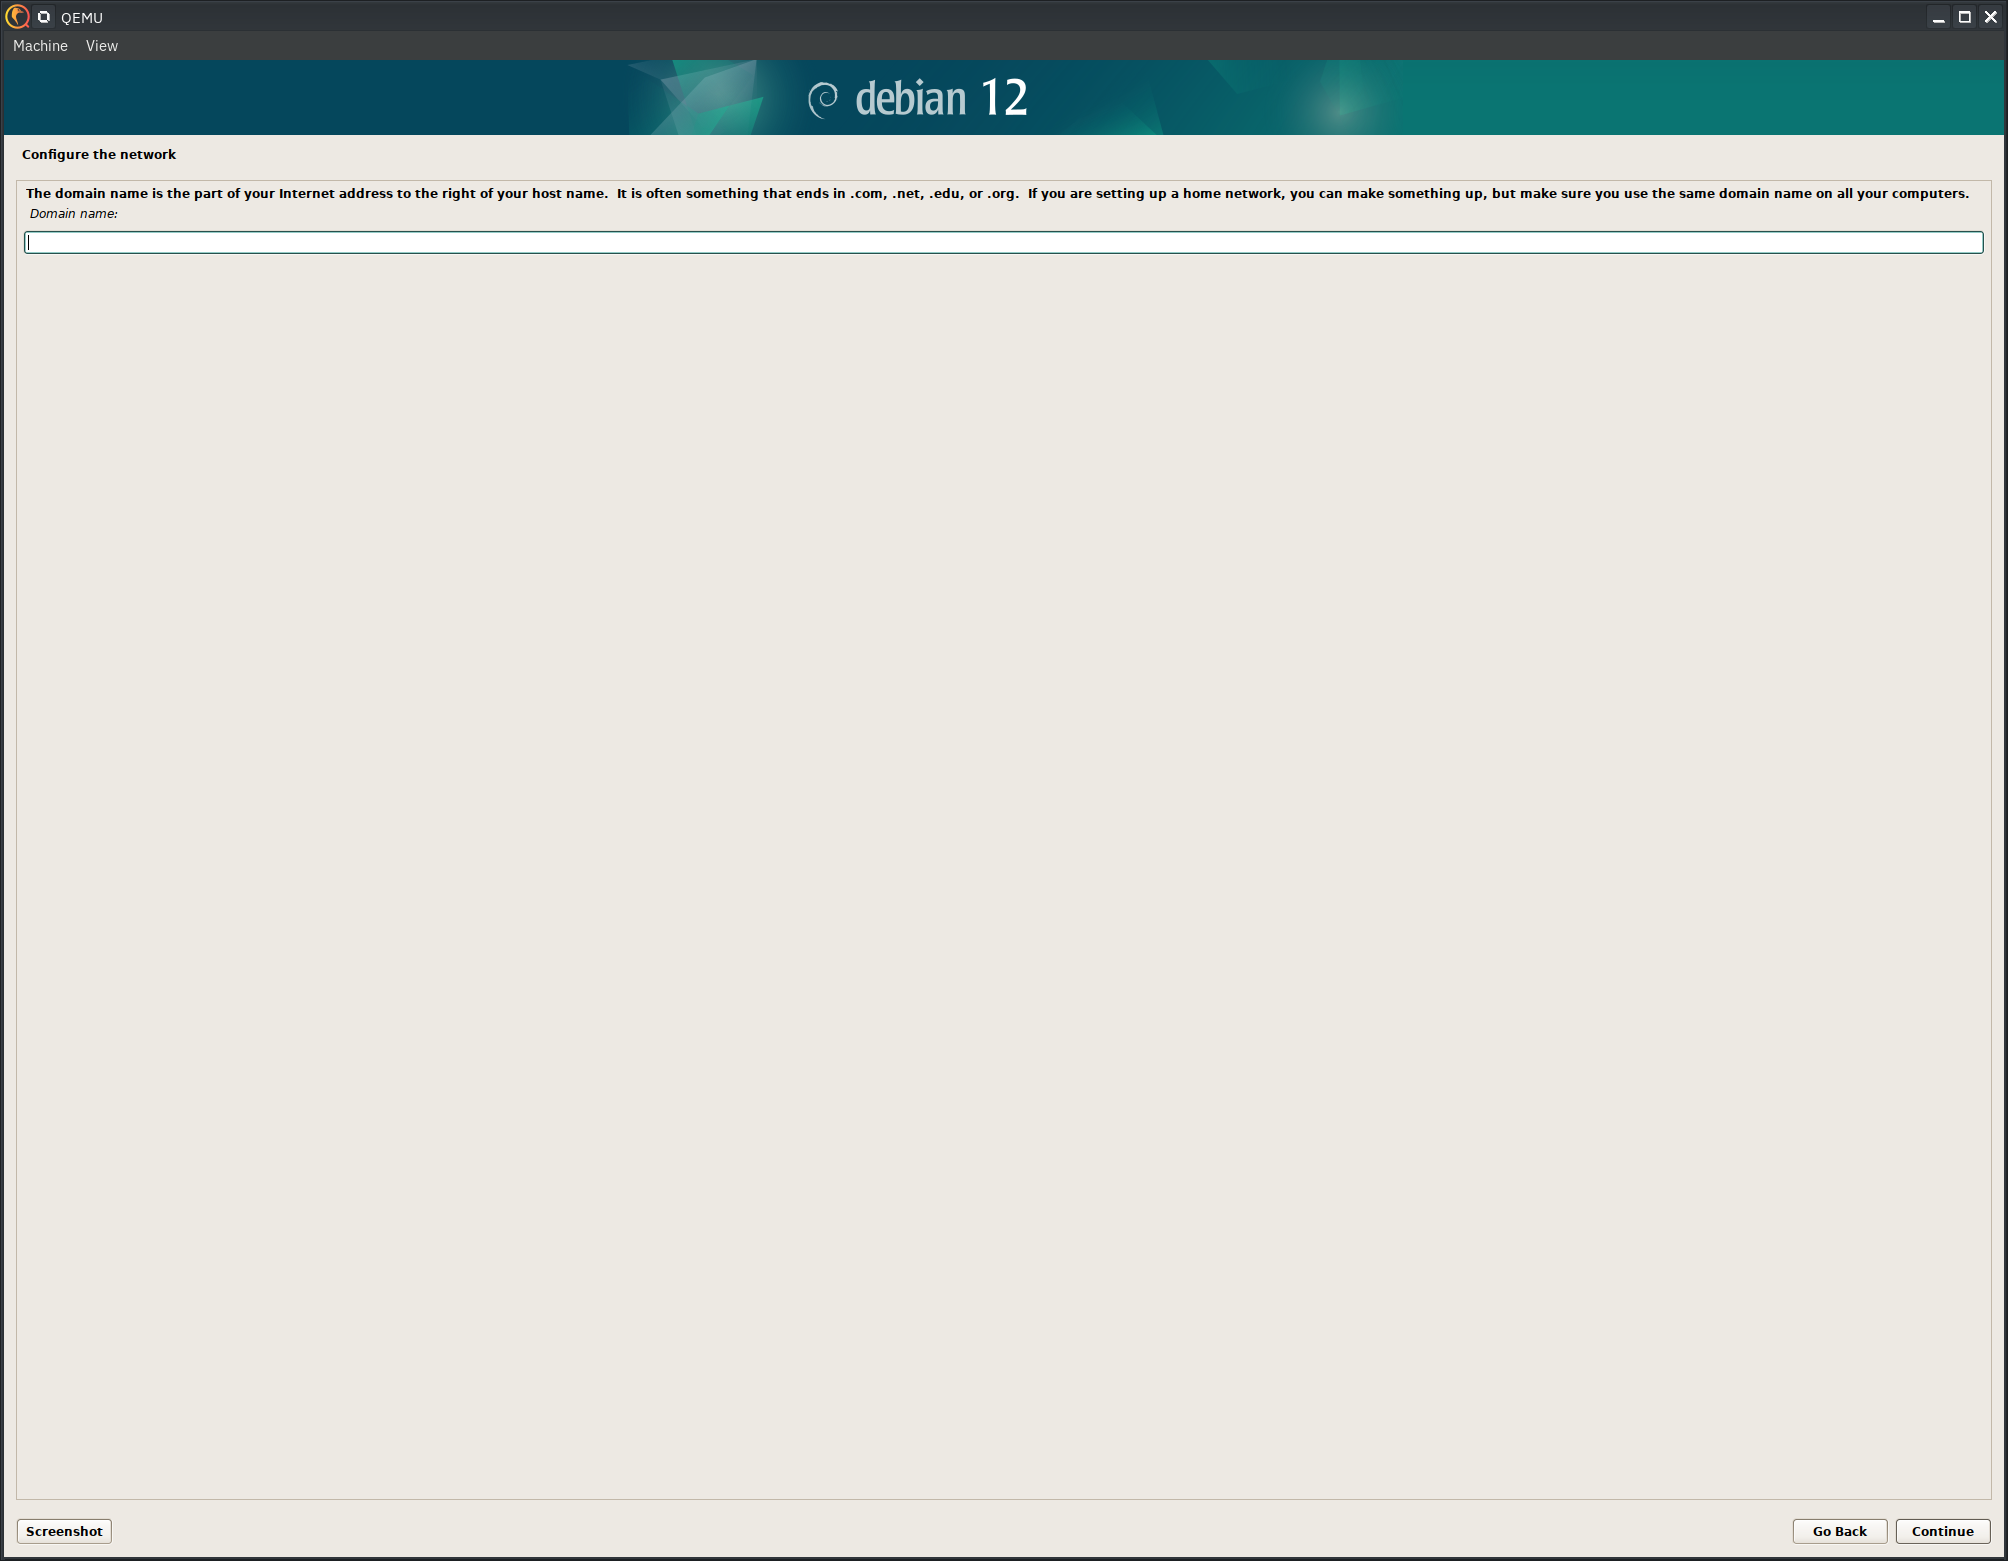
The domain name setting is only important if you're planning to have local network access to the server via a domain name, and you can otherwise just type "local."
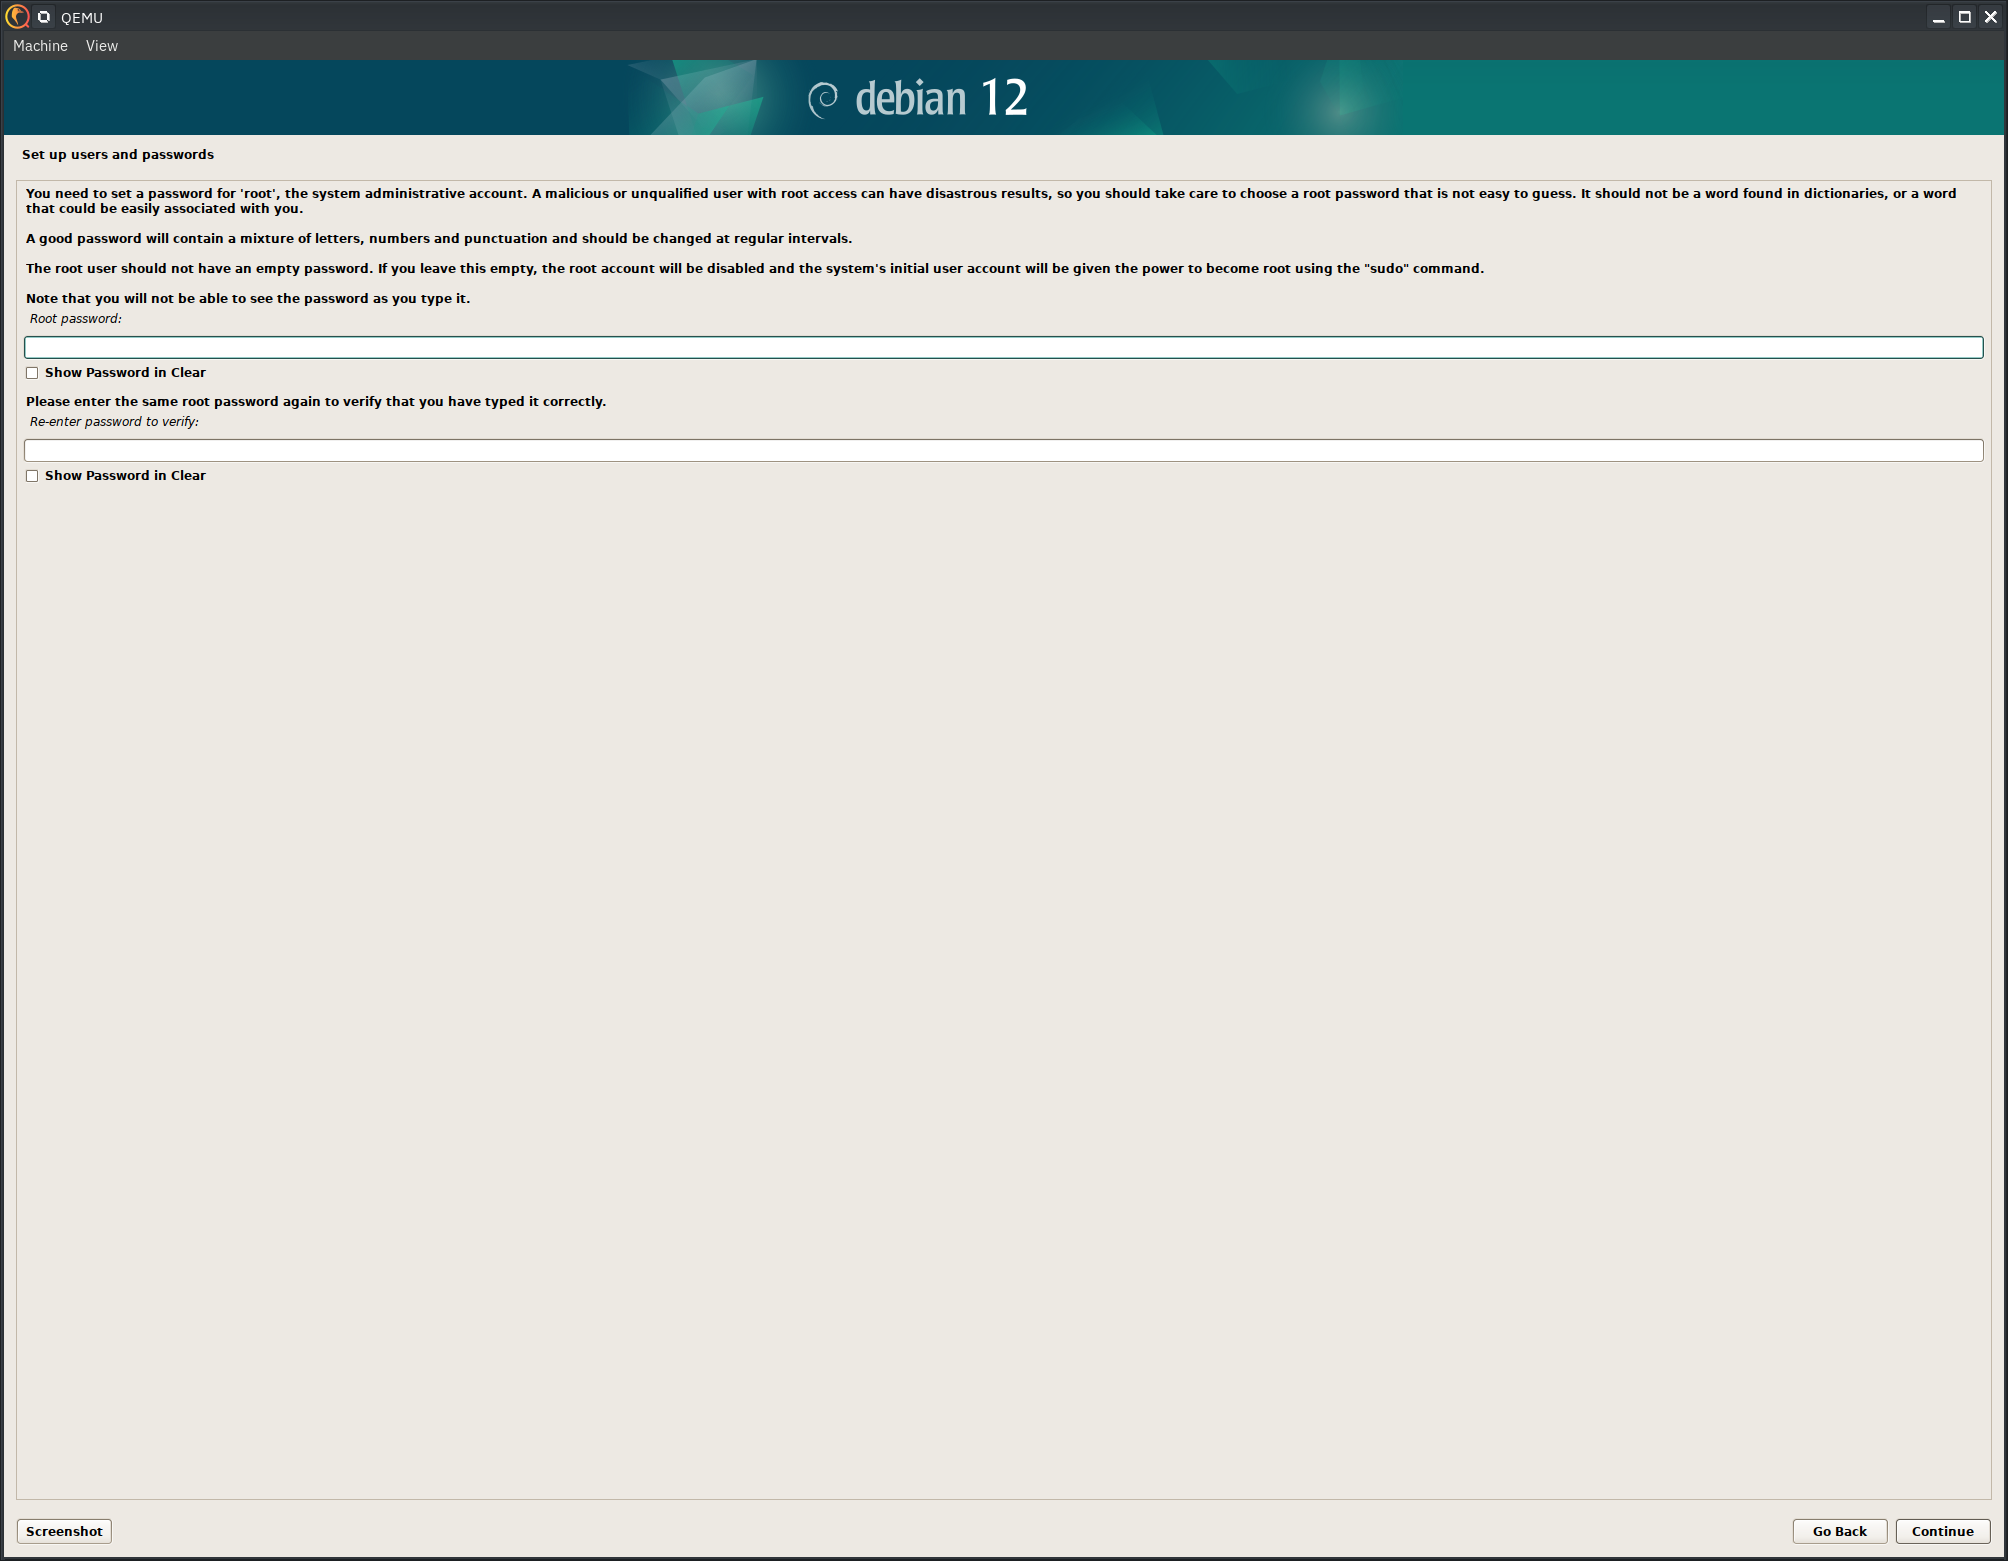
Setting your root password is rather important. Don't be a doofus.
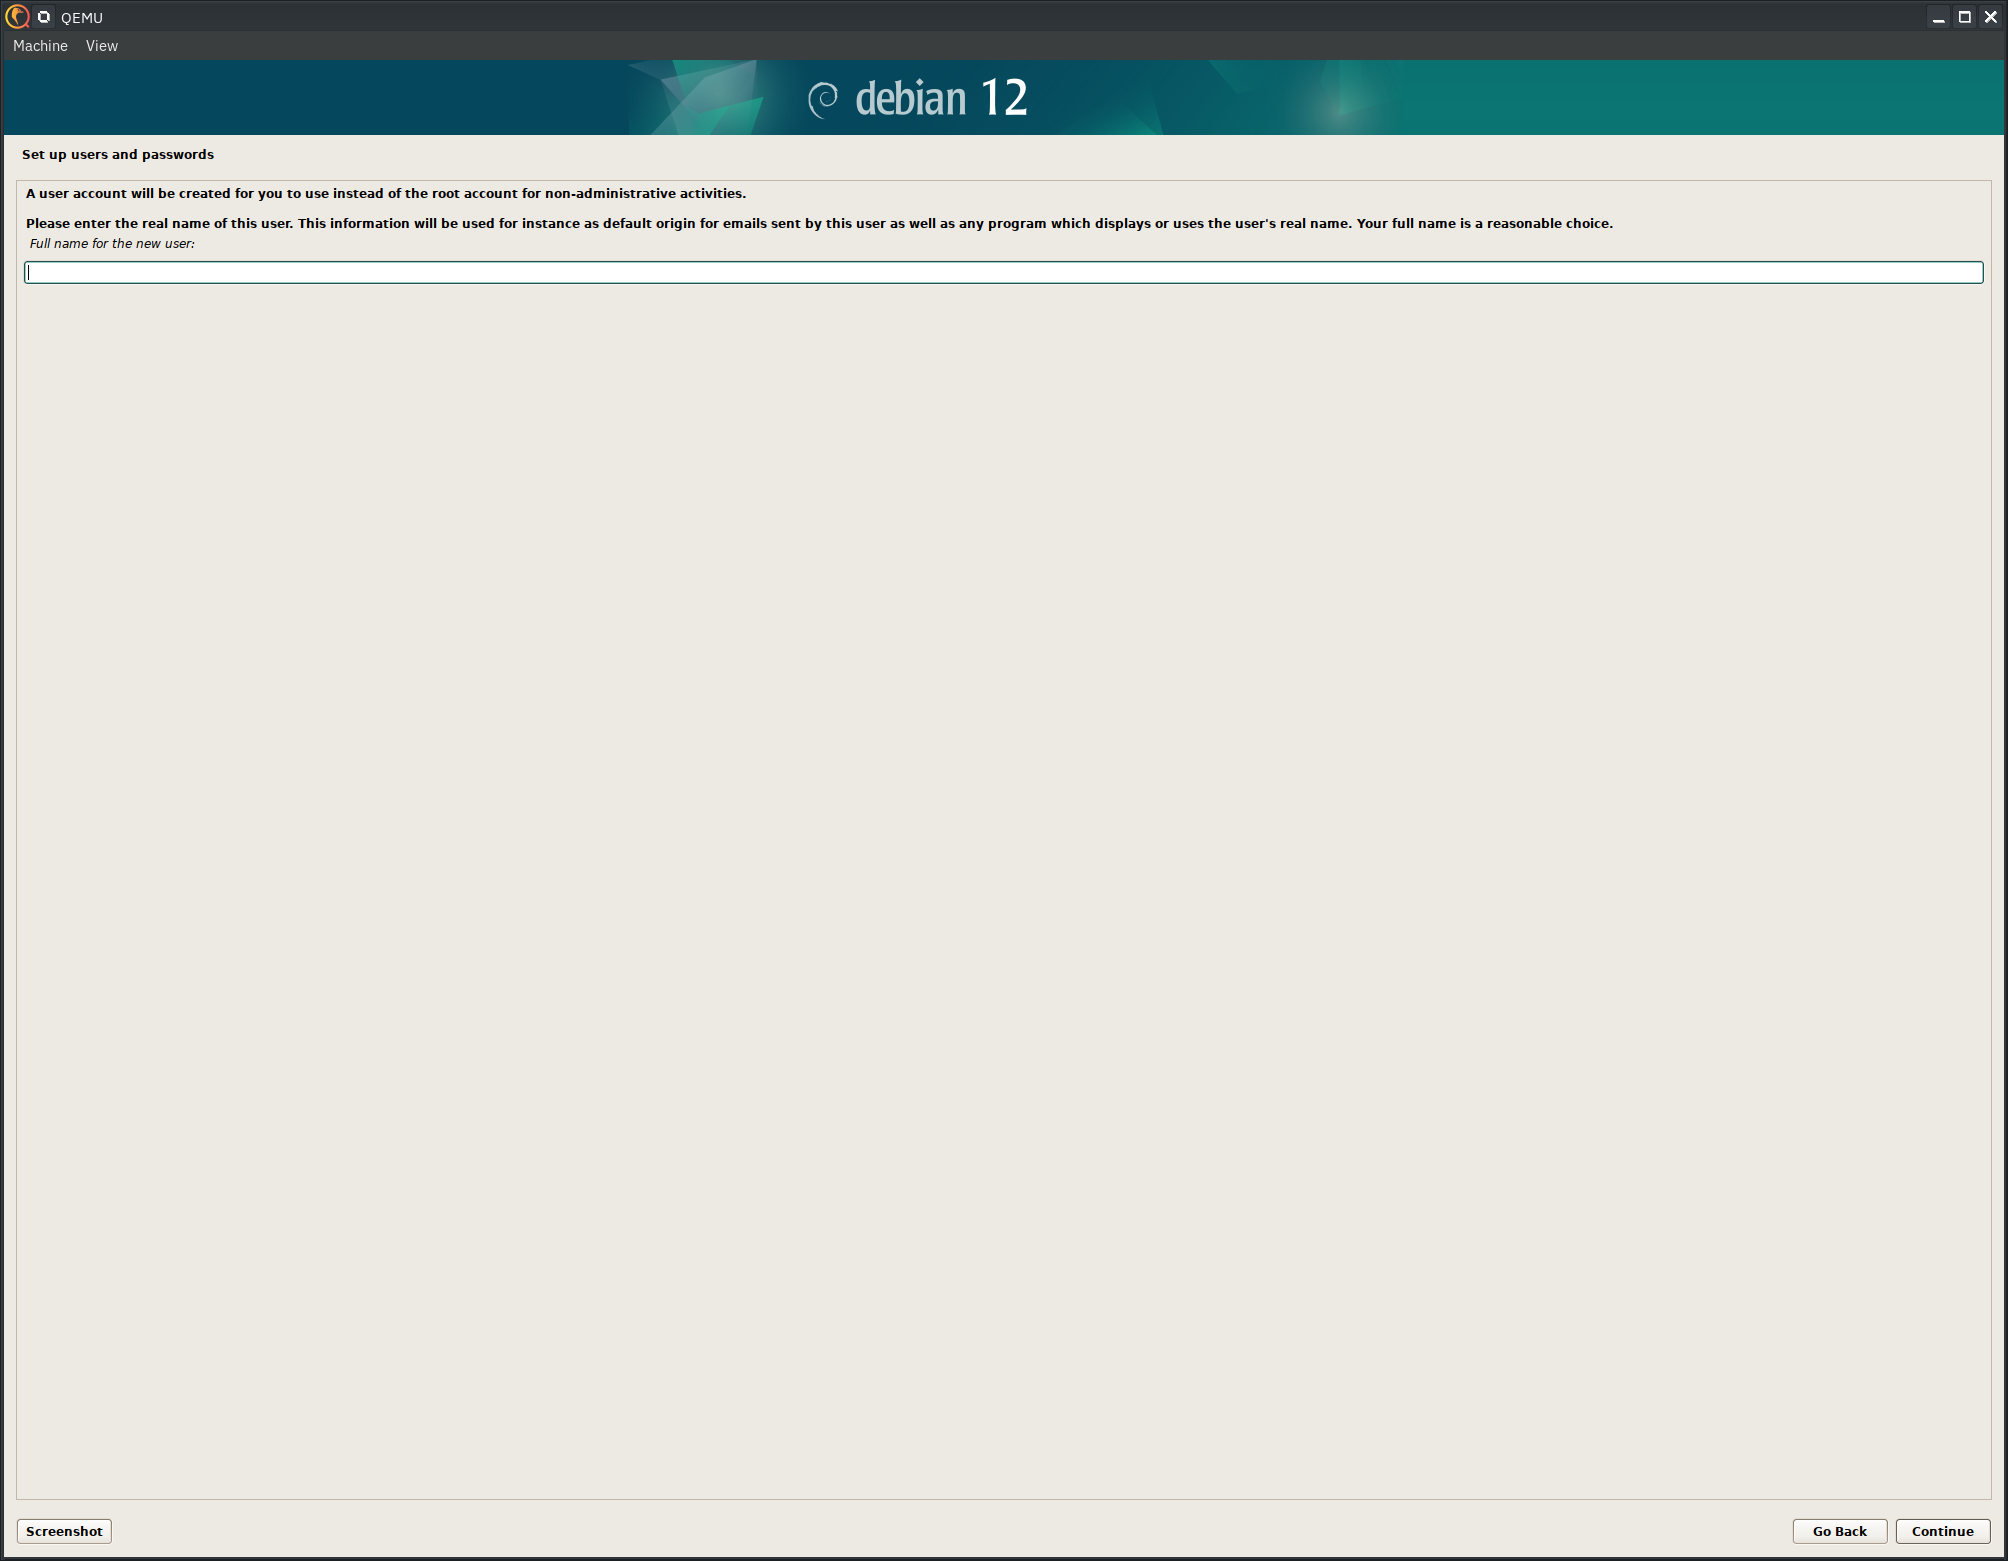
Logging in as root at all times isn't advisable, so Debian prompts you to create a new user. This first part is just the actual person's name.
You'll now set the login name.
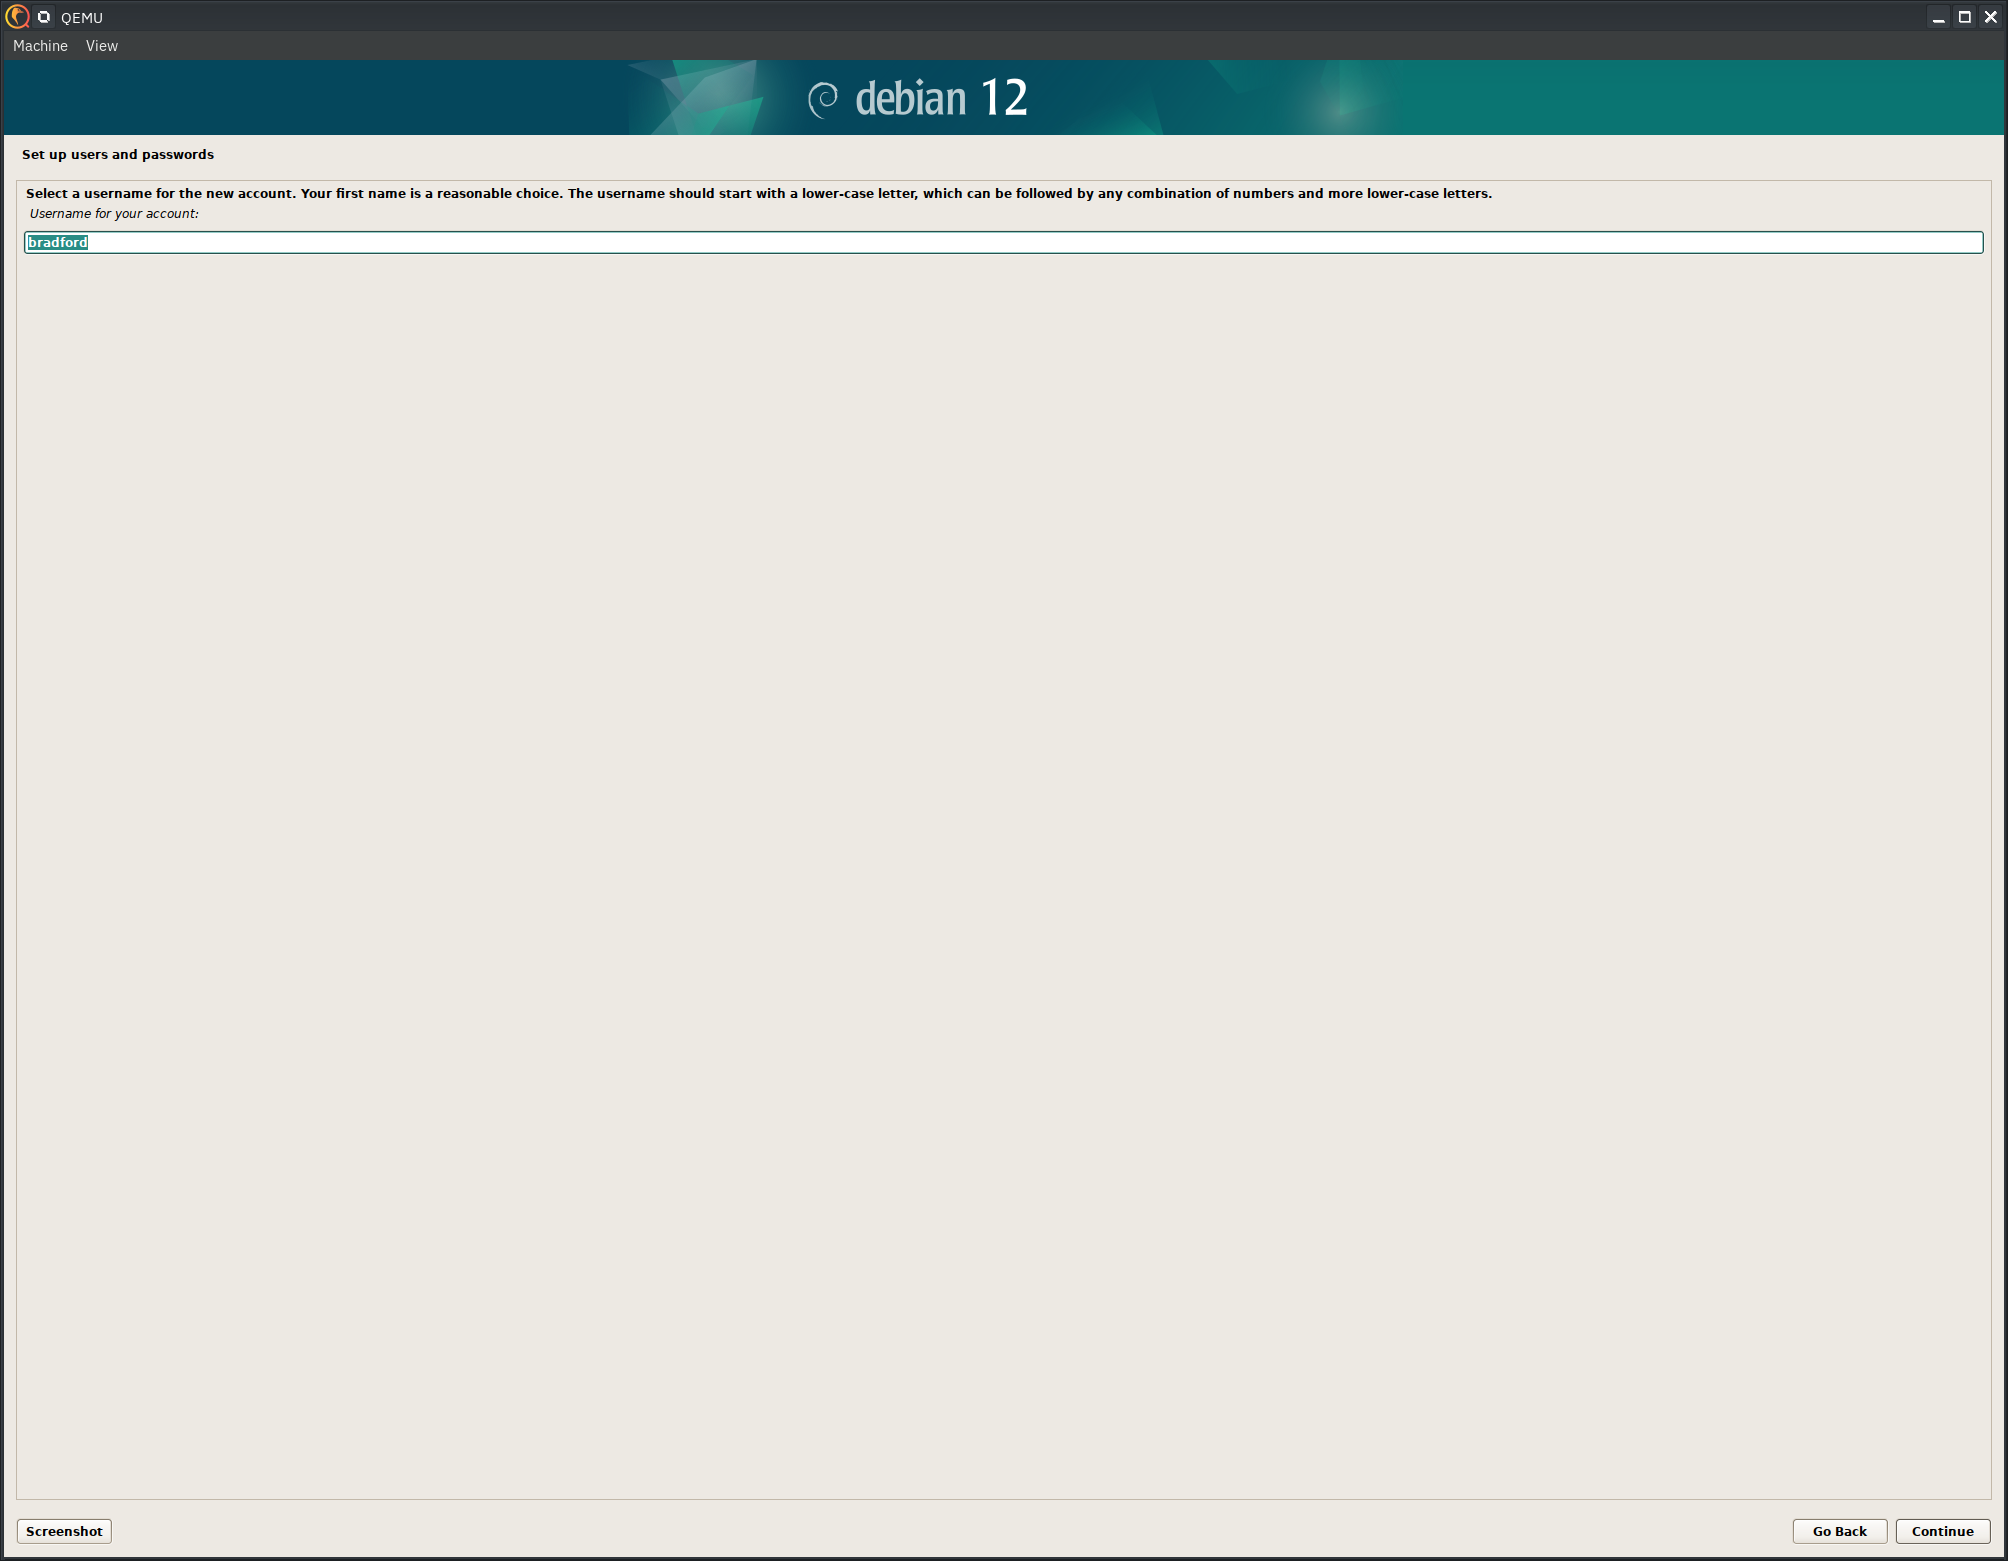
Setting your password, choose something difficult to guess.
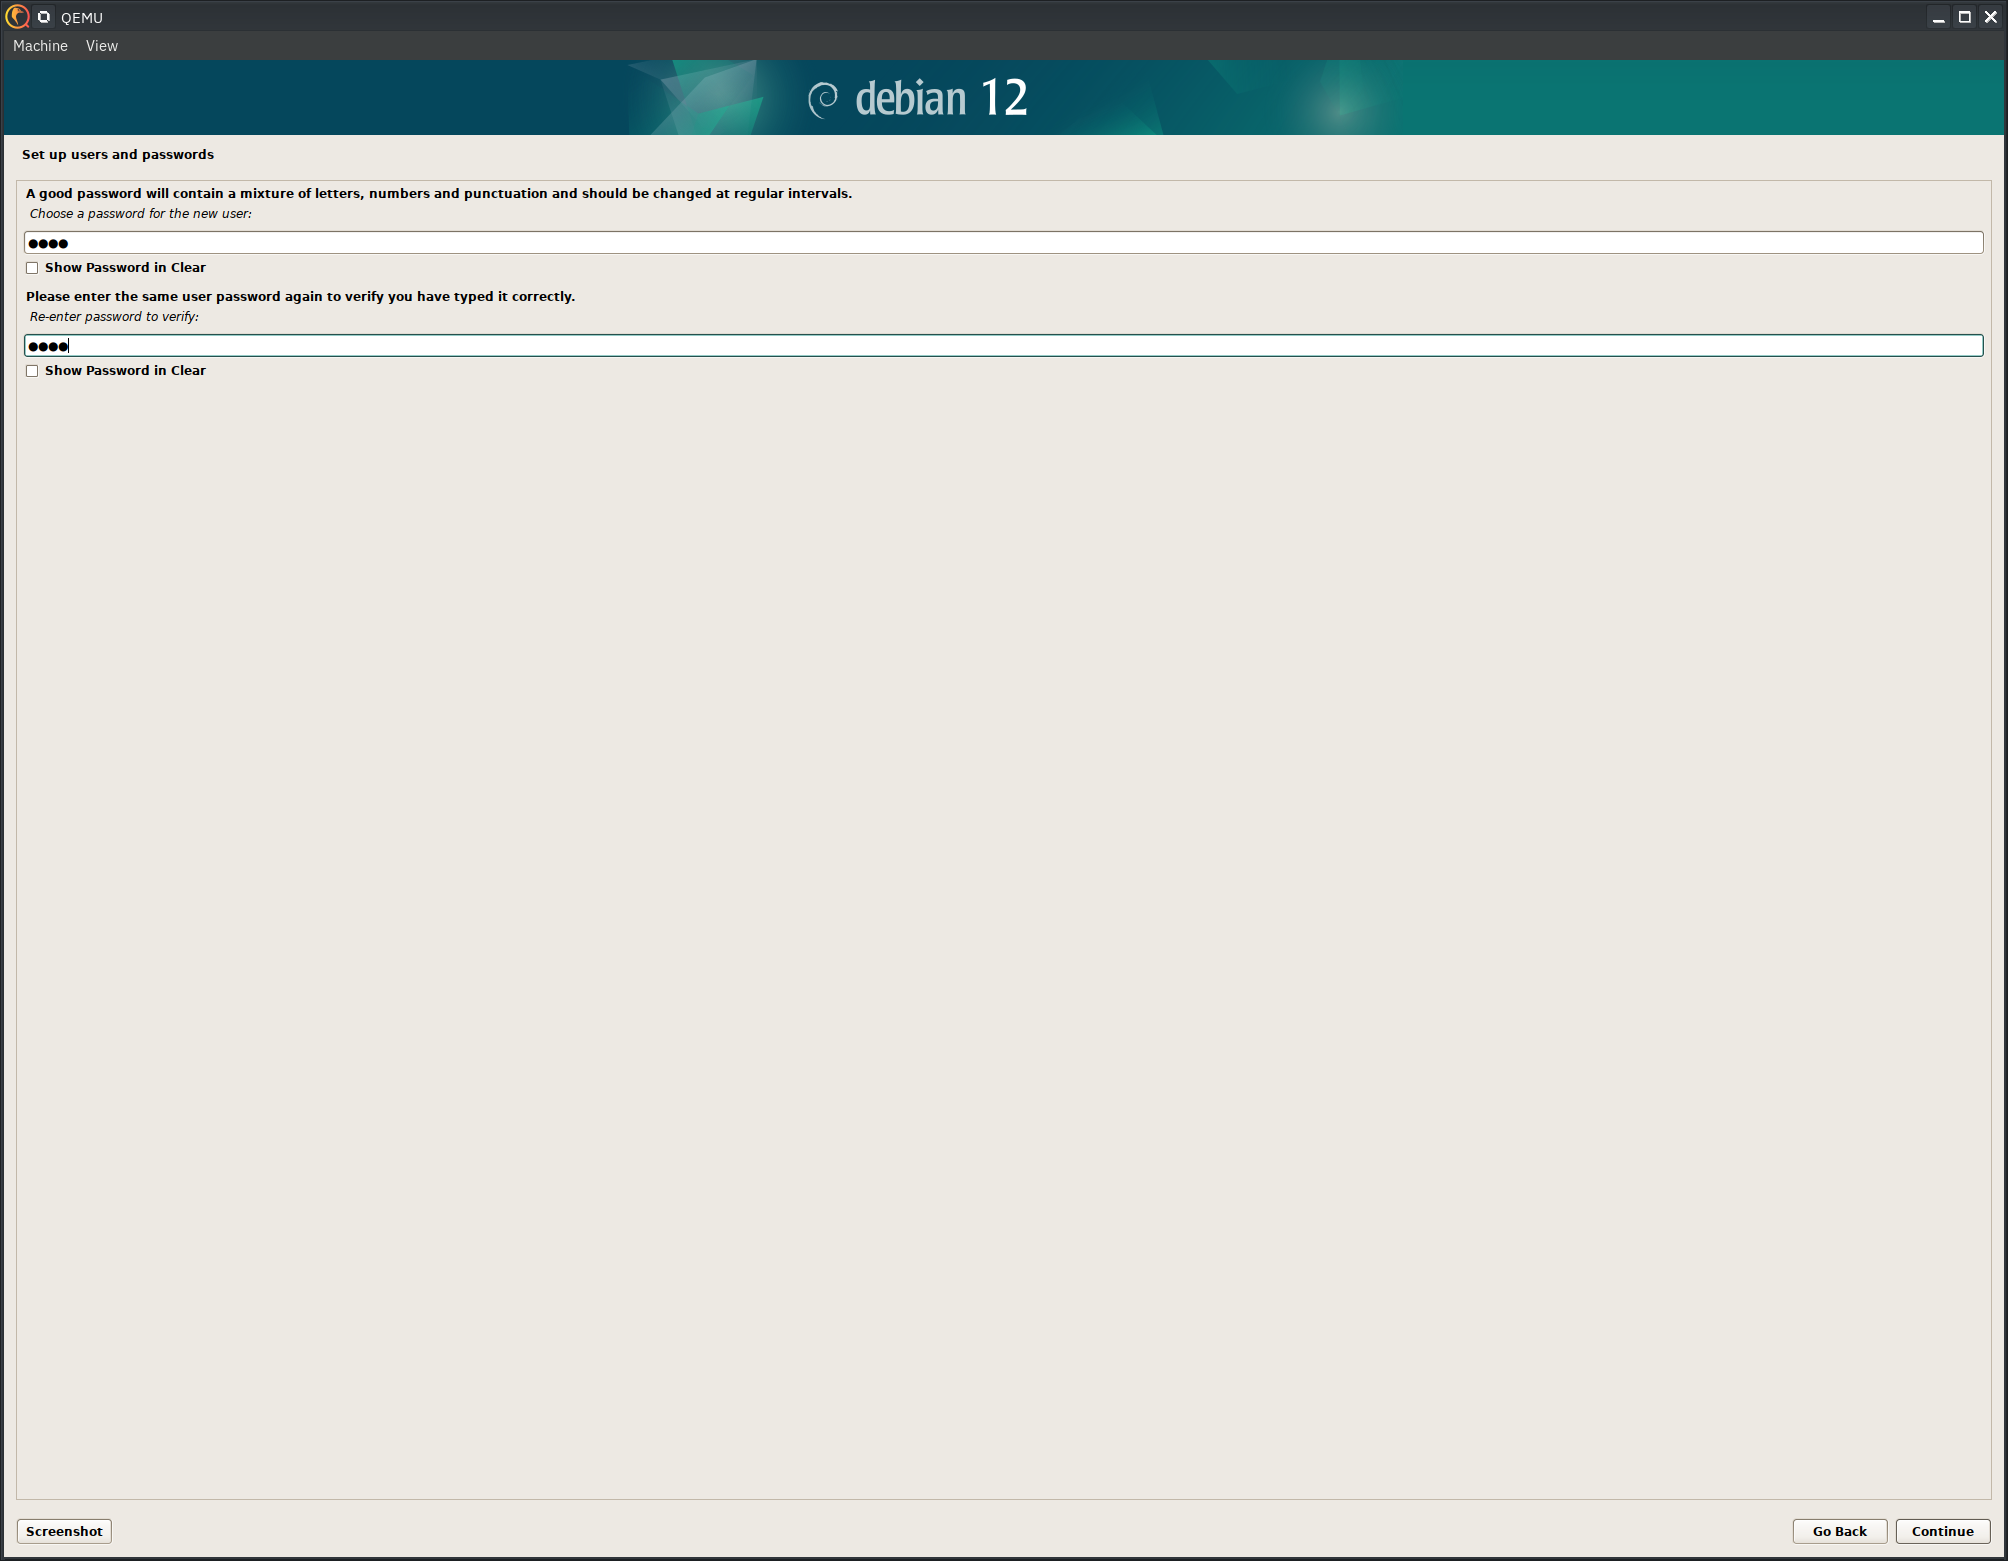
The next part of the install process will ask you about your timezone.
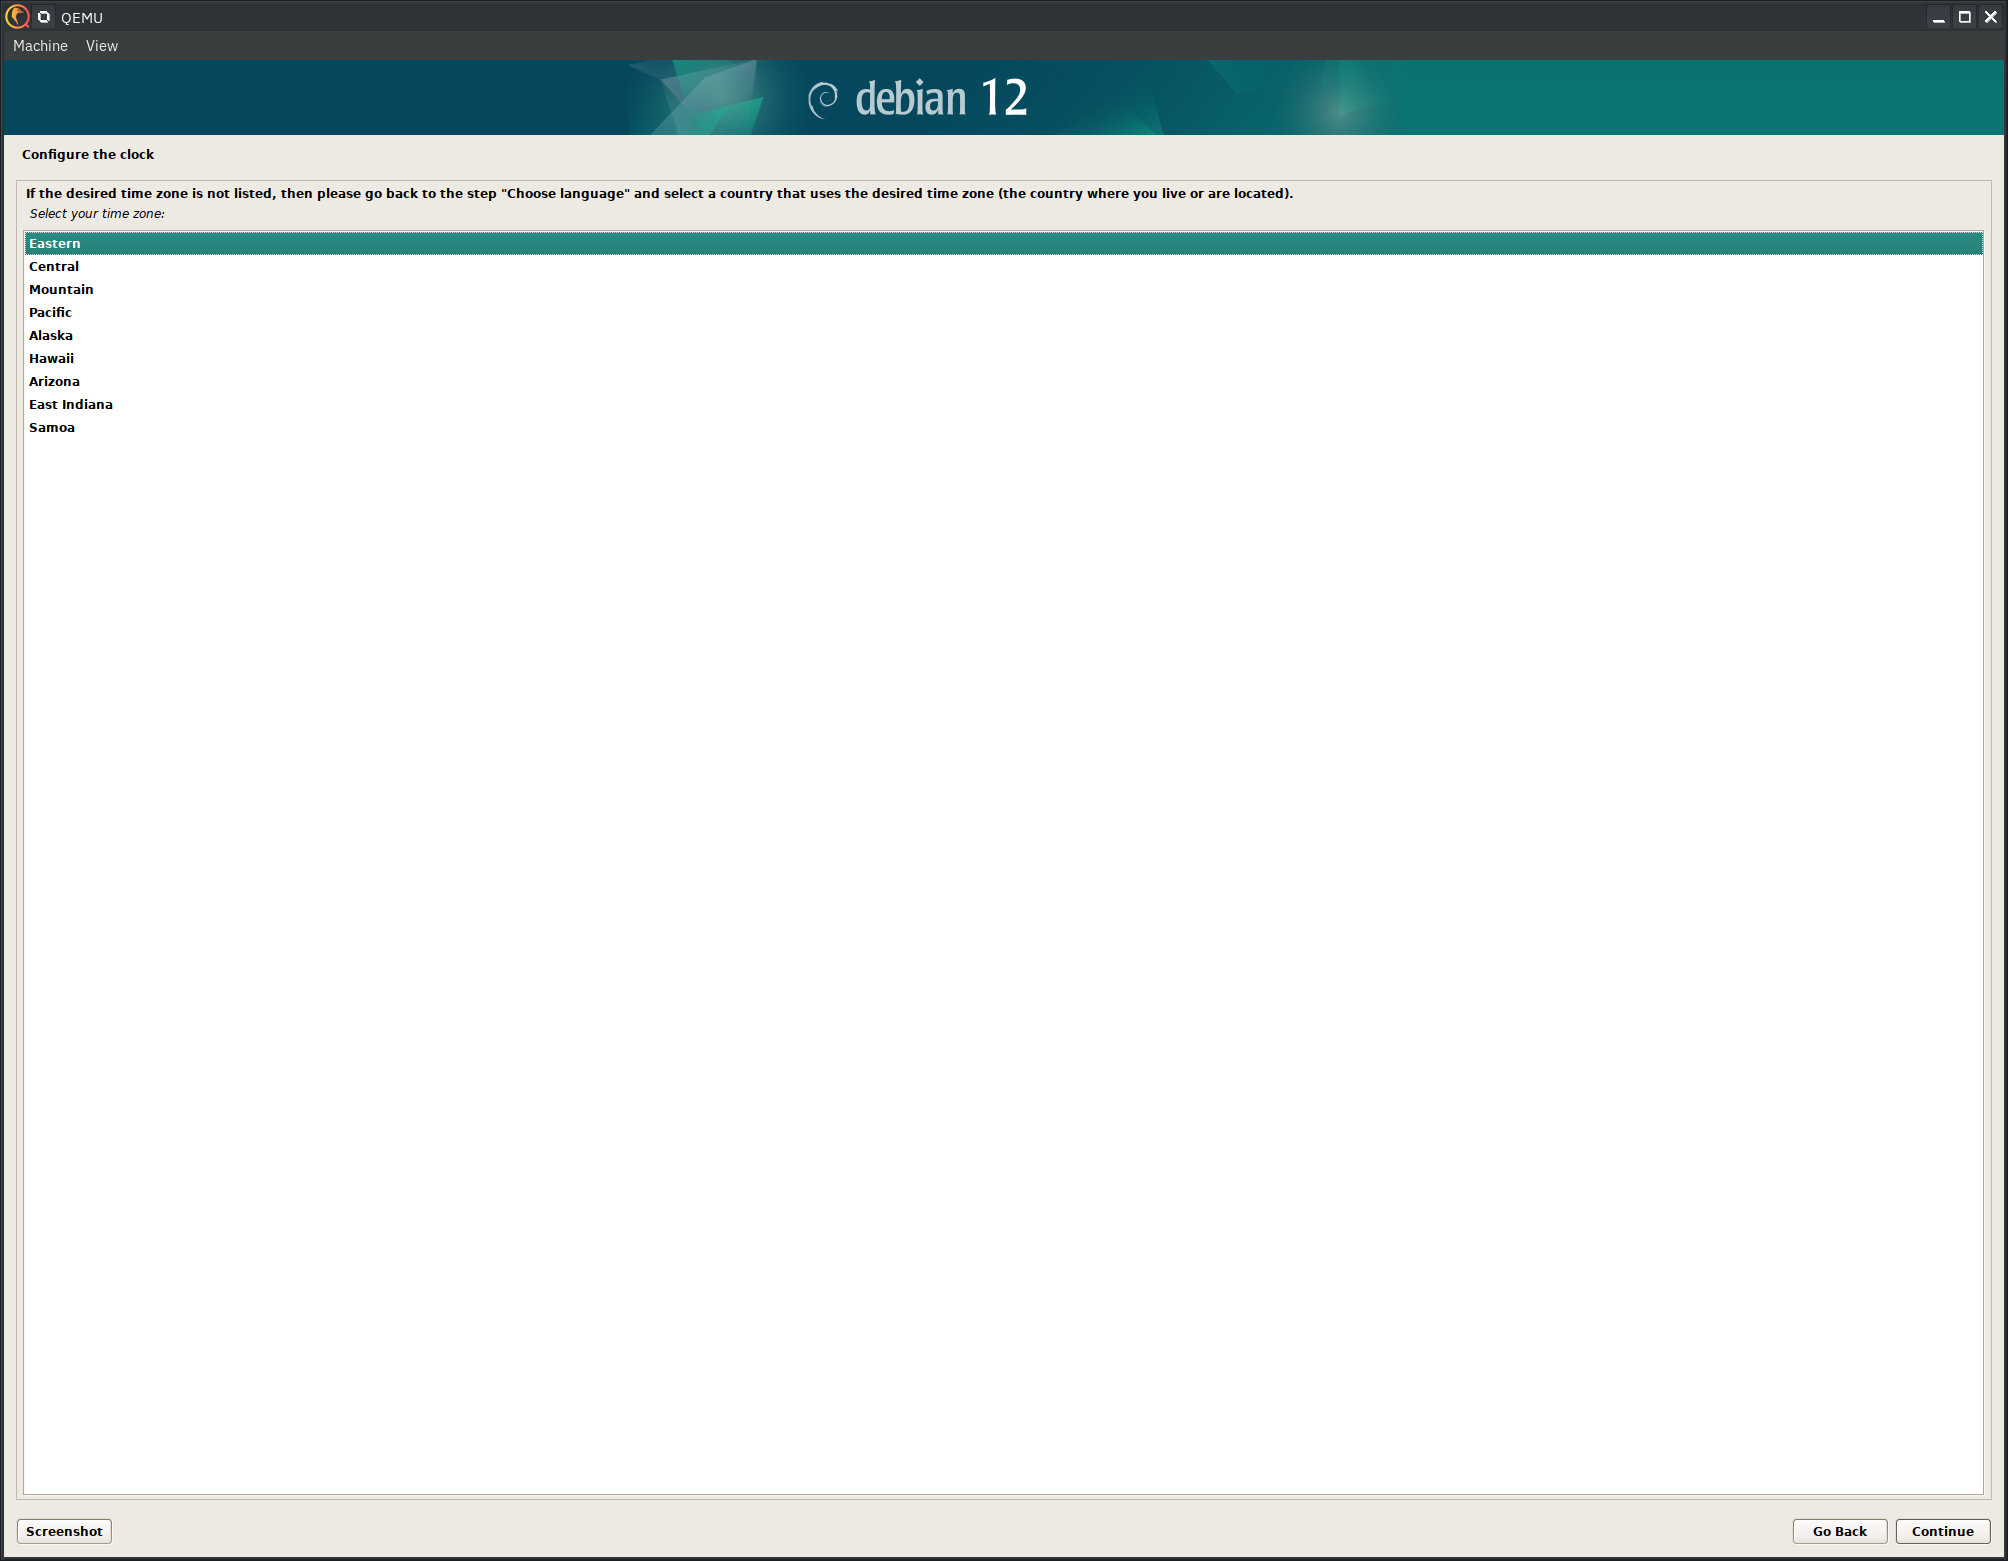
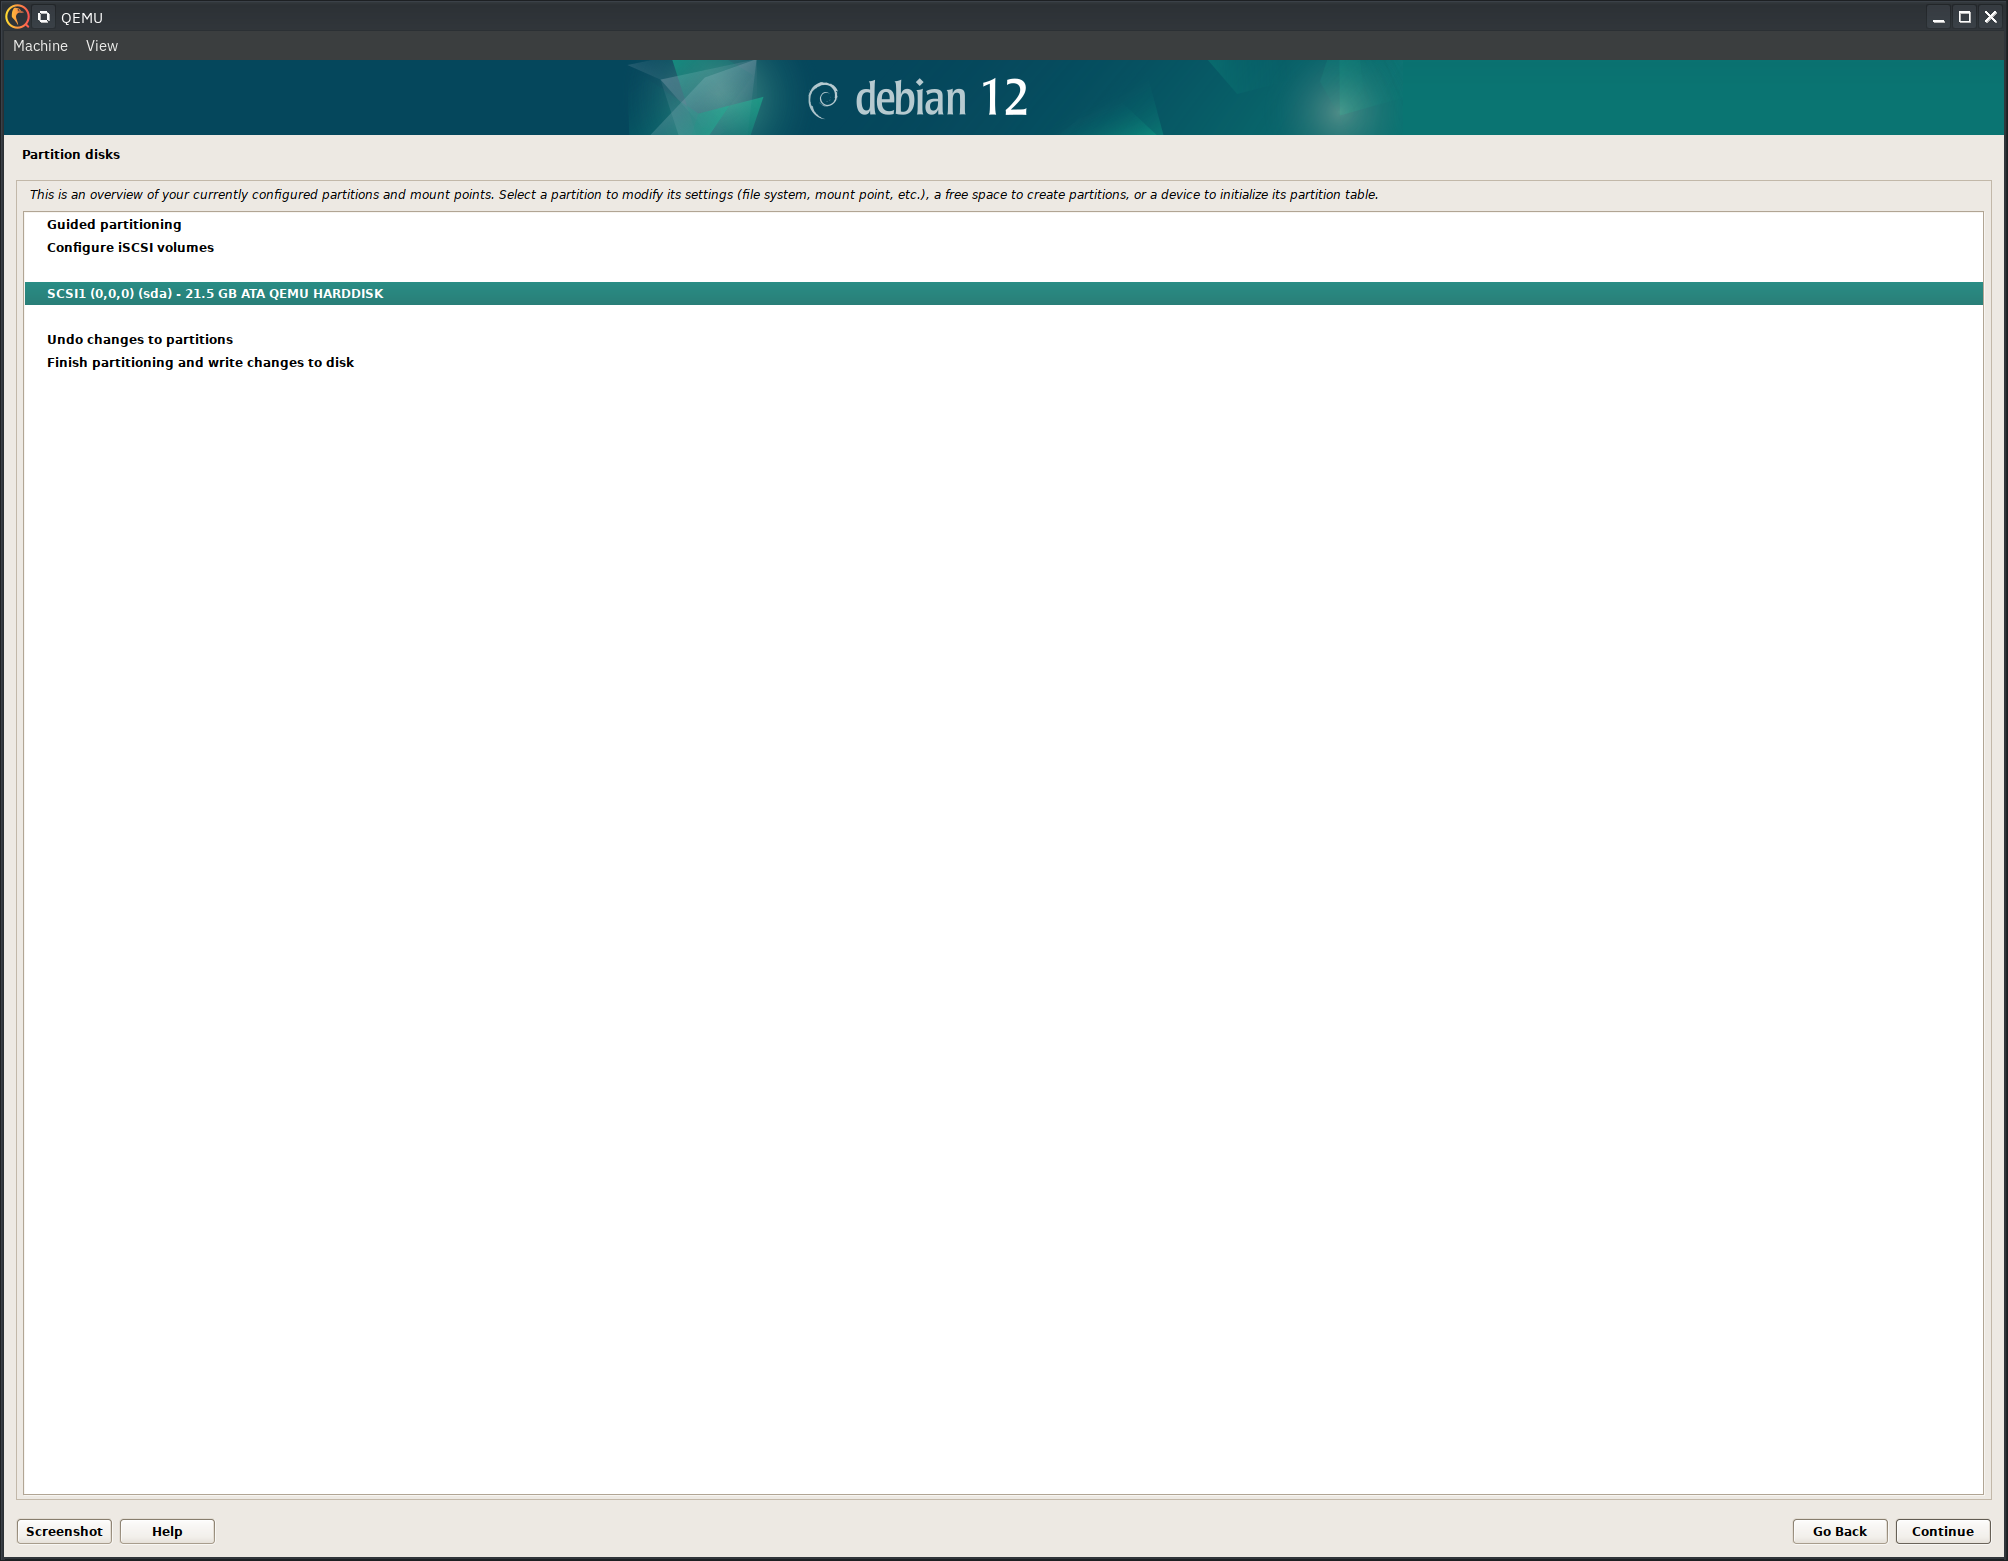
We next have the disk setup. Here you have a few options. Guided will just set everything up with a default layout and ext4. I always do my own setup. In this case, I want BTRFS so that Portainer will create subvolumes for each docker container.
Select your disk.
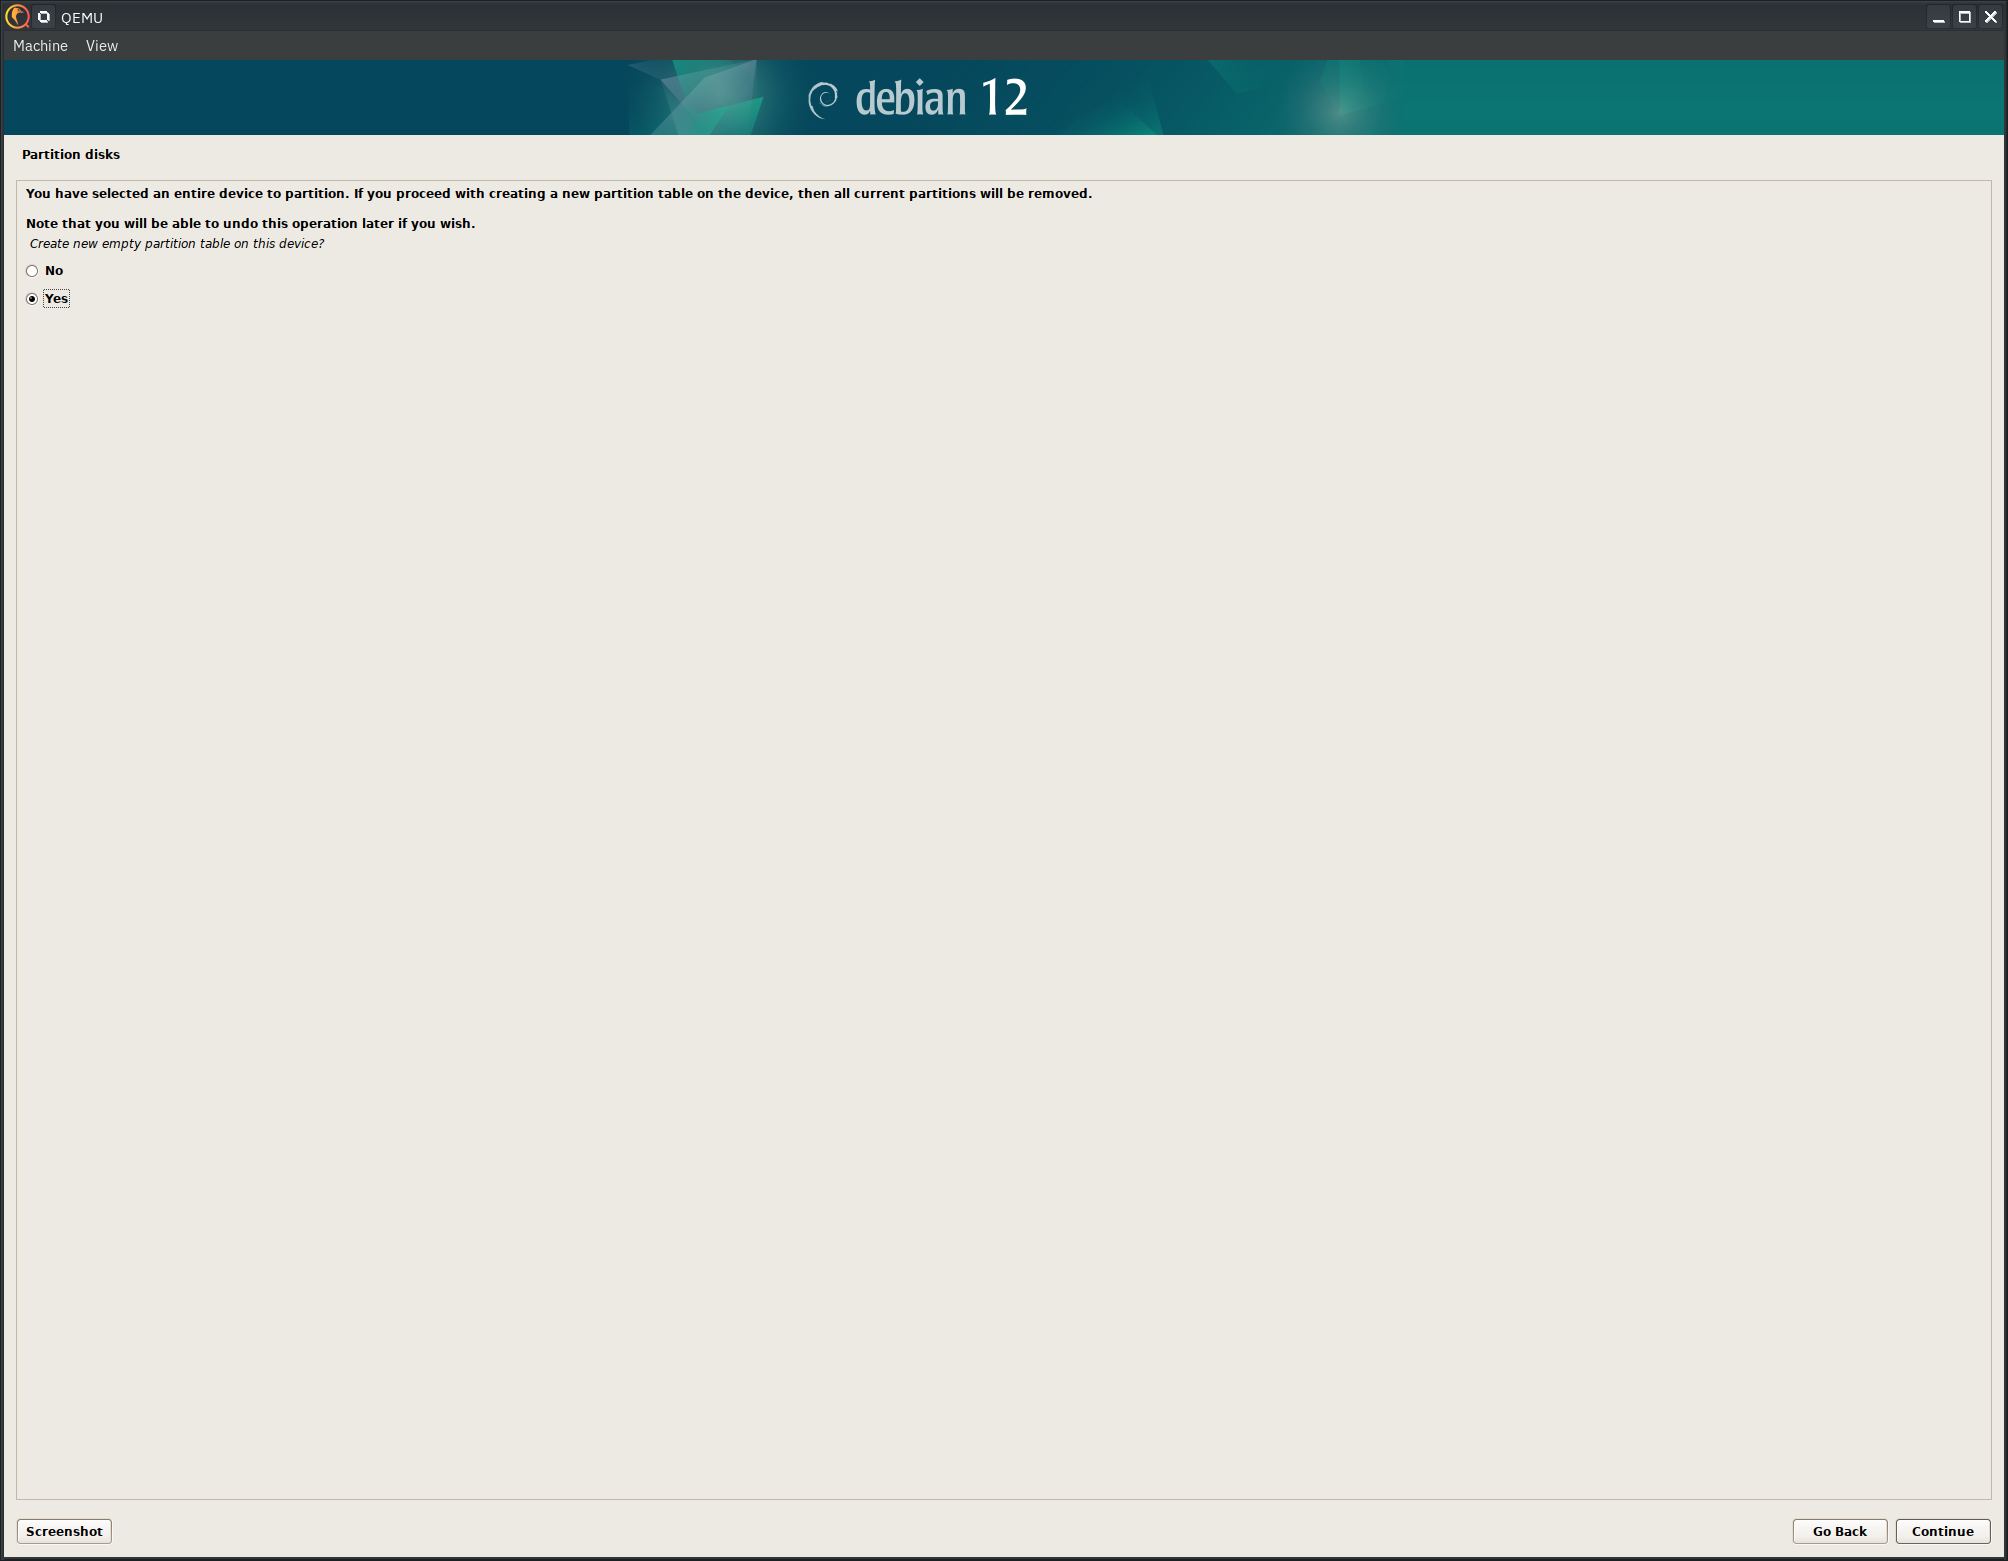
You need to create a new partition table if you have a fresh disk.
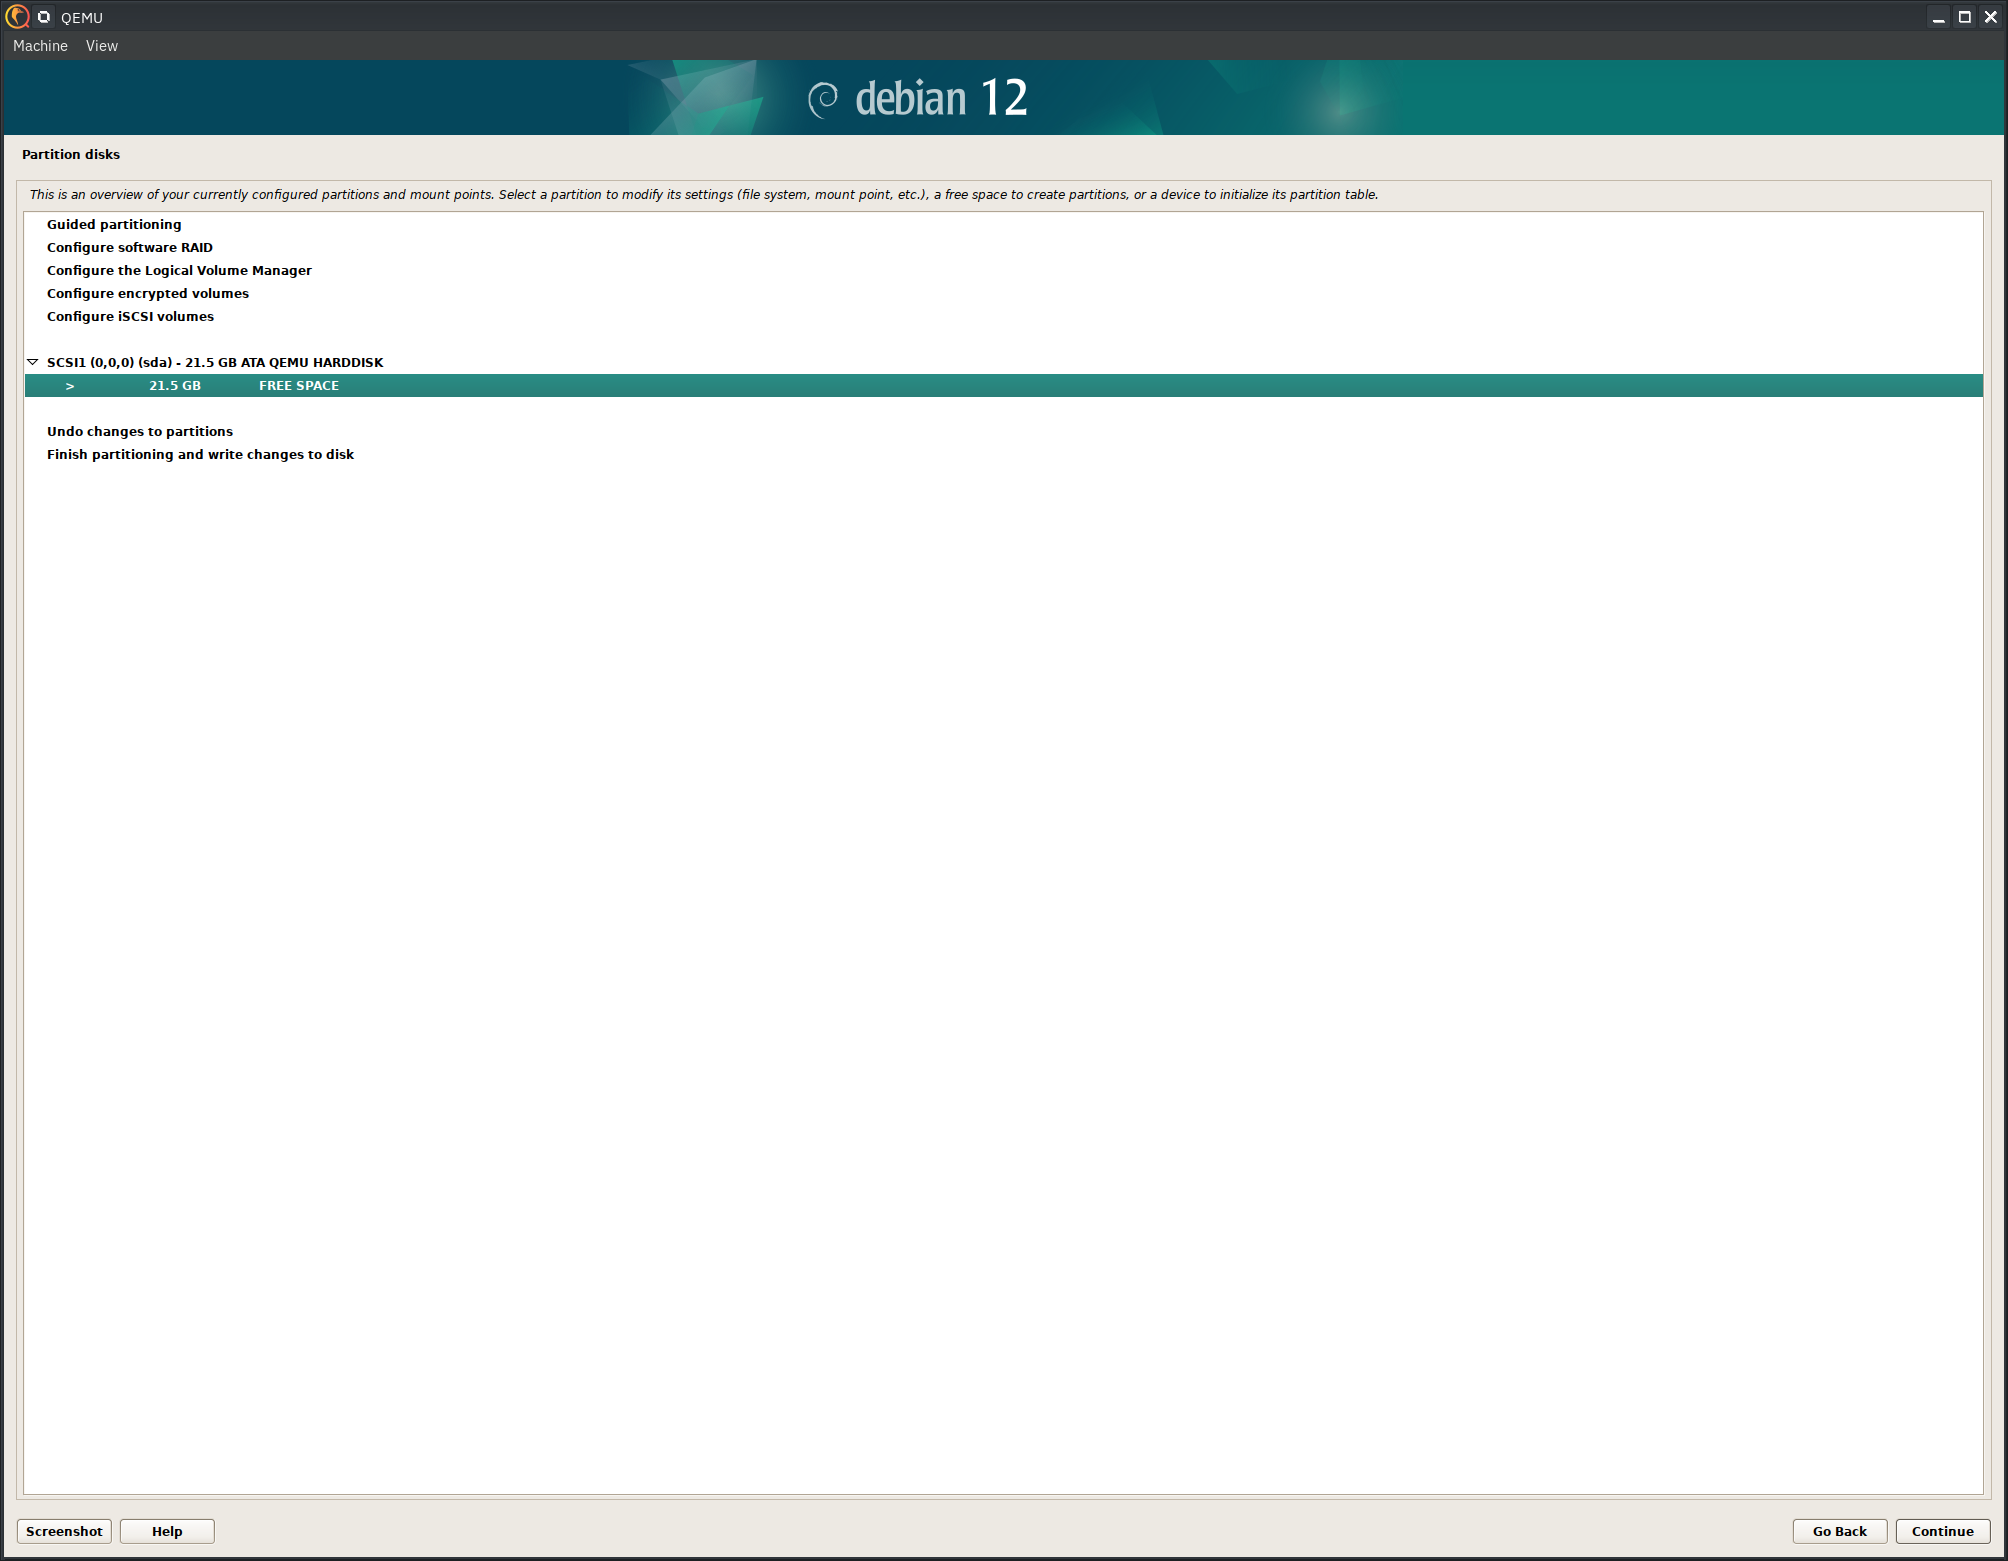
Now click the free space.
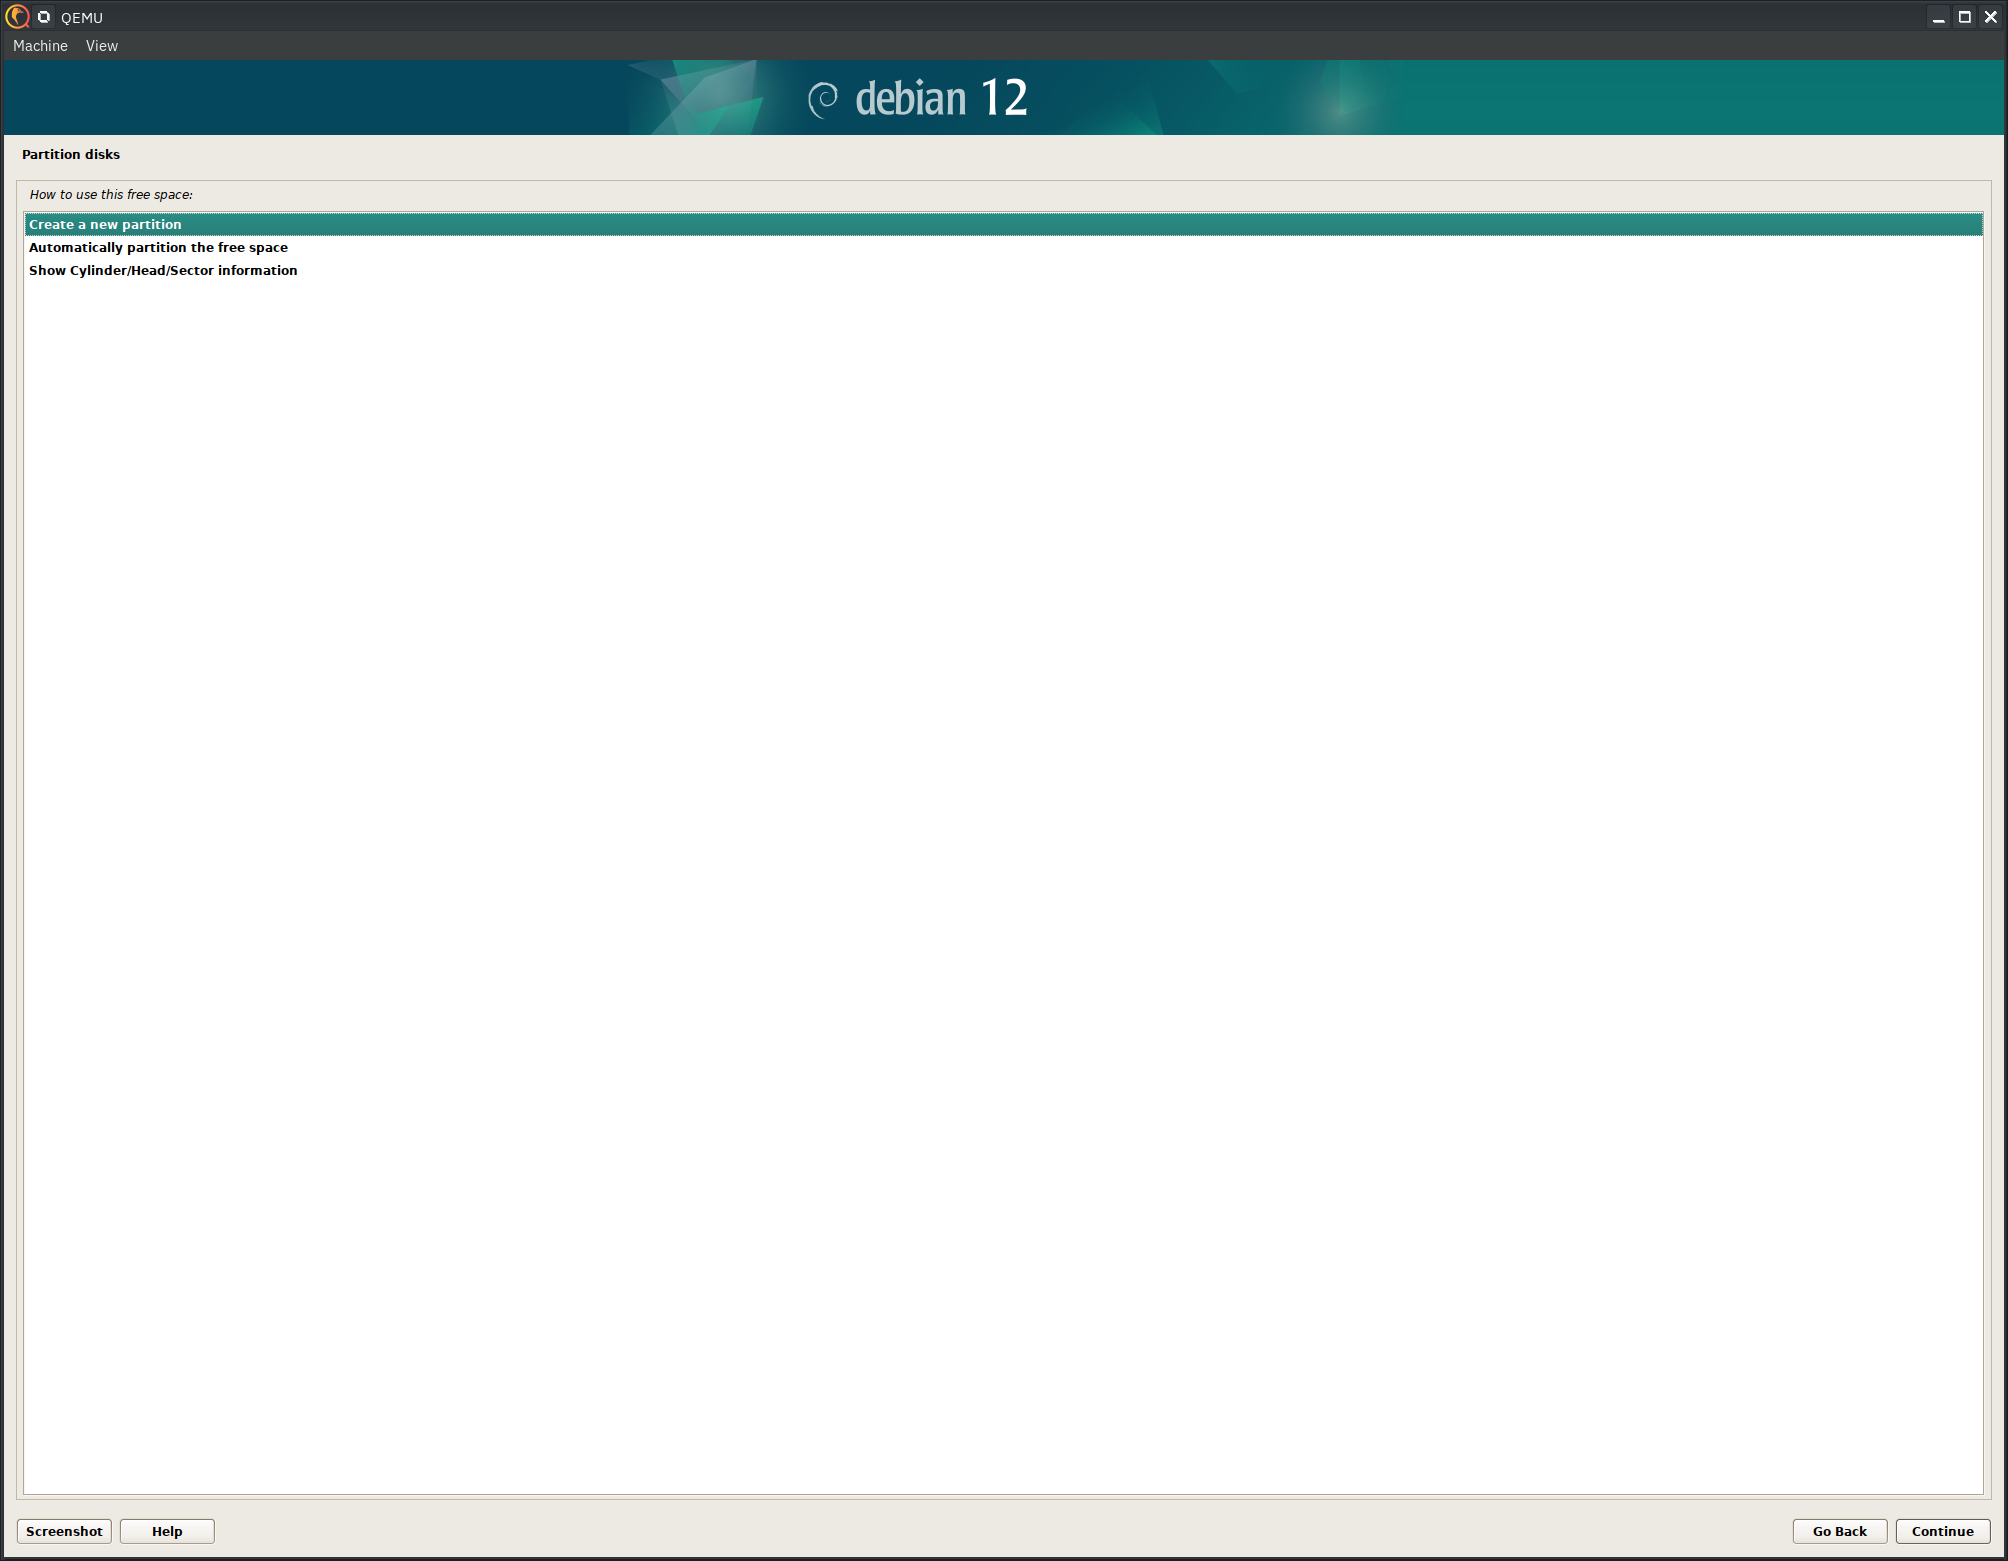
Select "Create a new partition."
The first partition should be small. Something between 128M and 512M is quite enough.
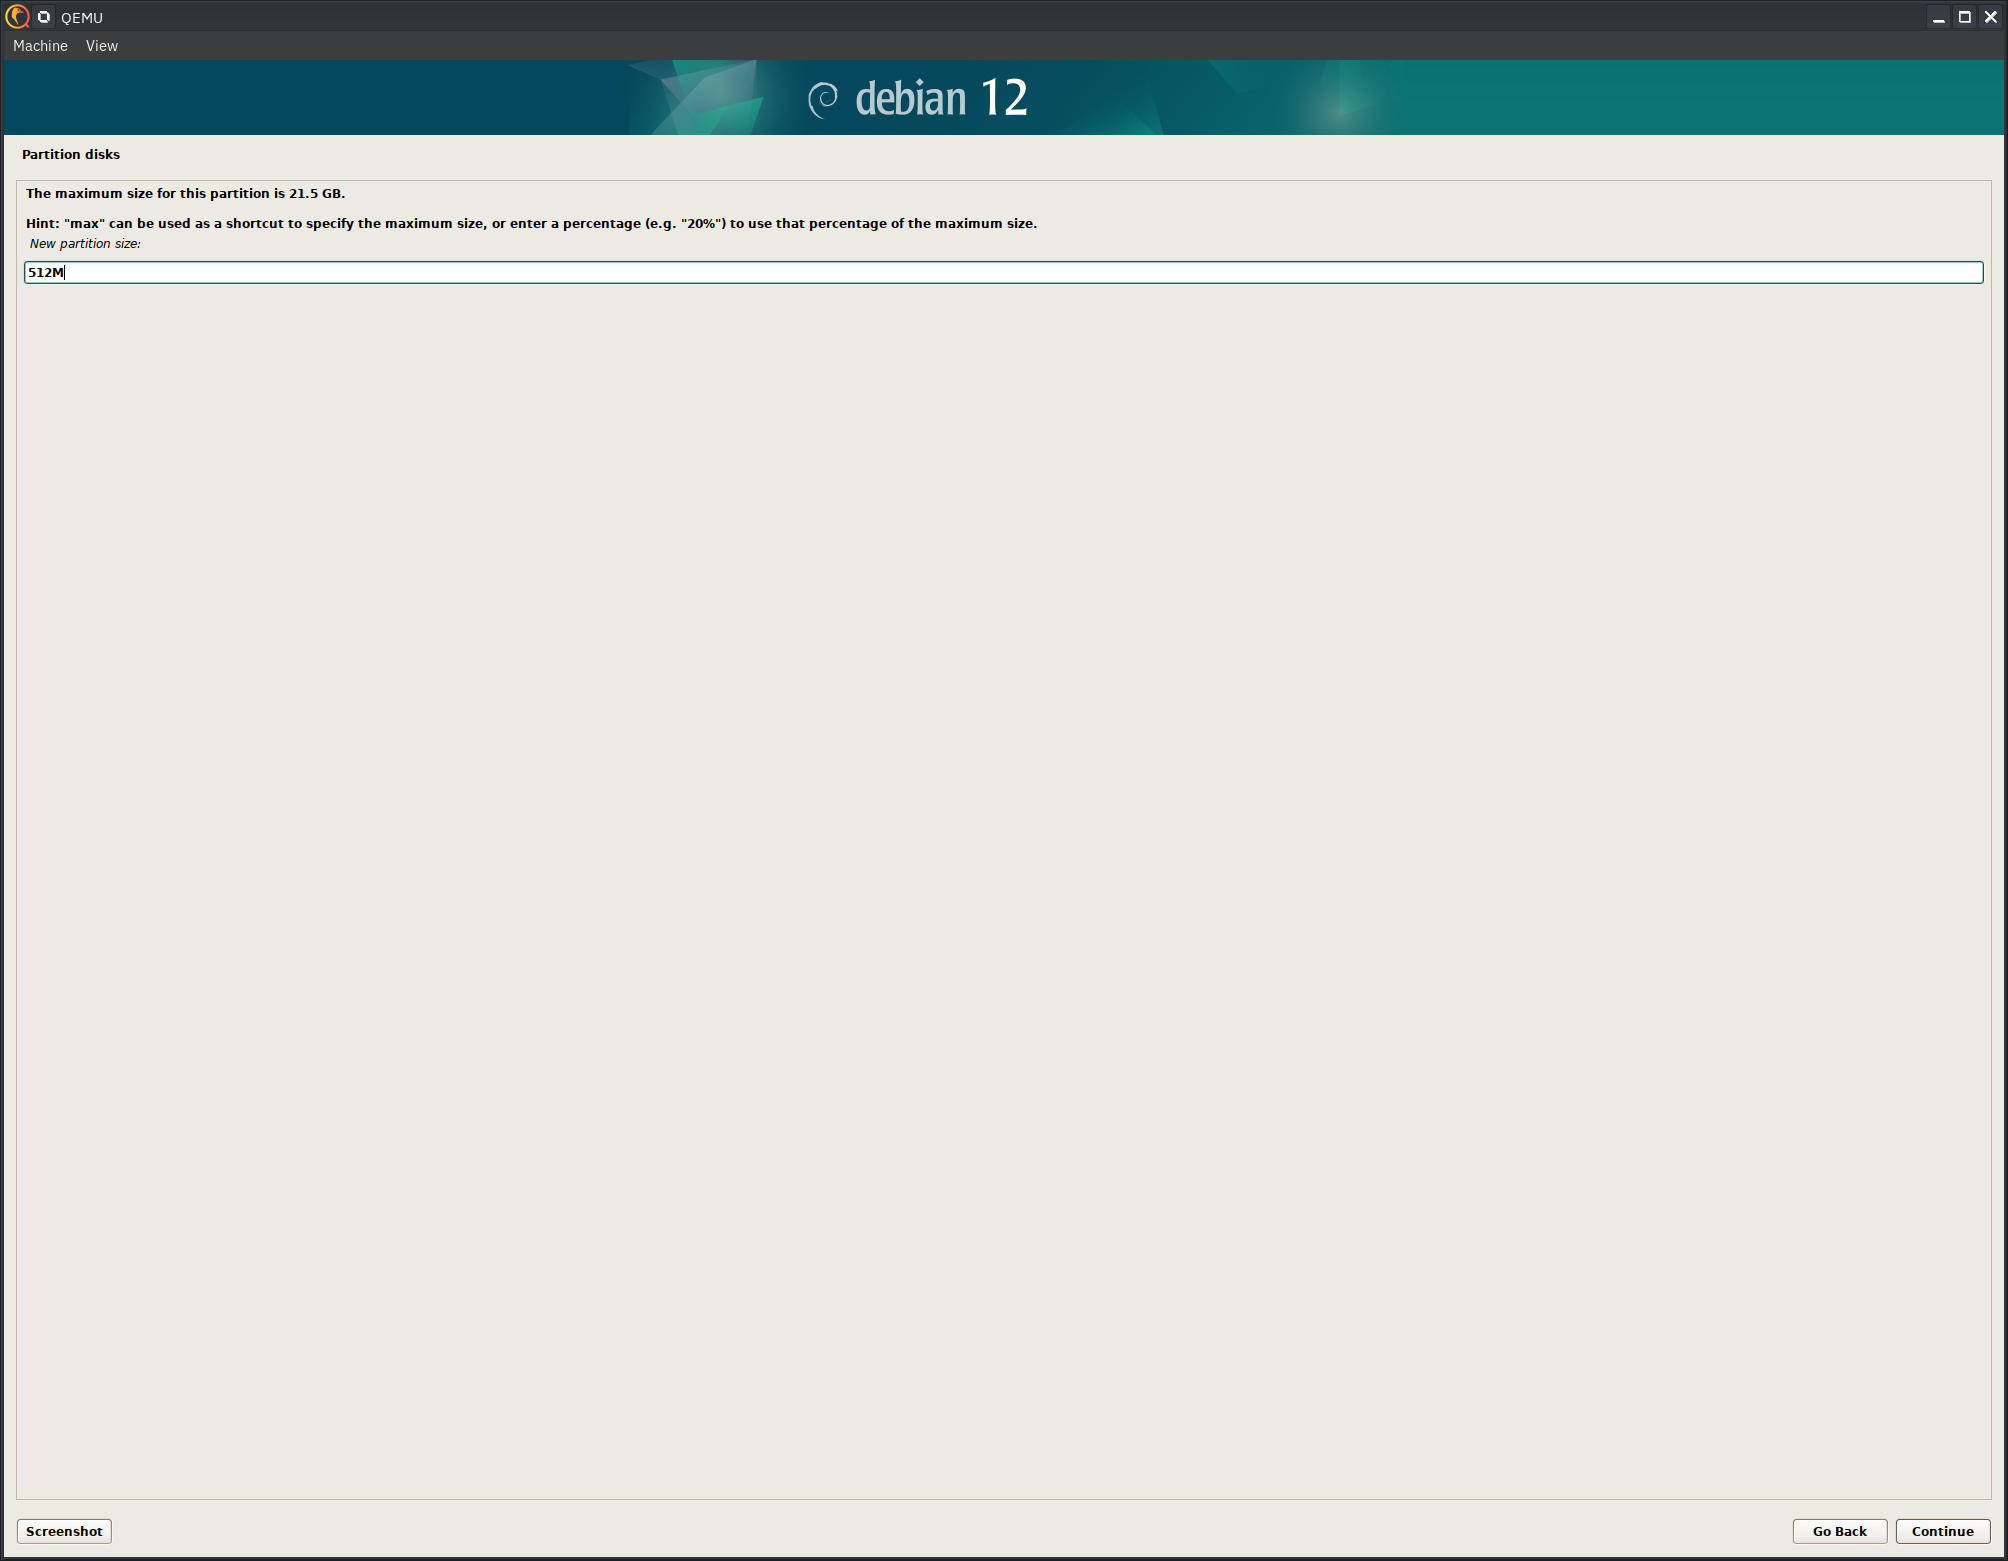
This partition must be at the beginning of the disk.
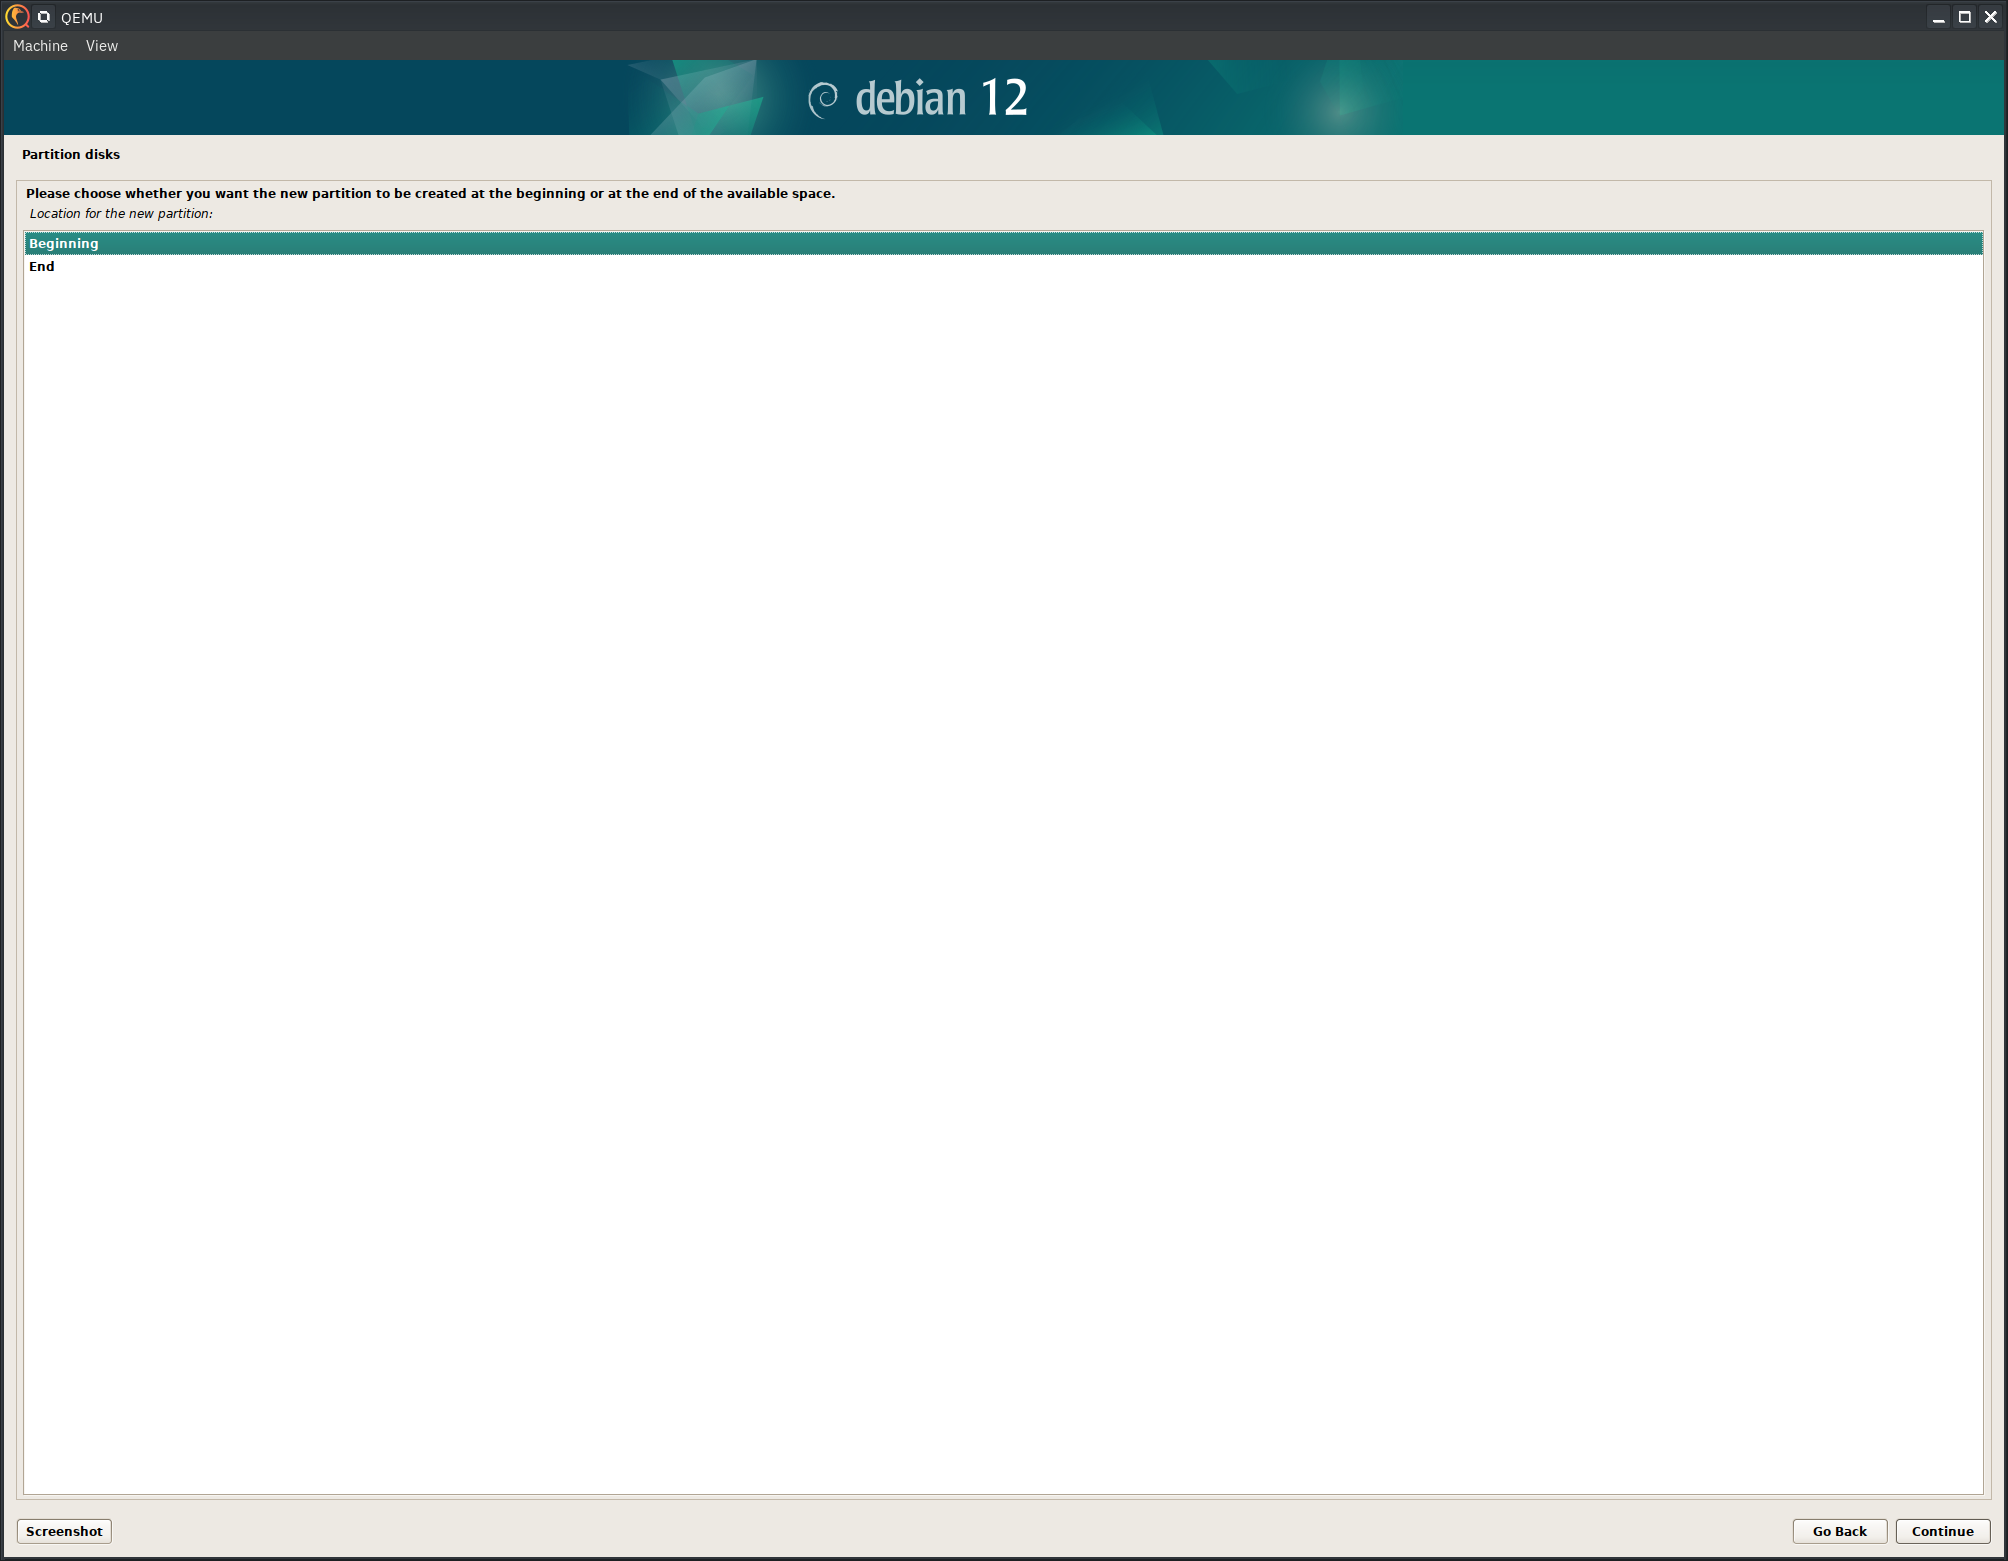
Set the type to "EFI System Partition."
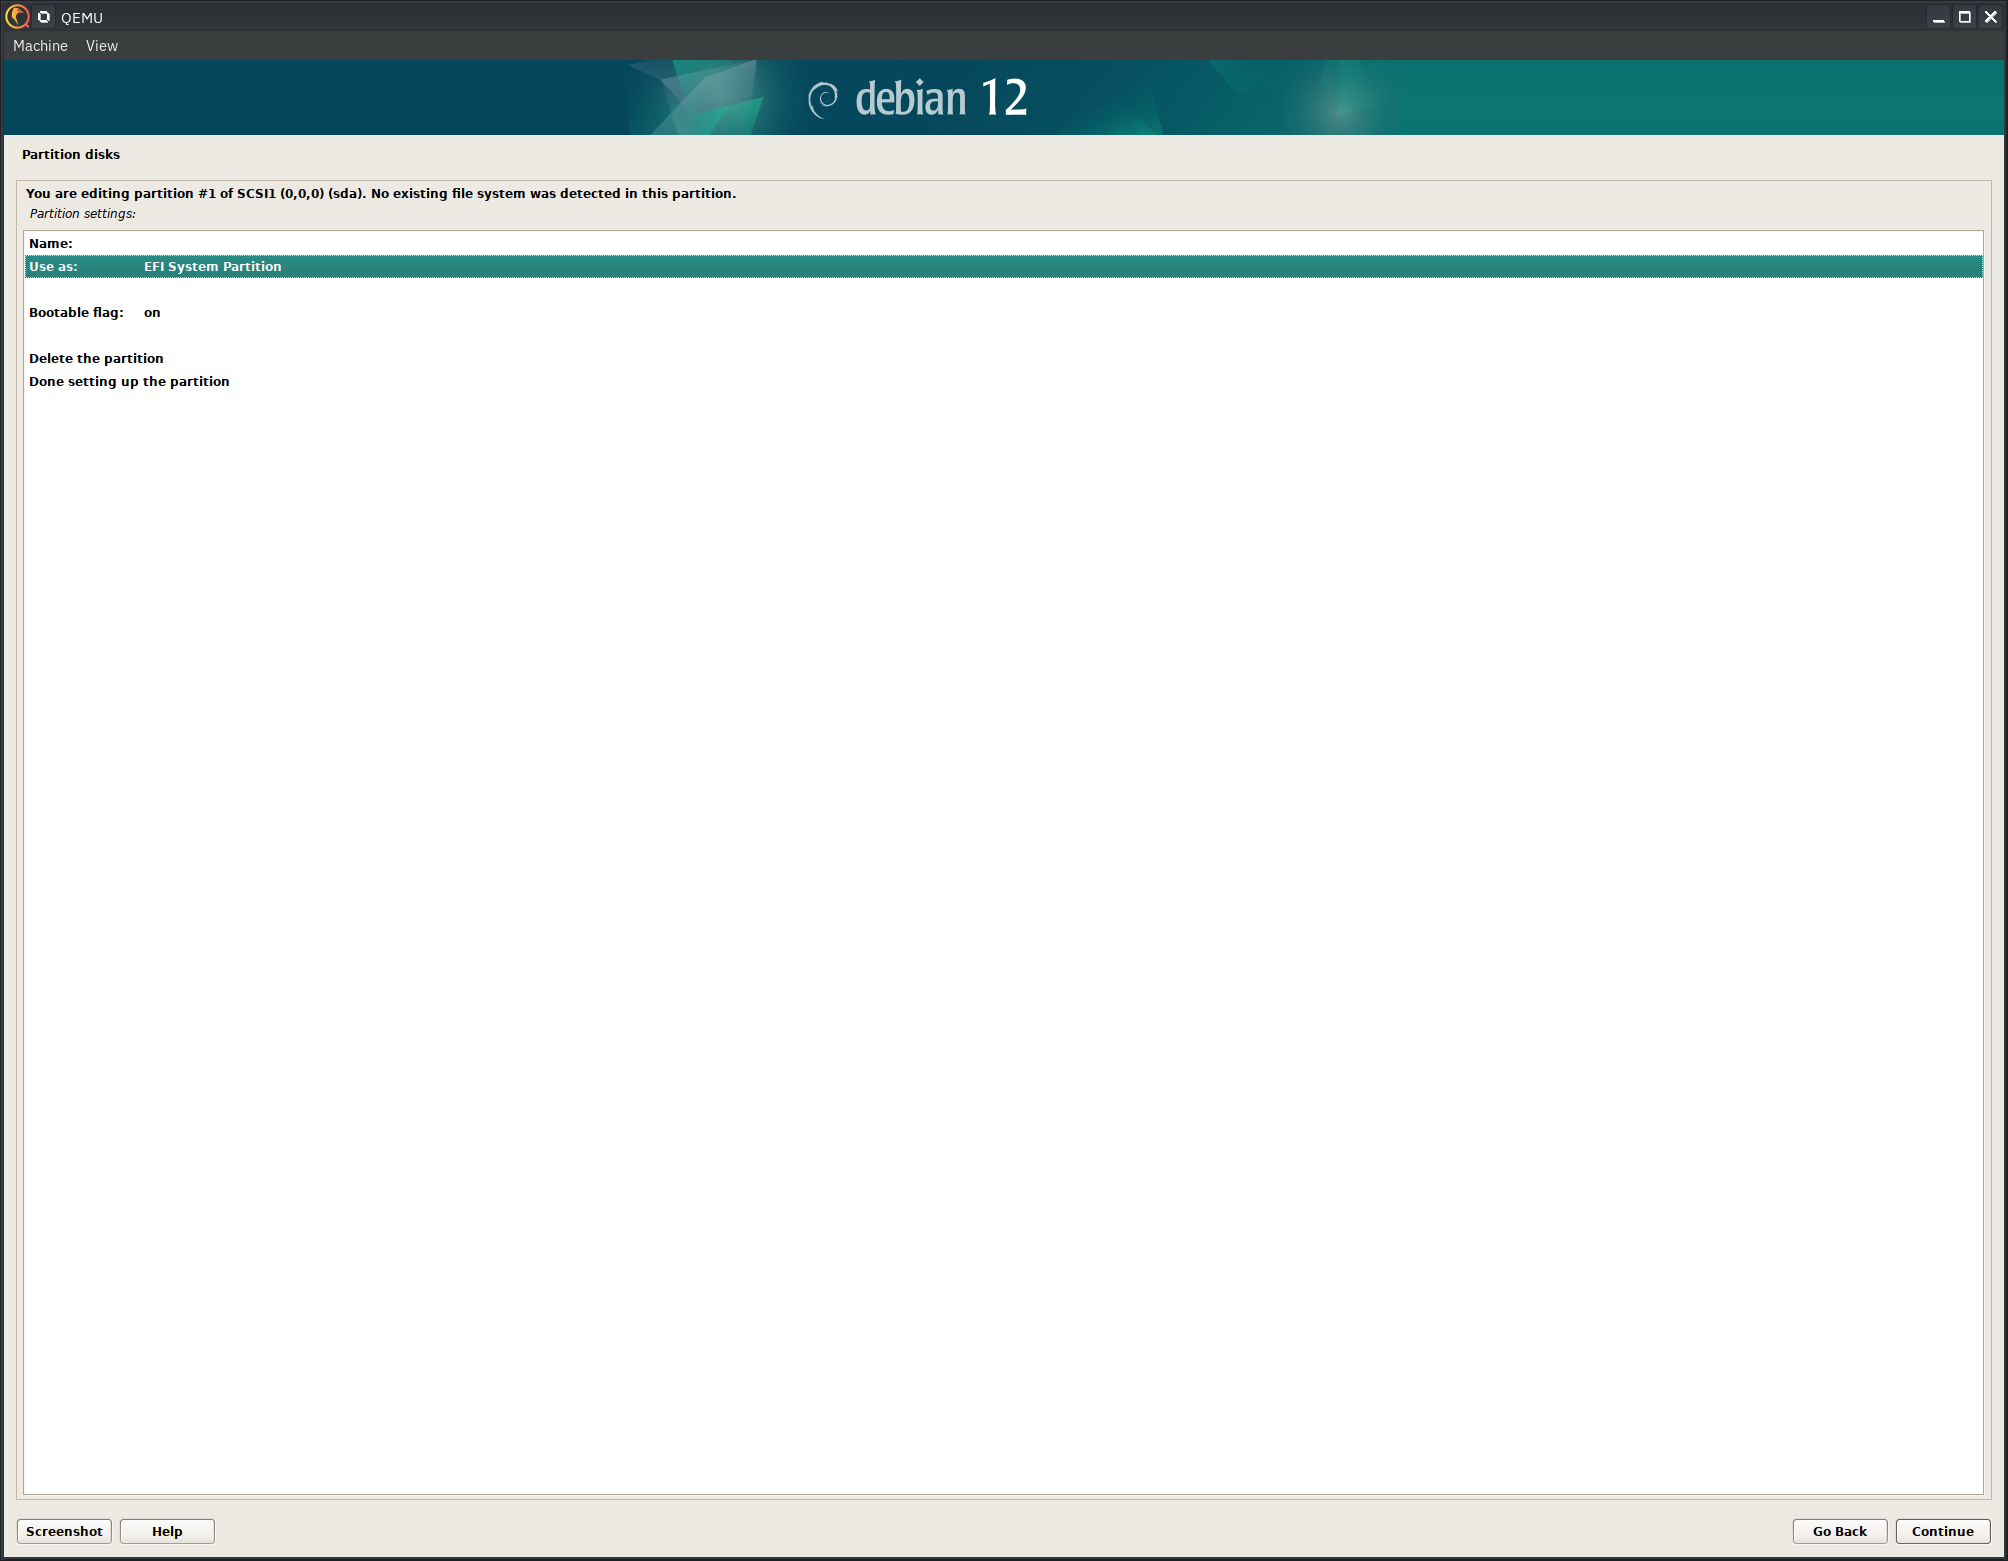
Once again click on the free space.
Create another new partition.
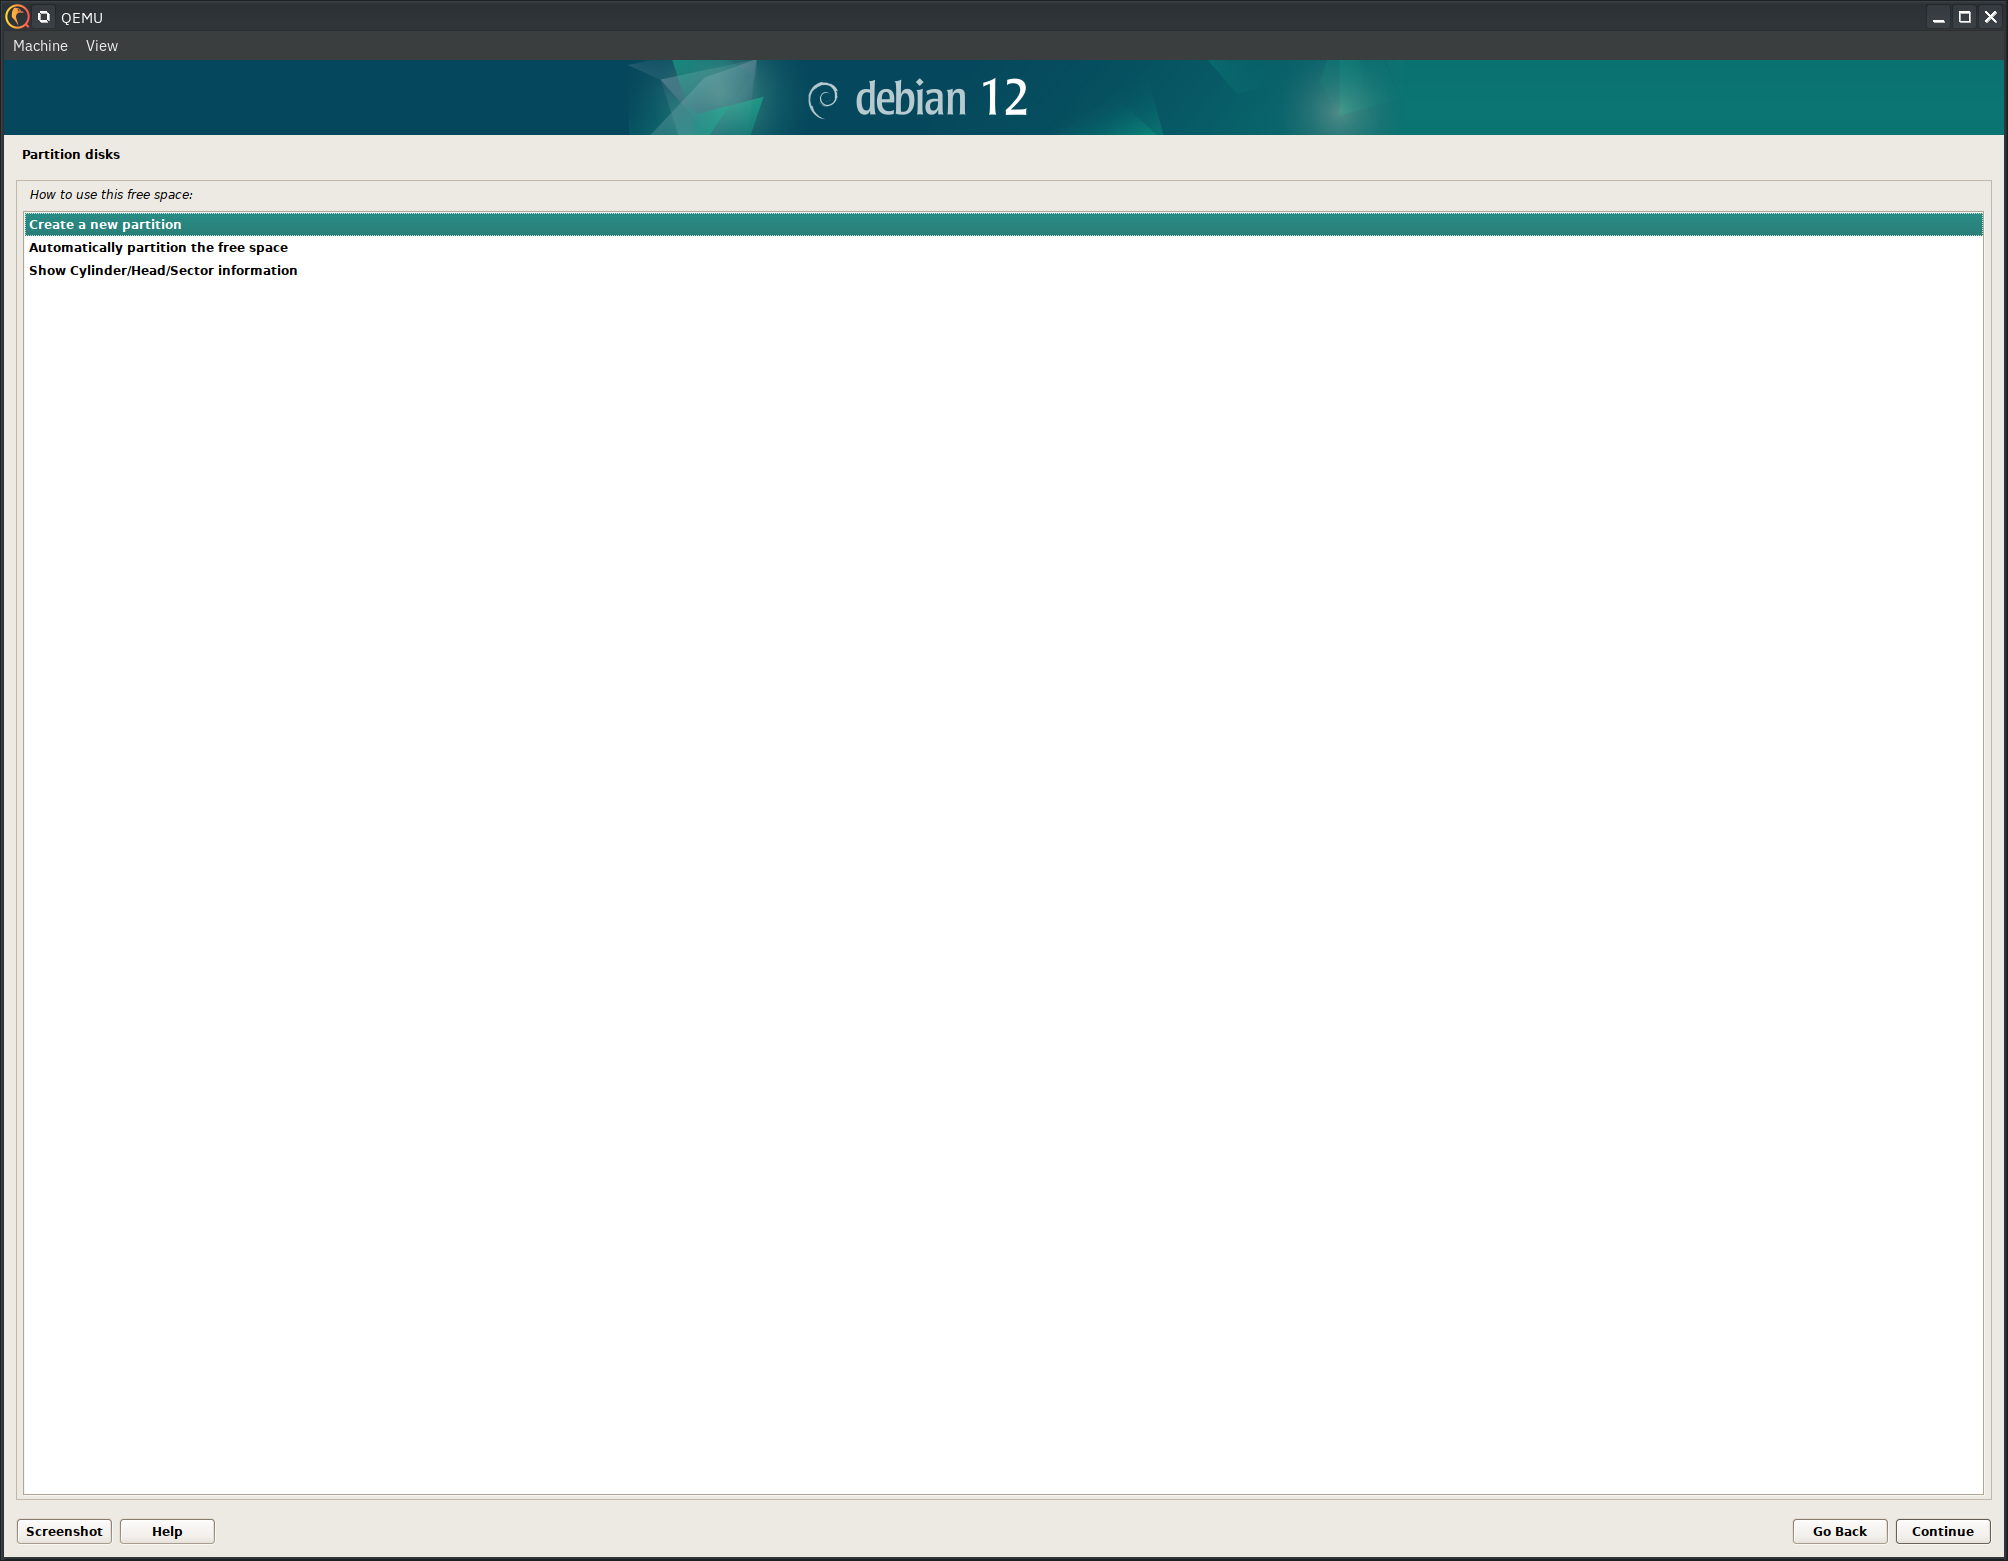
Use up the rest of the disk.
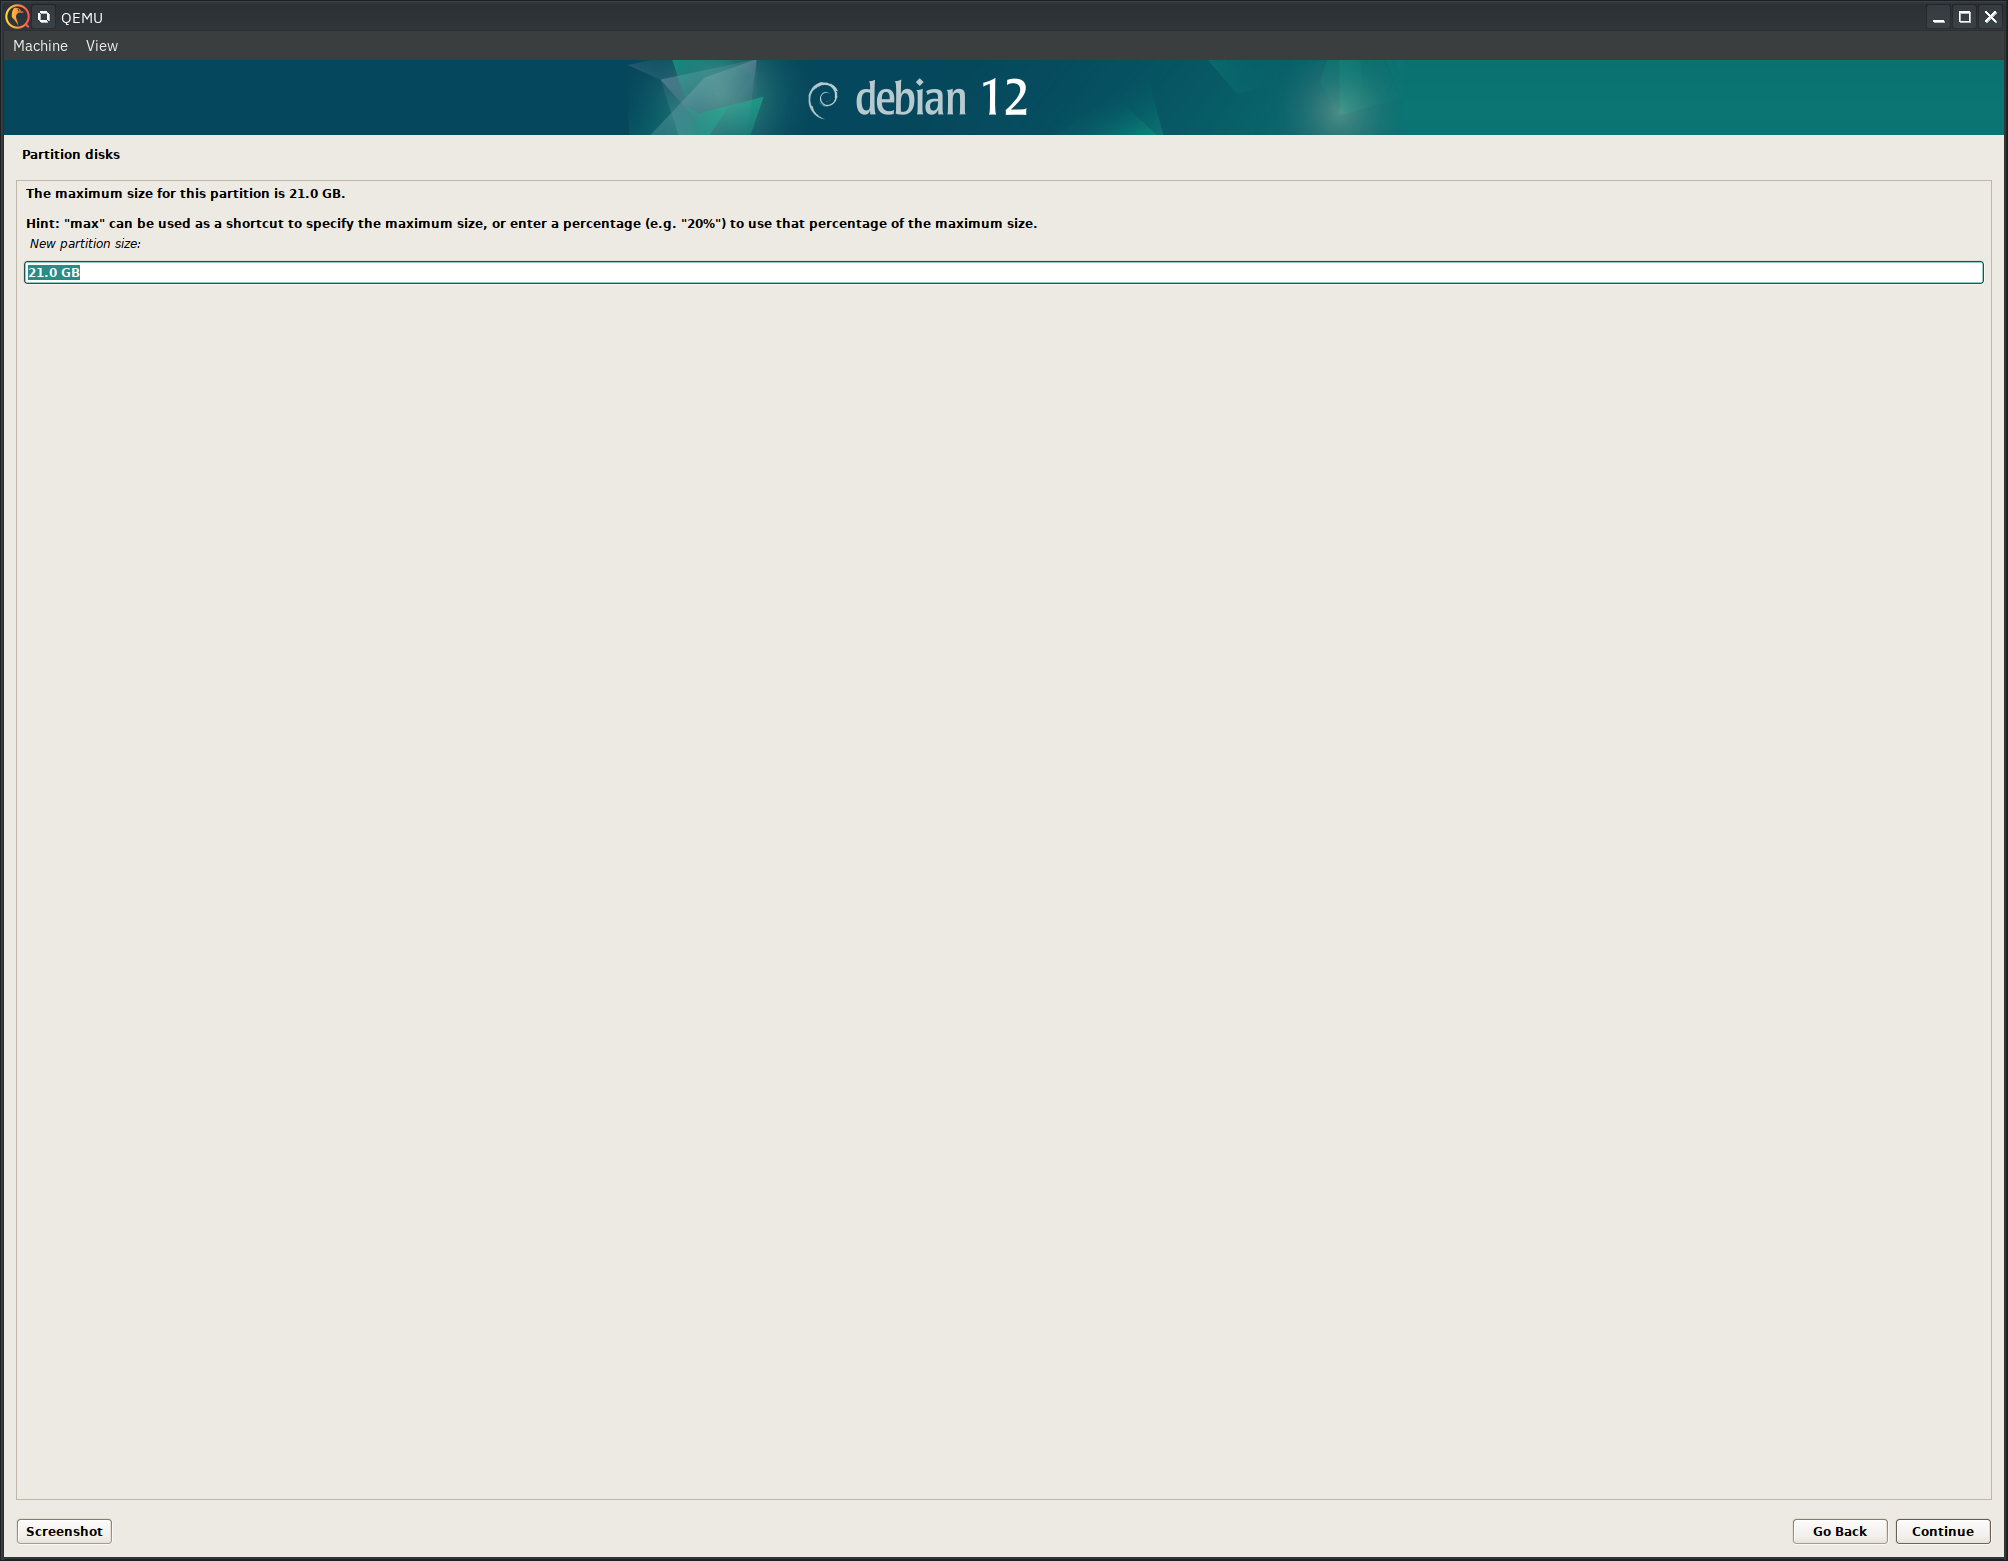
Set the type of this one to BTRFS.
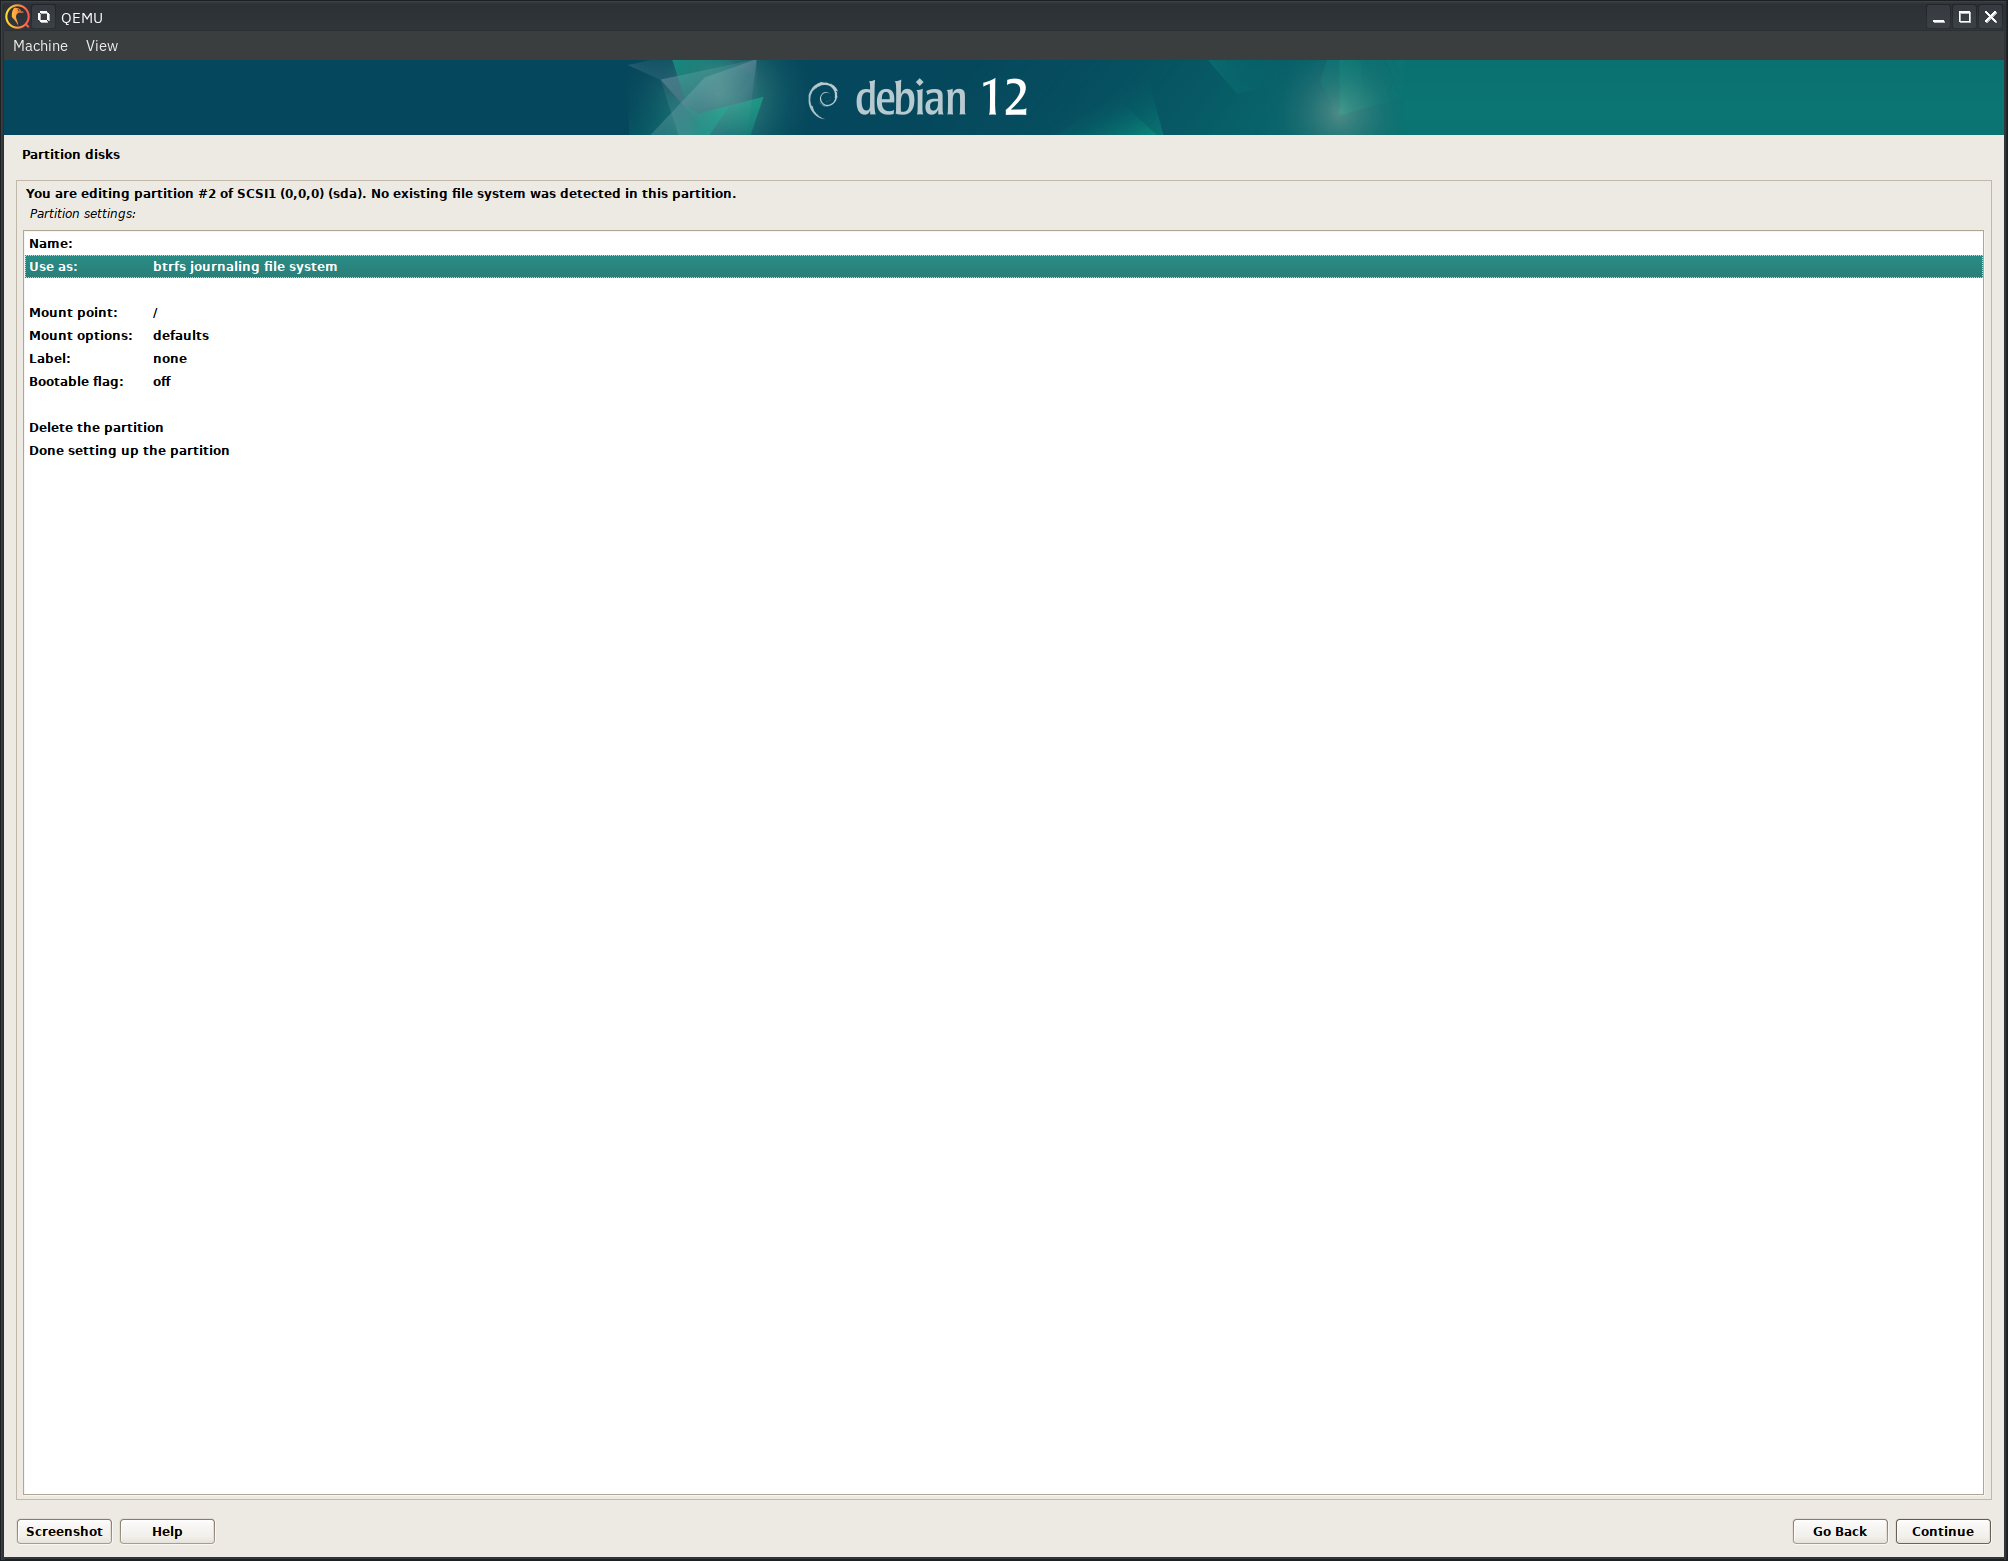
You should now have two total partitions.
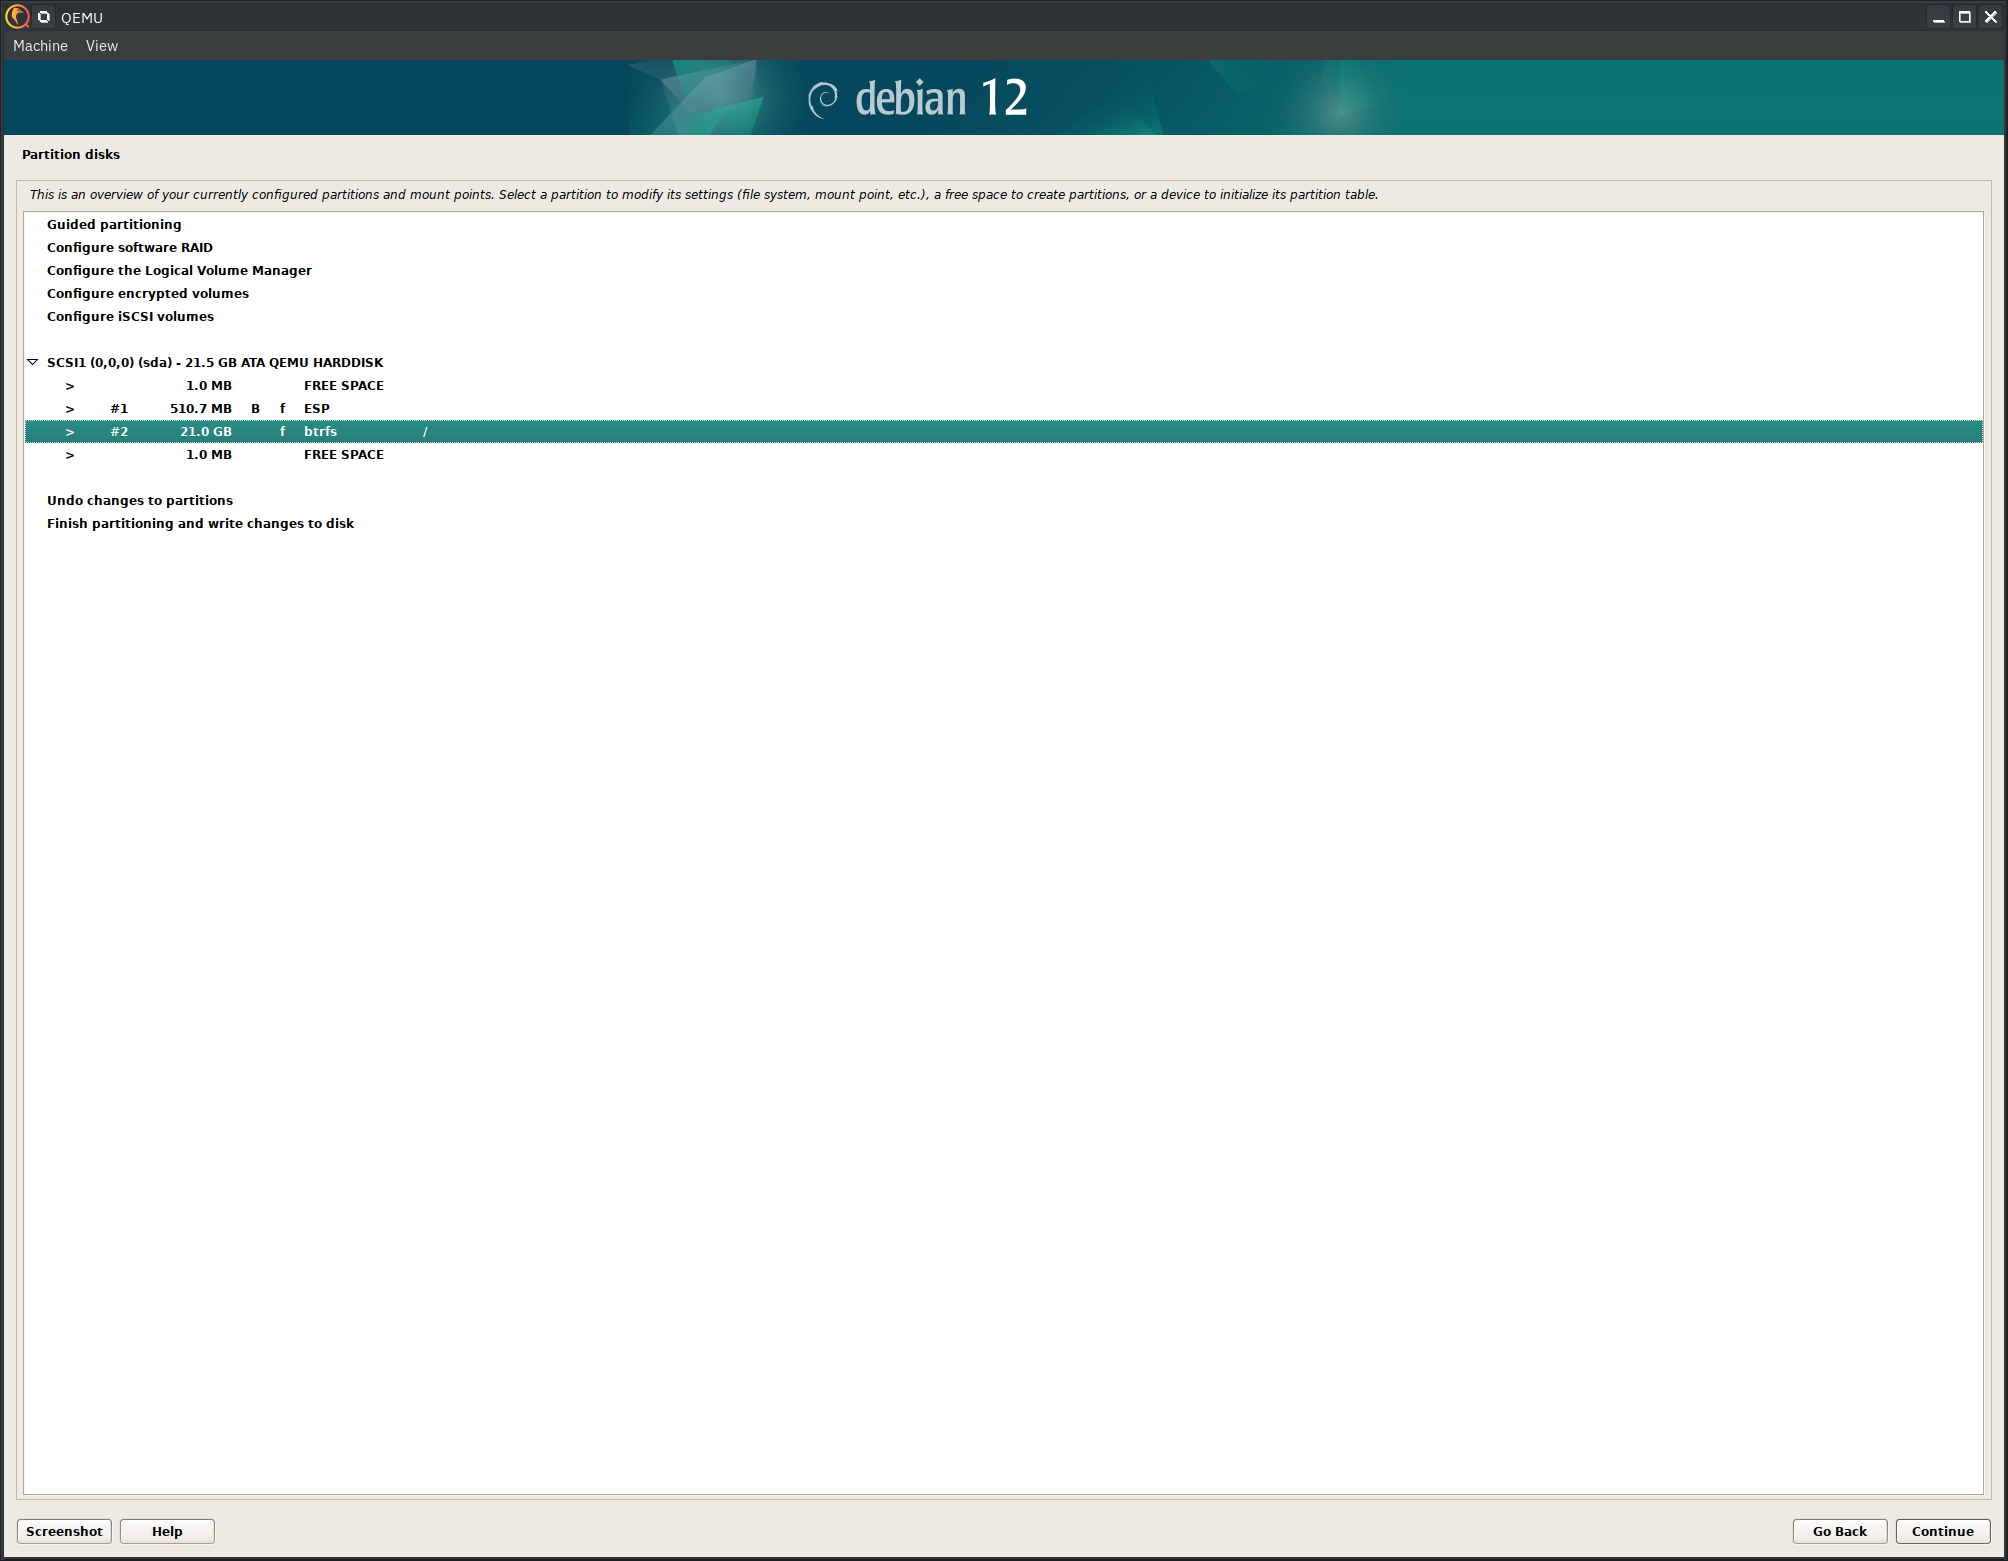
We are fine with having no swap space as that can be handled later.
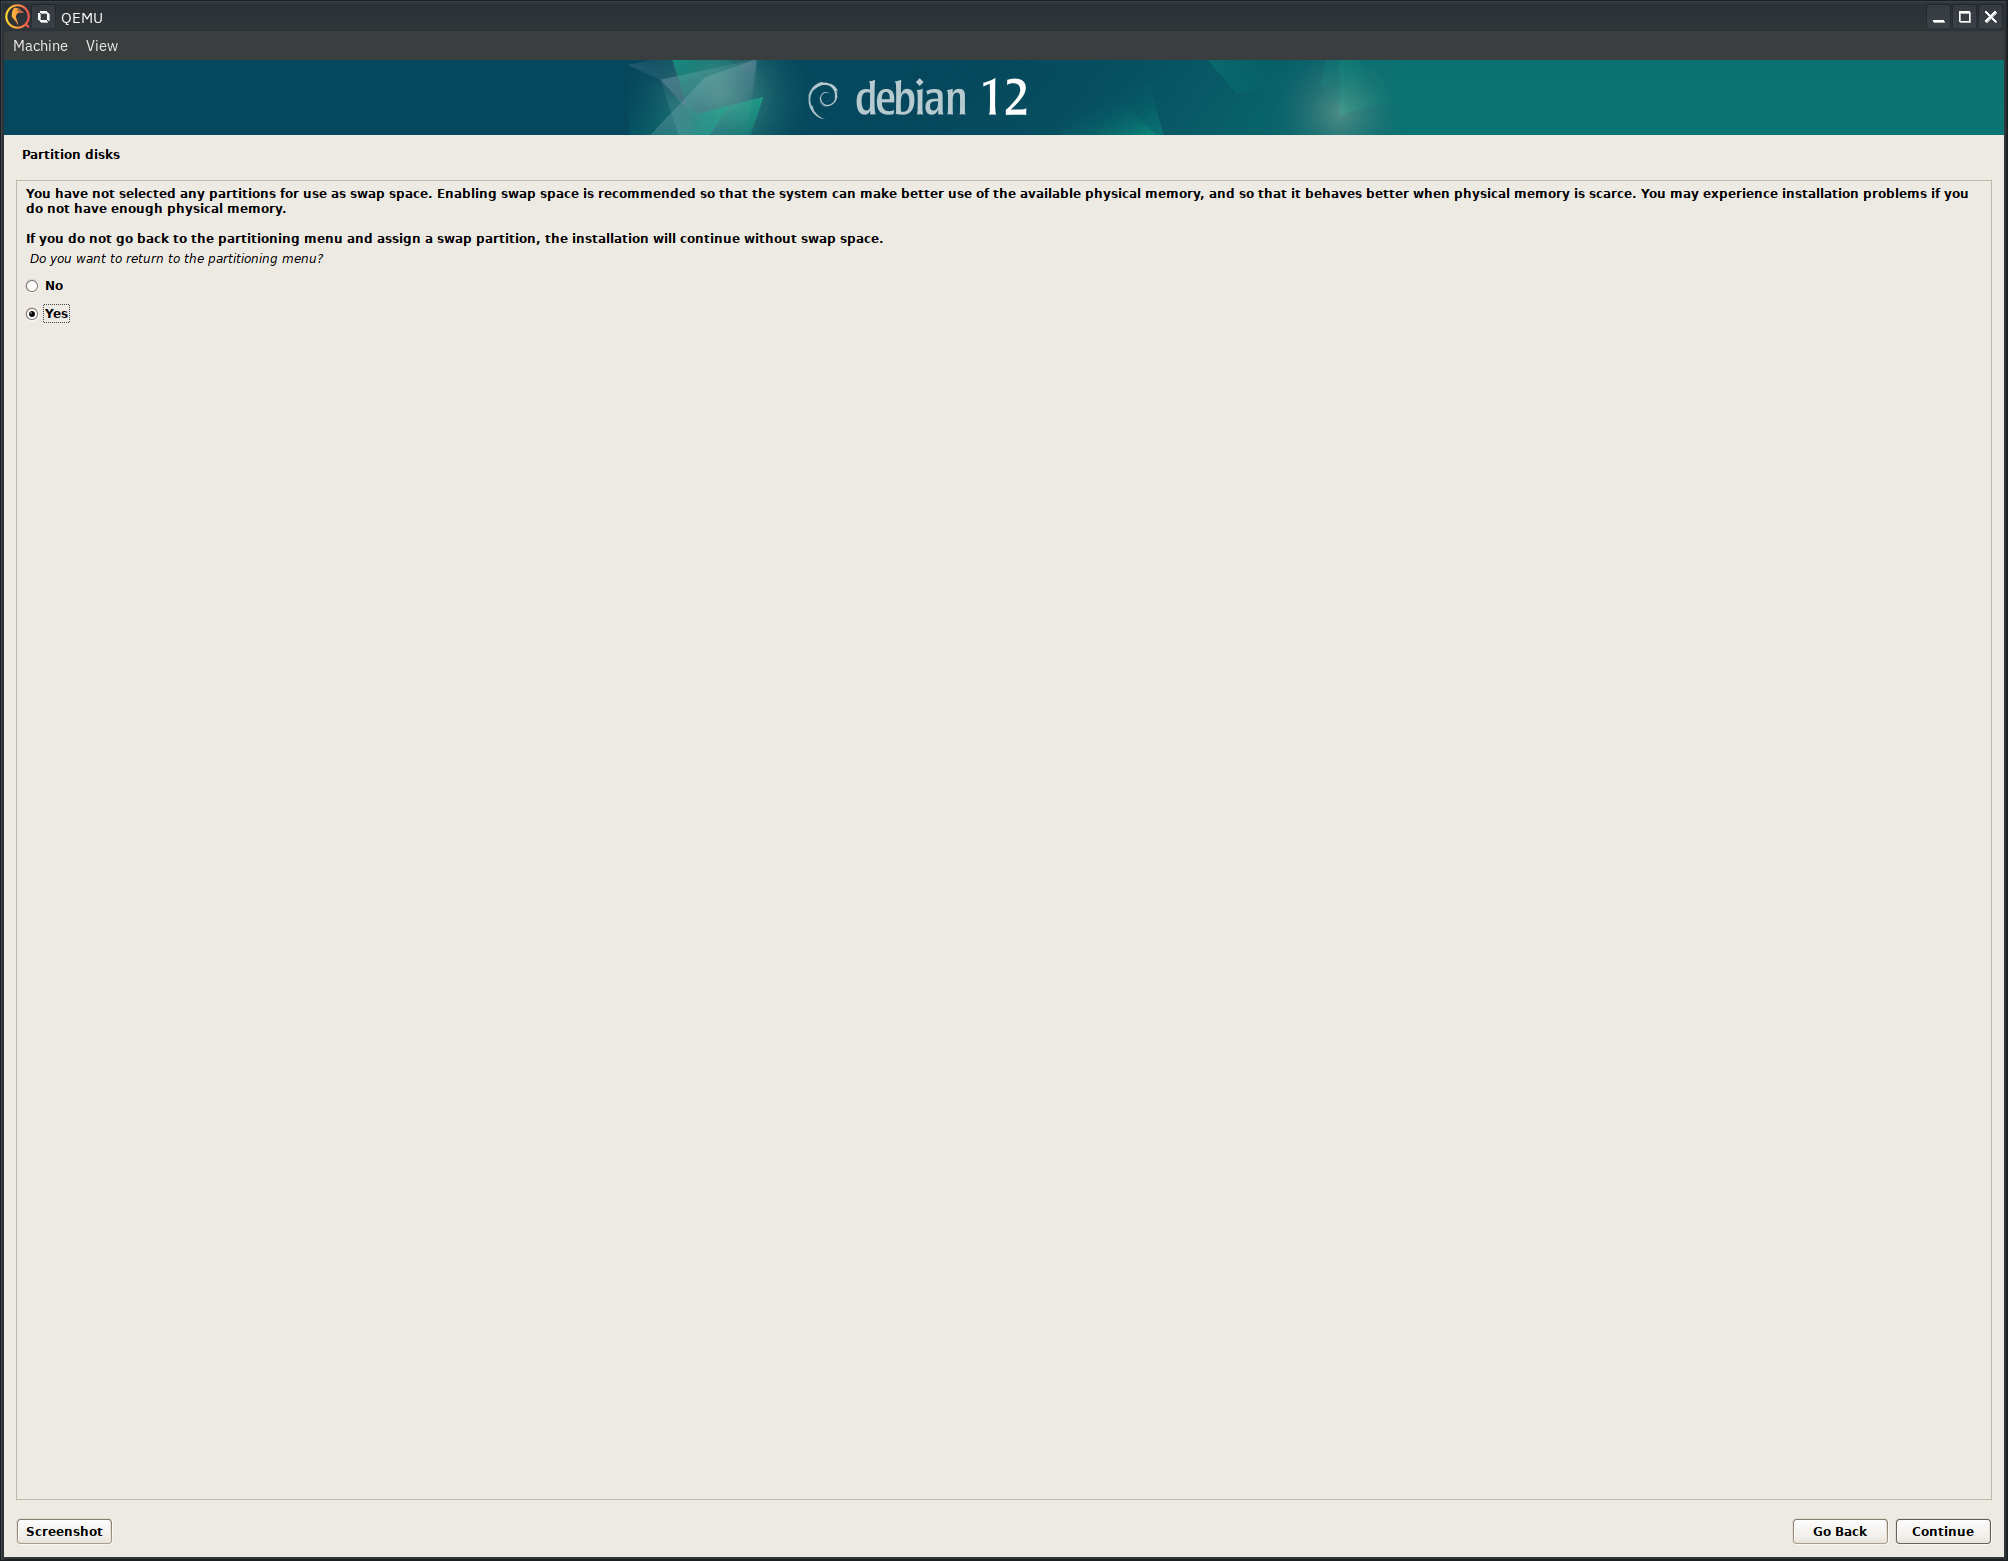
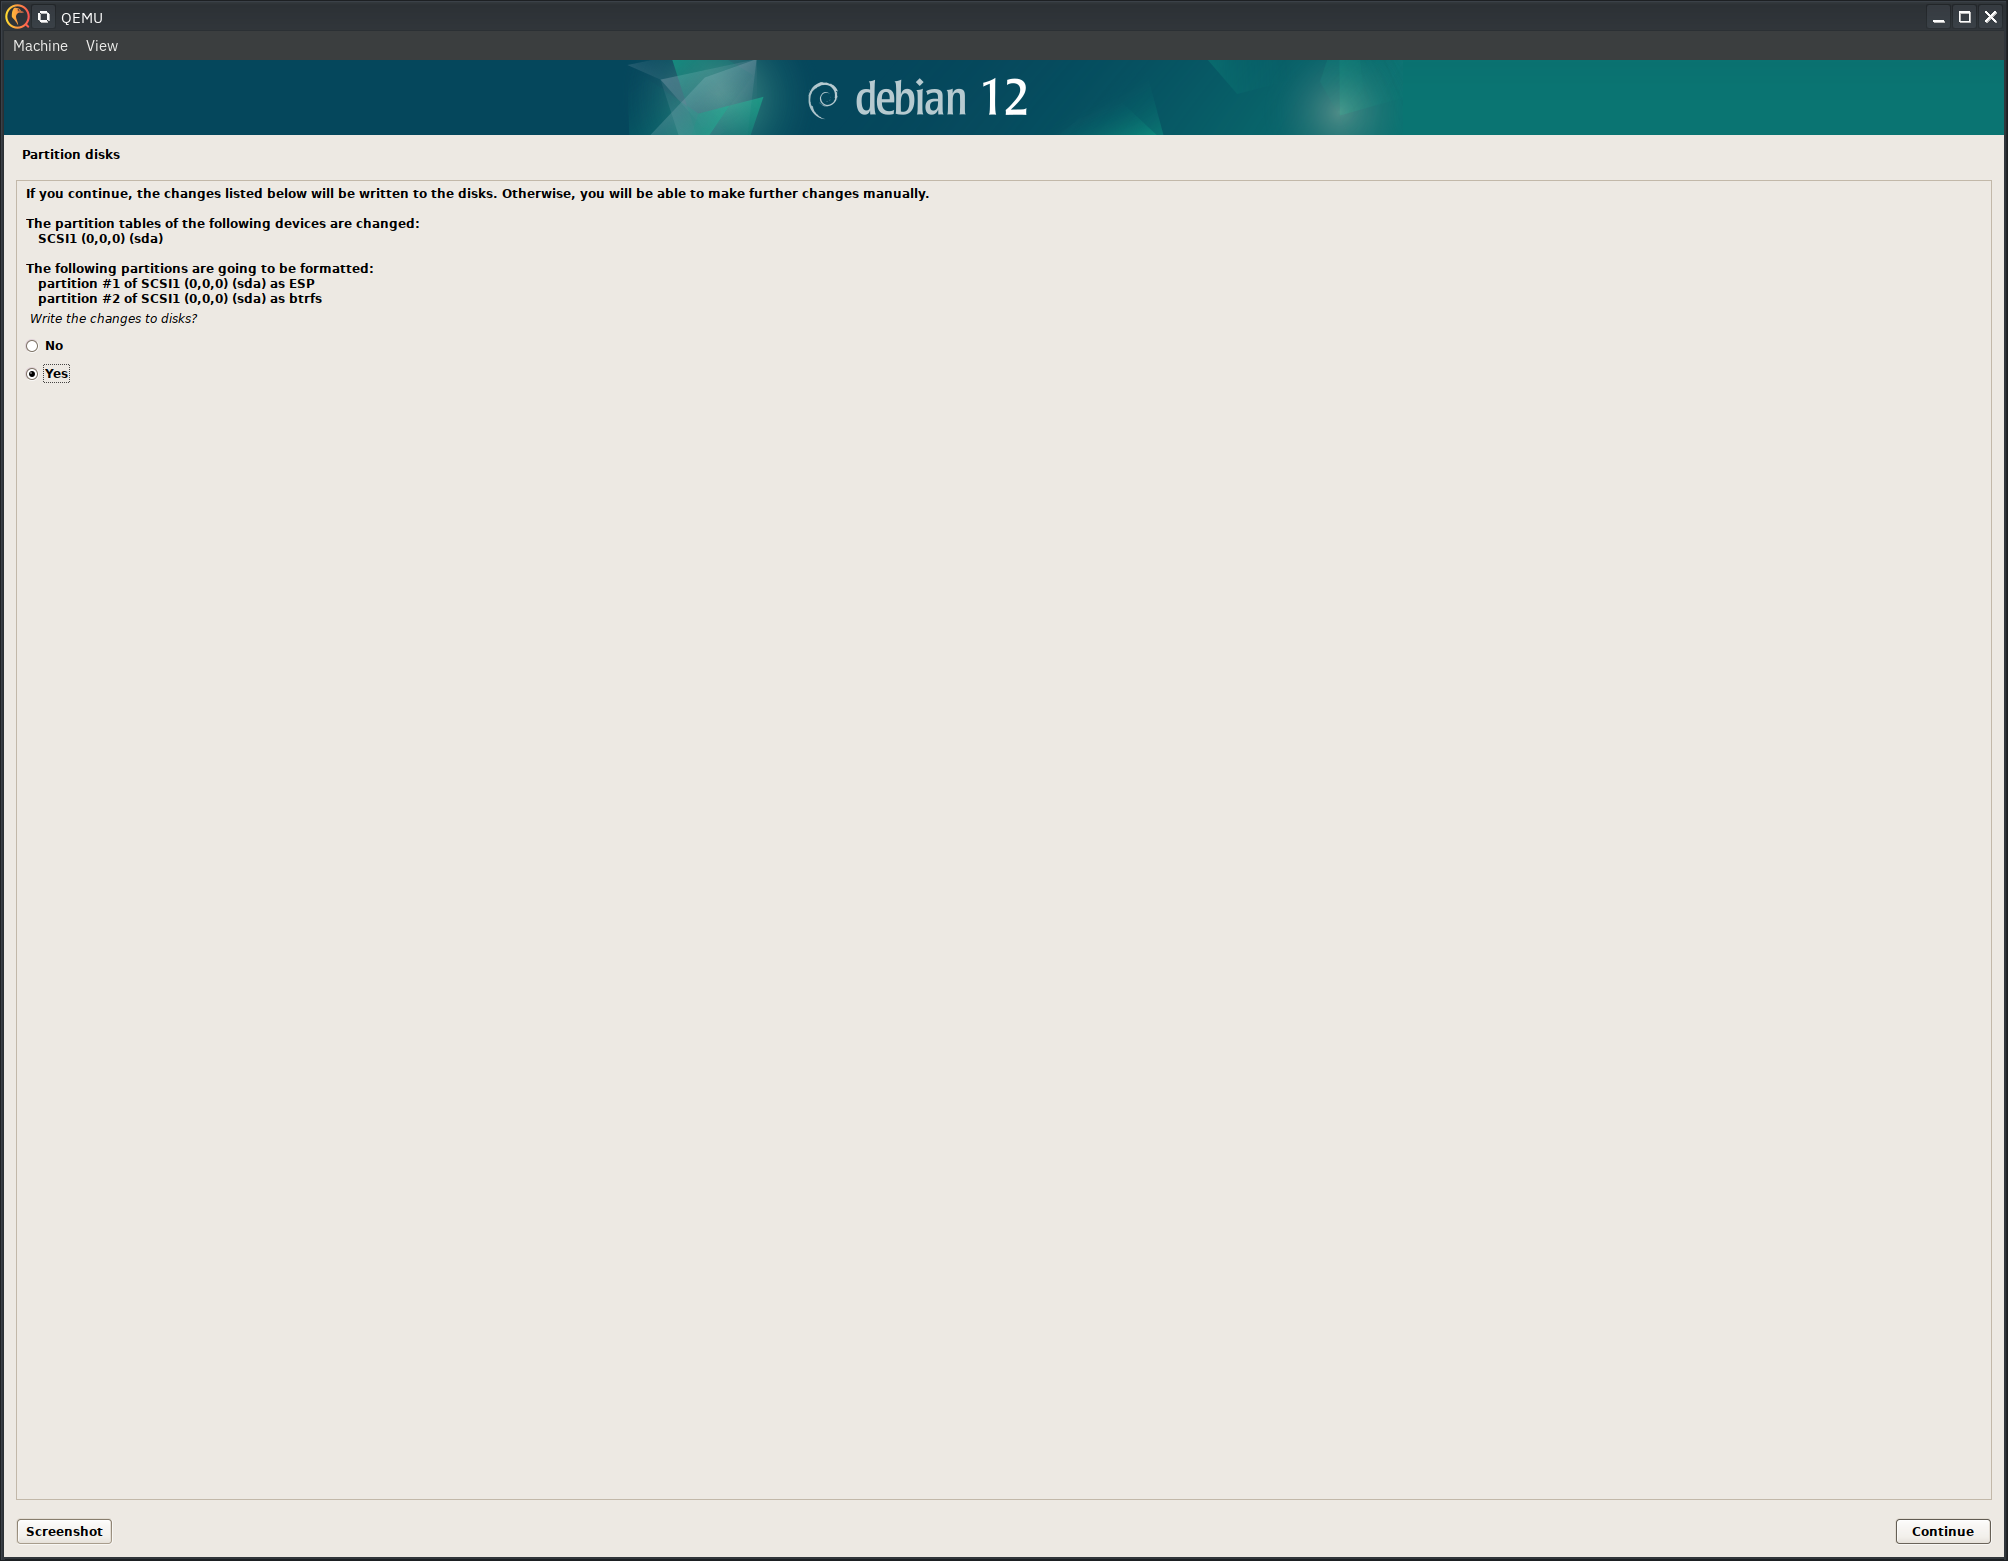
Go ahead and commit the changes to disk if you have no data to lose on the disk in question.
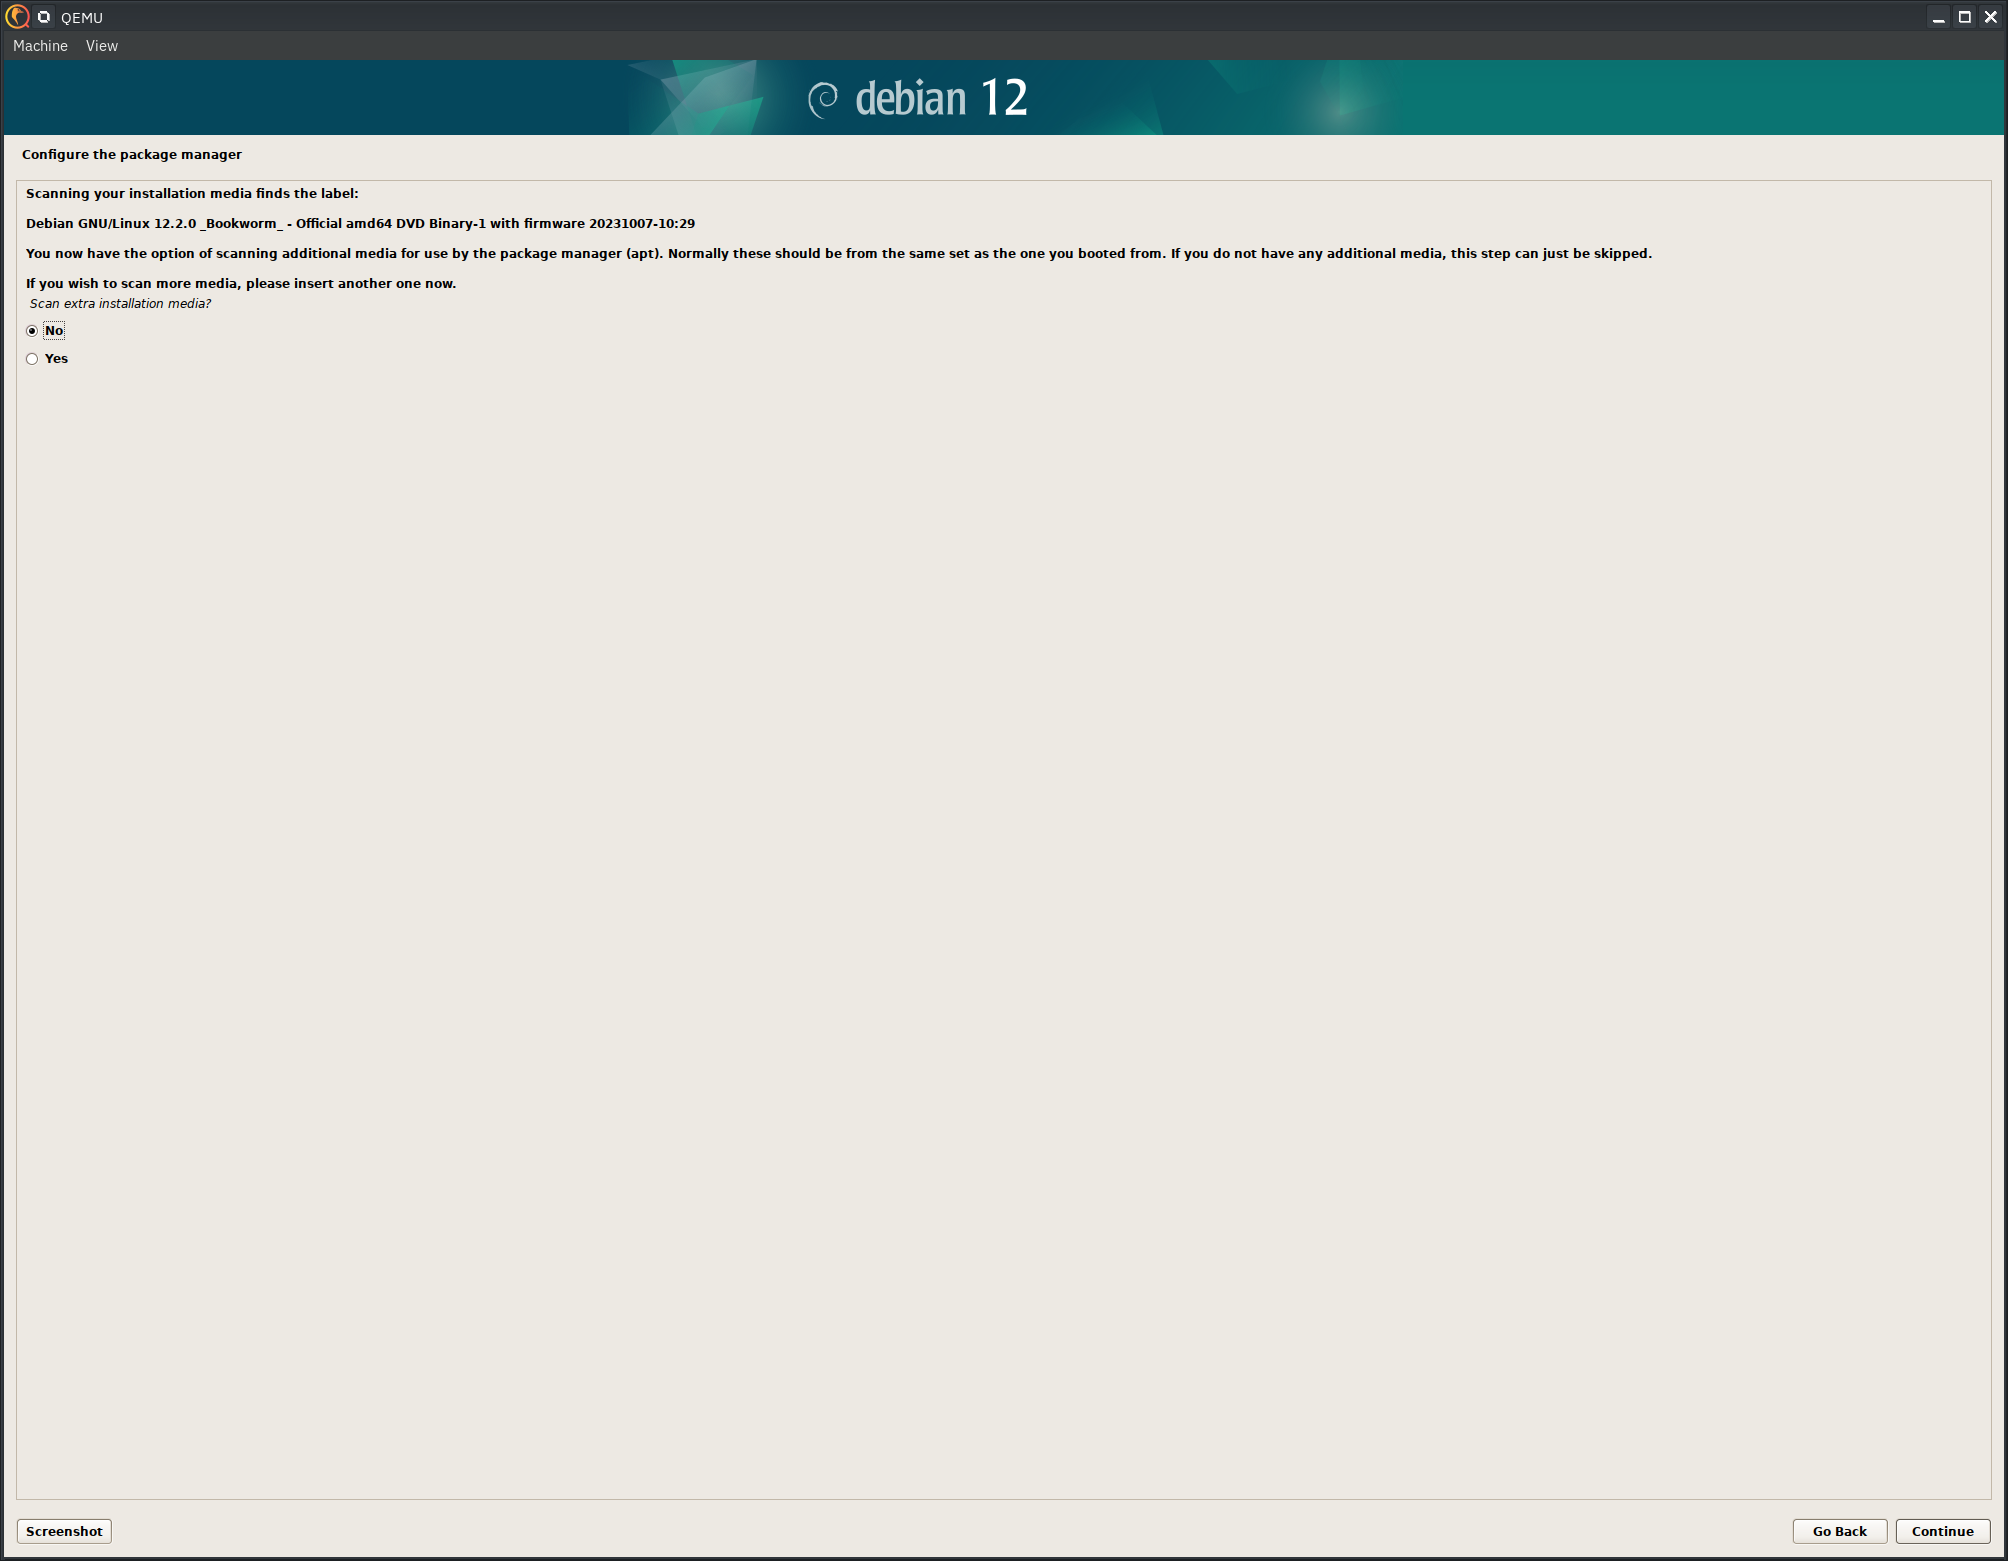
We need no extra media.
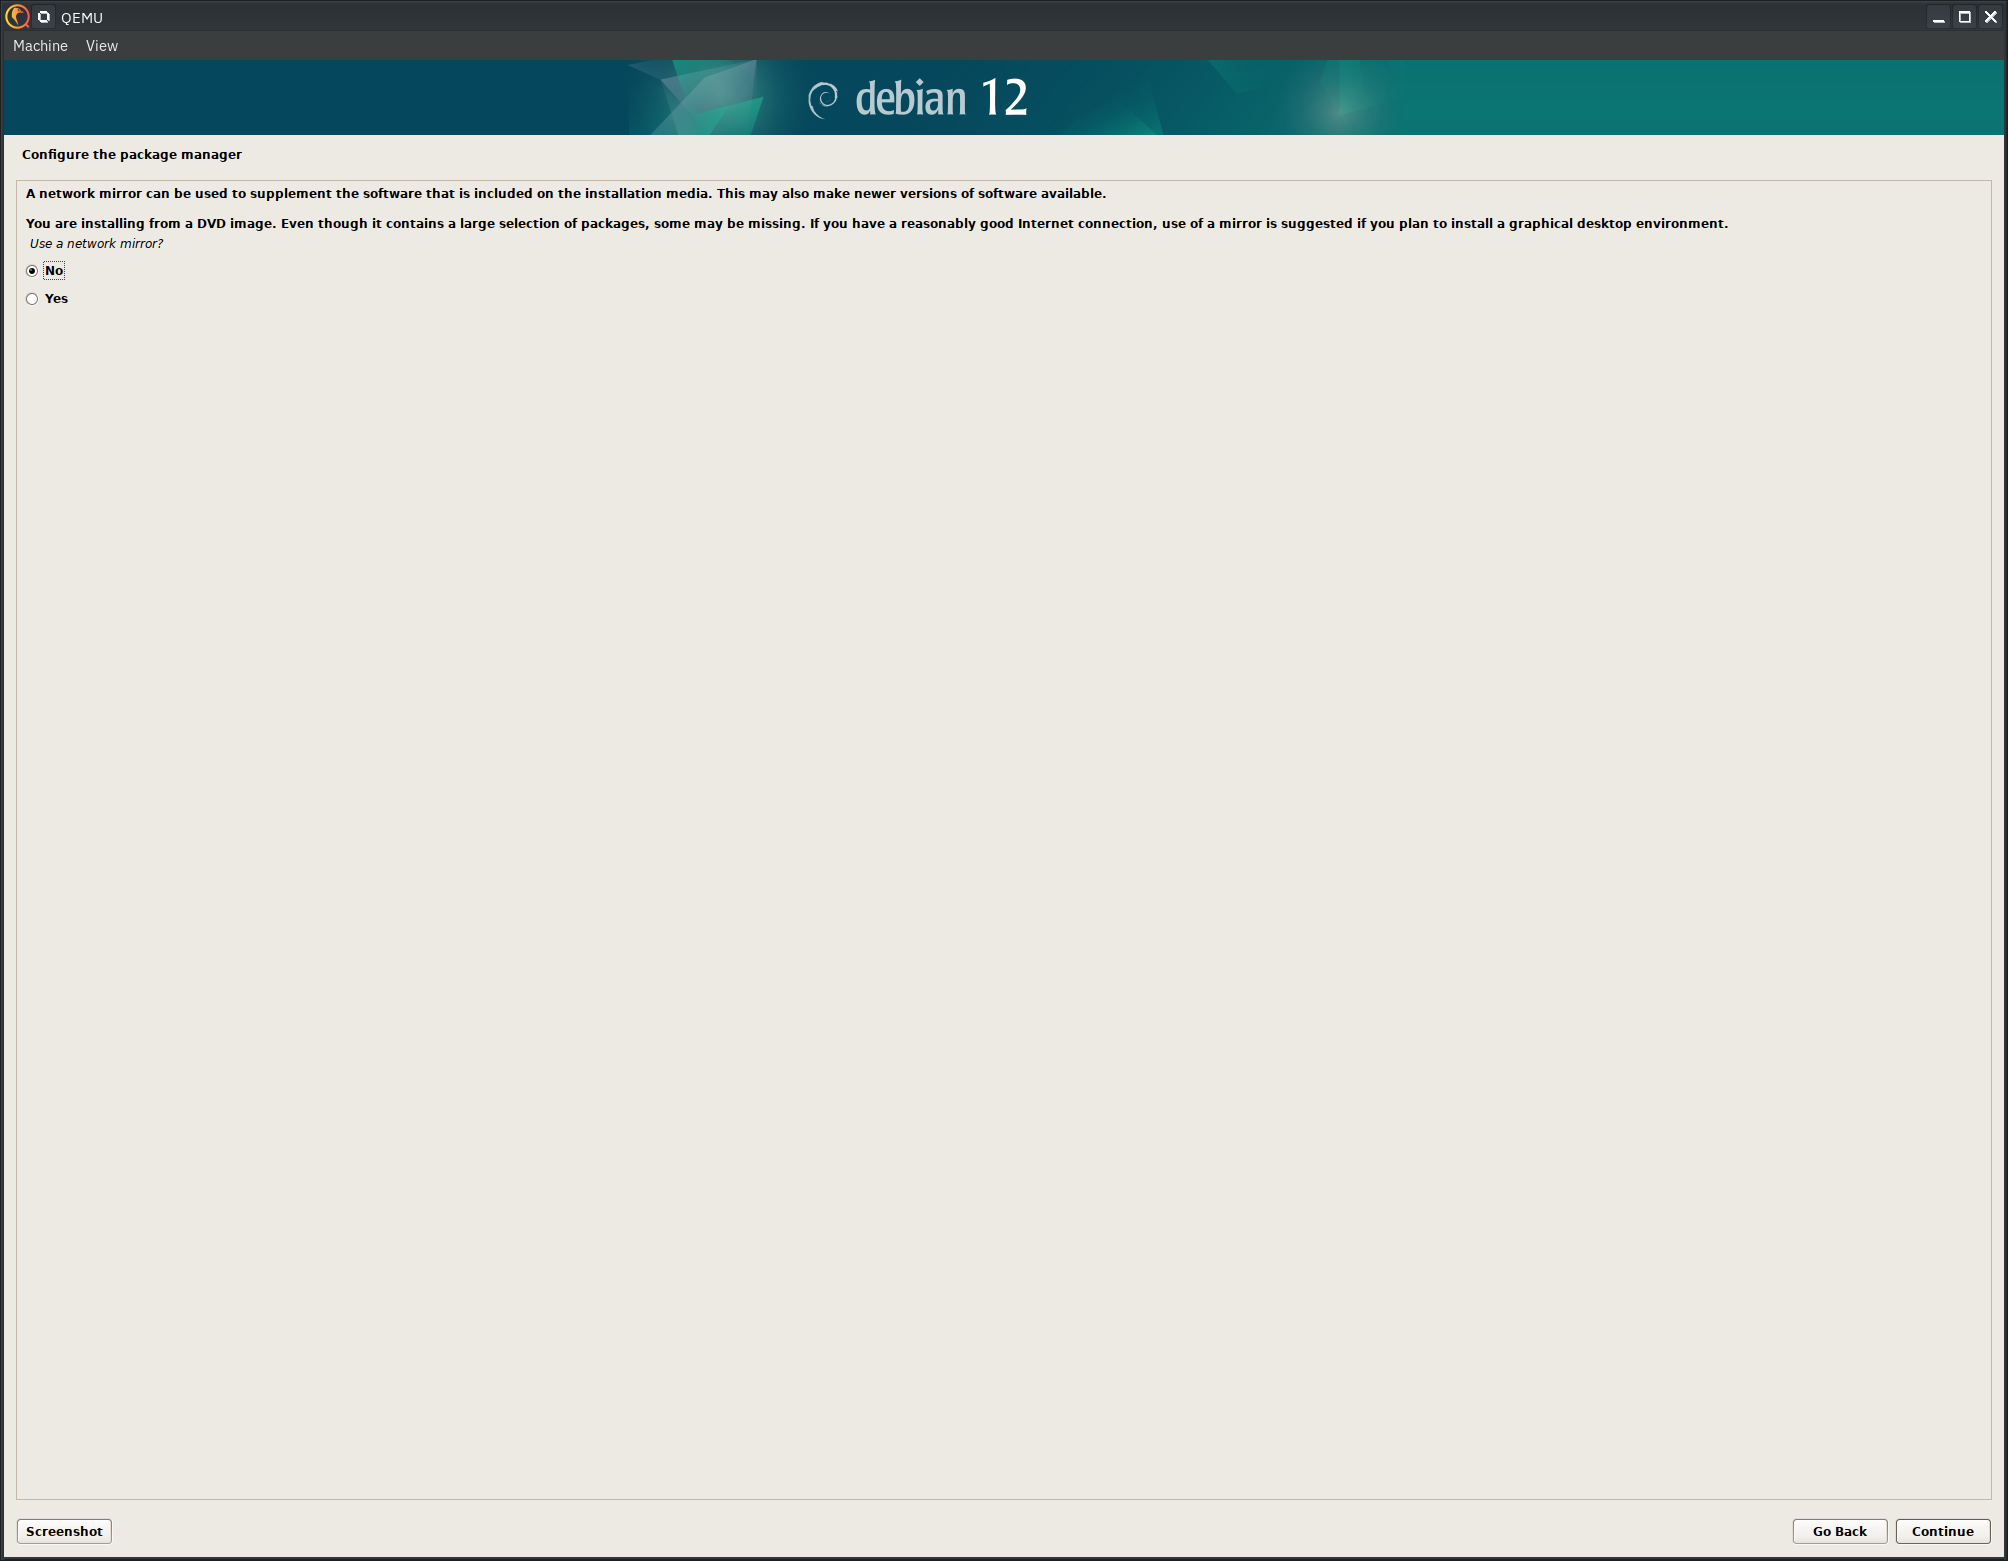
We do not need a network mirror at this point.
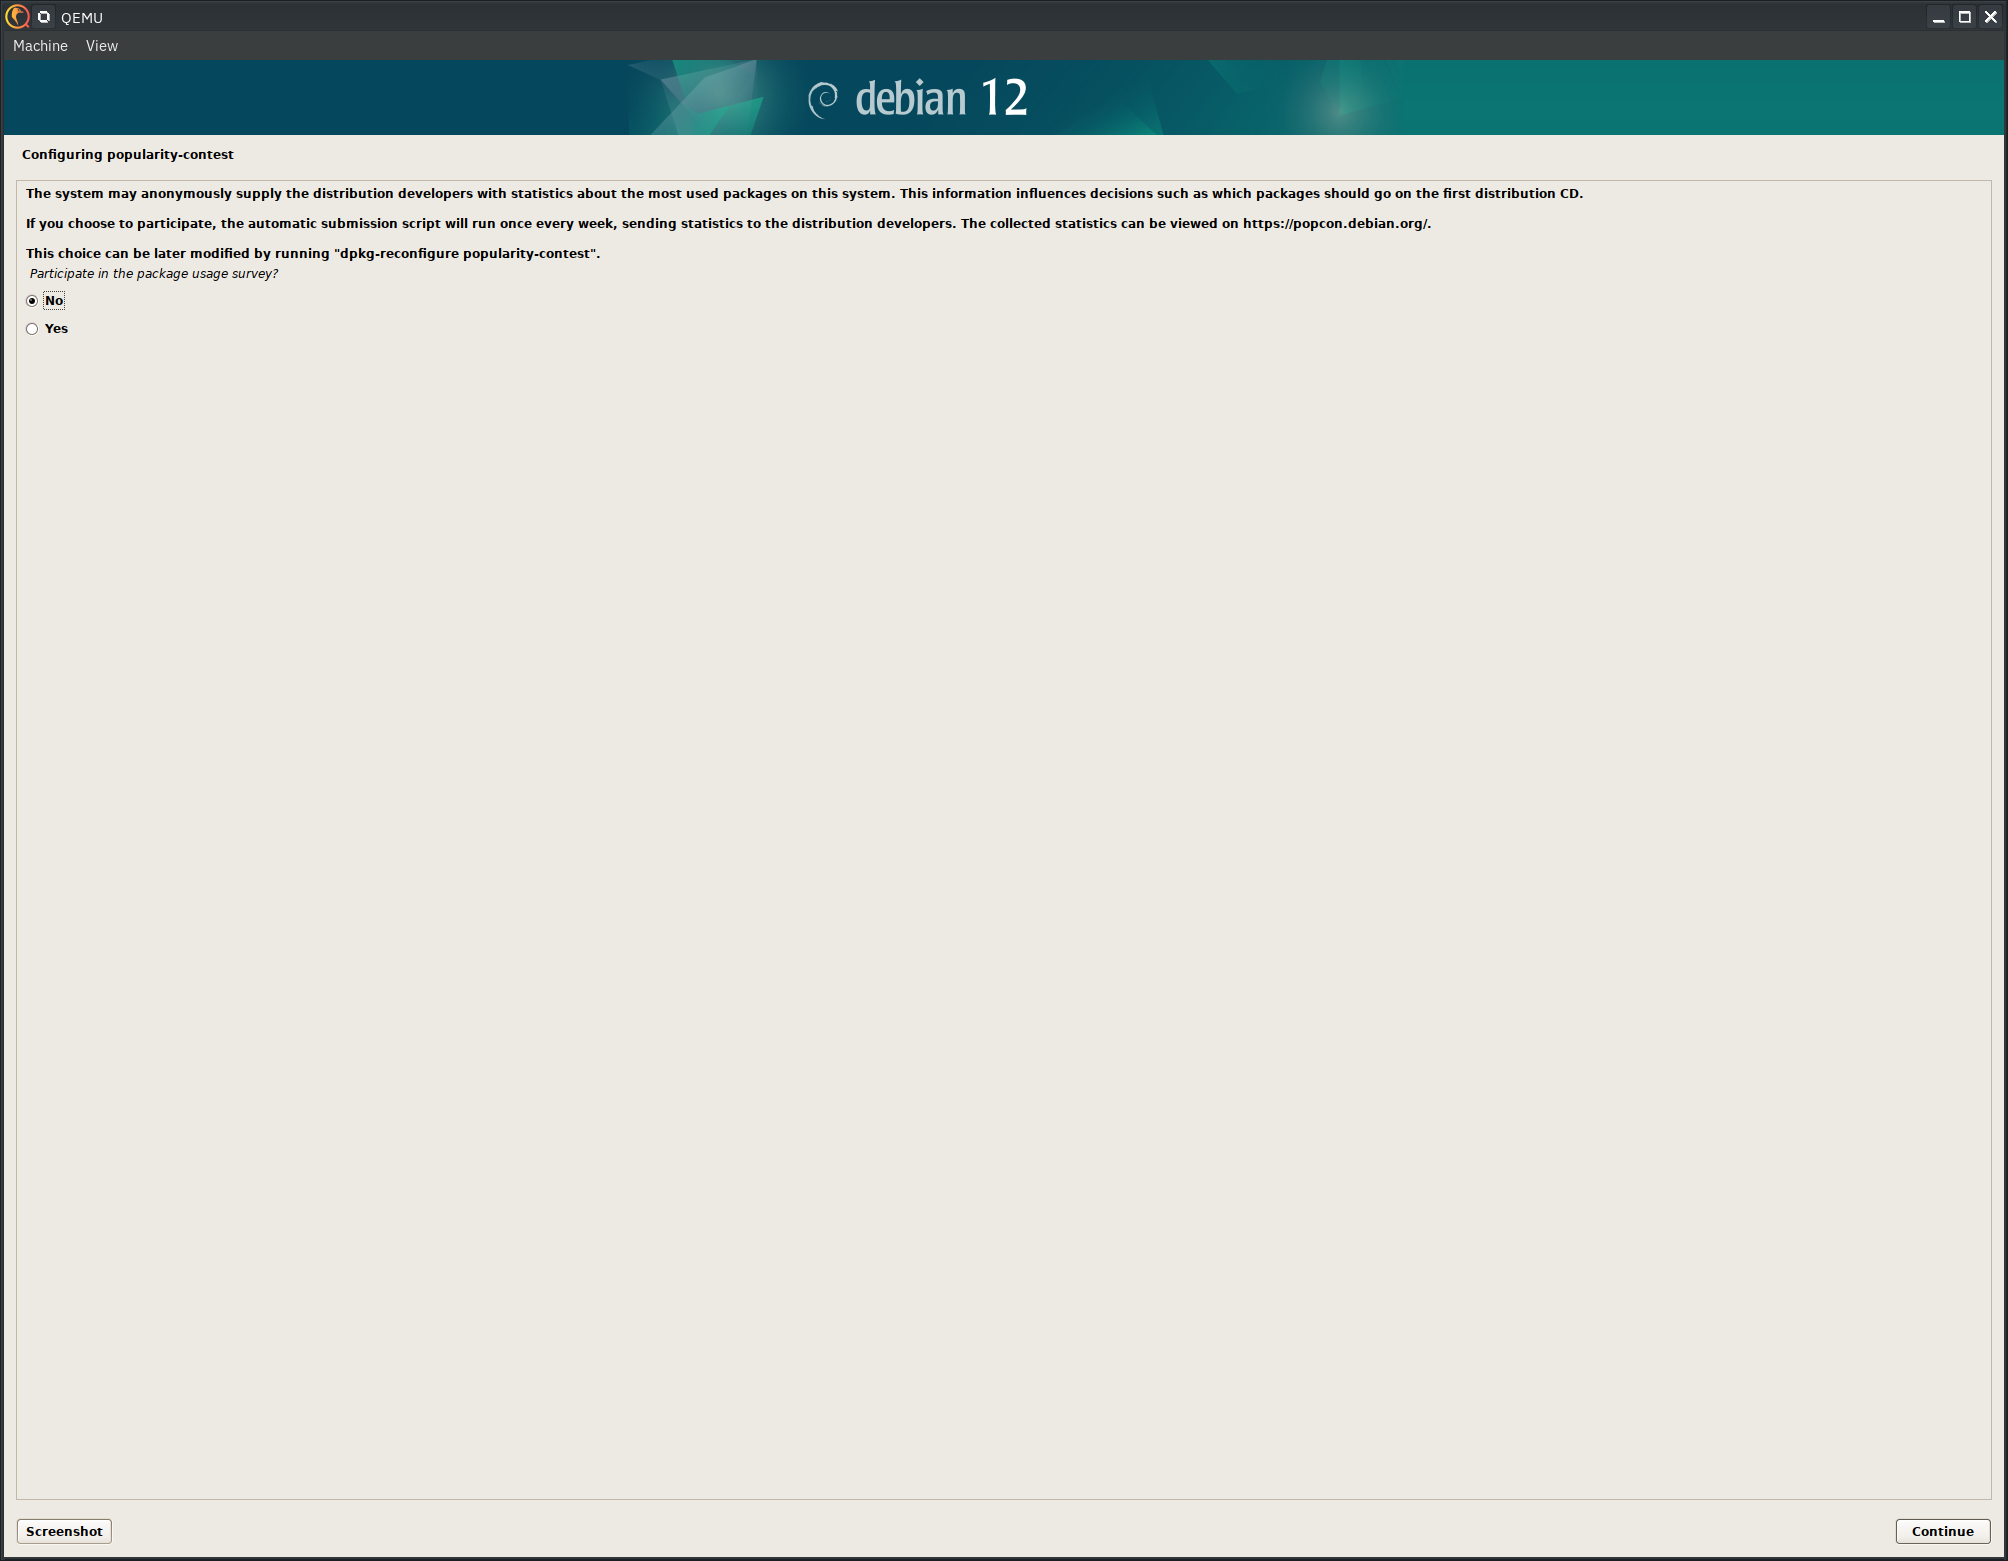
I never participate in the package usage survey.
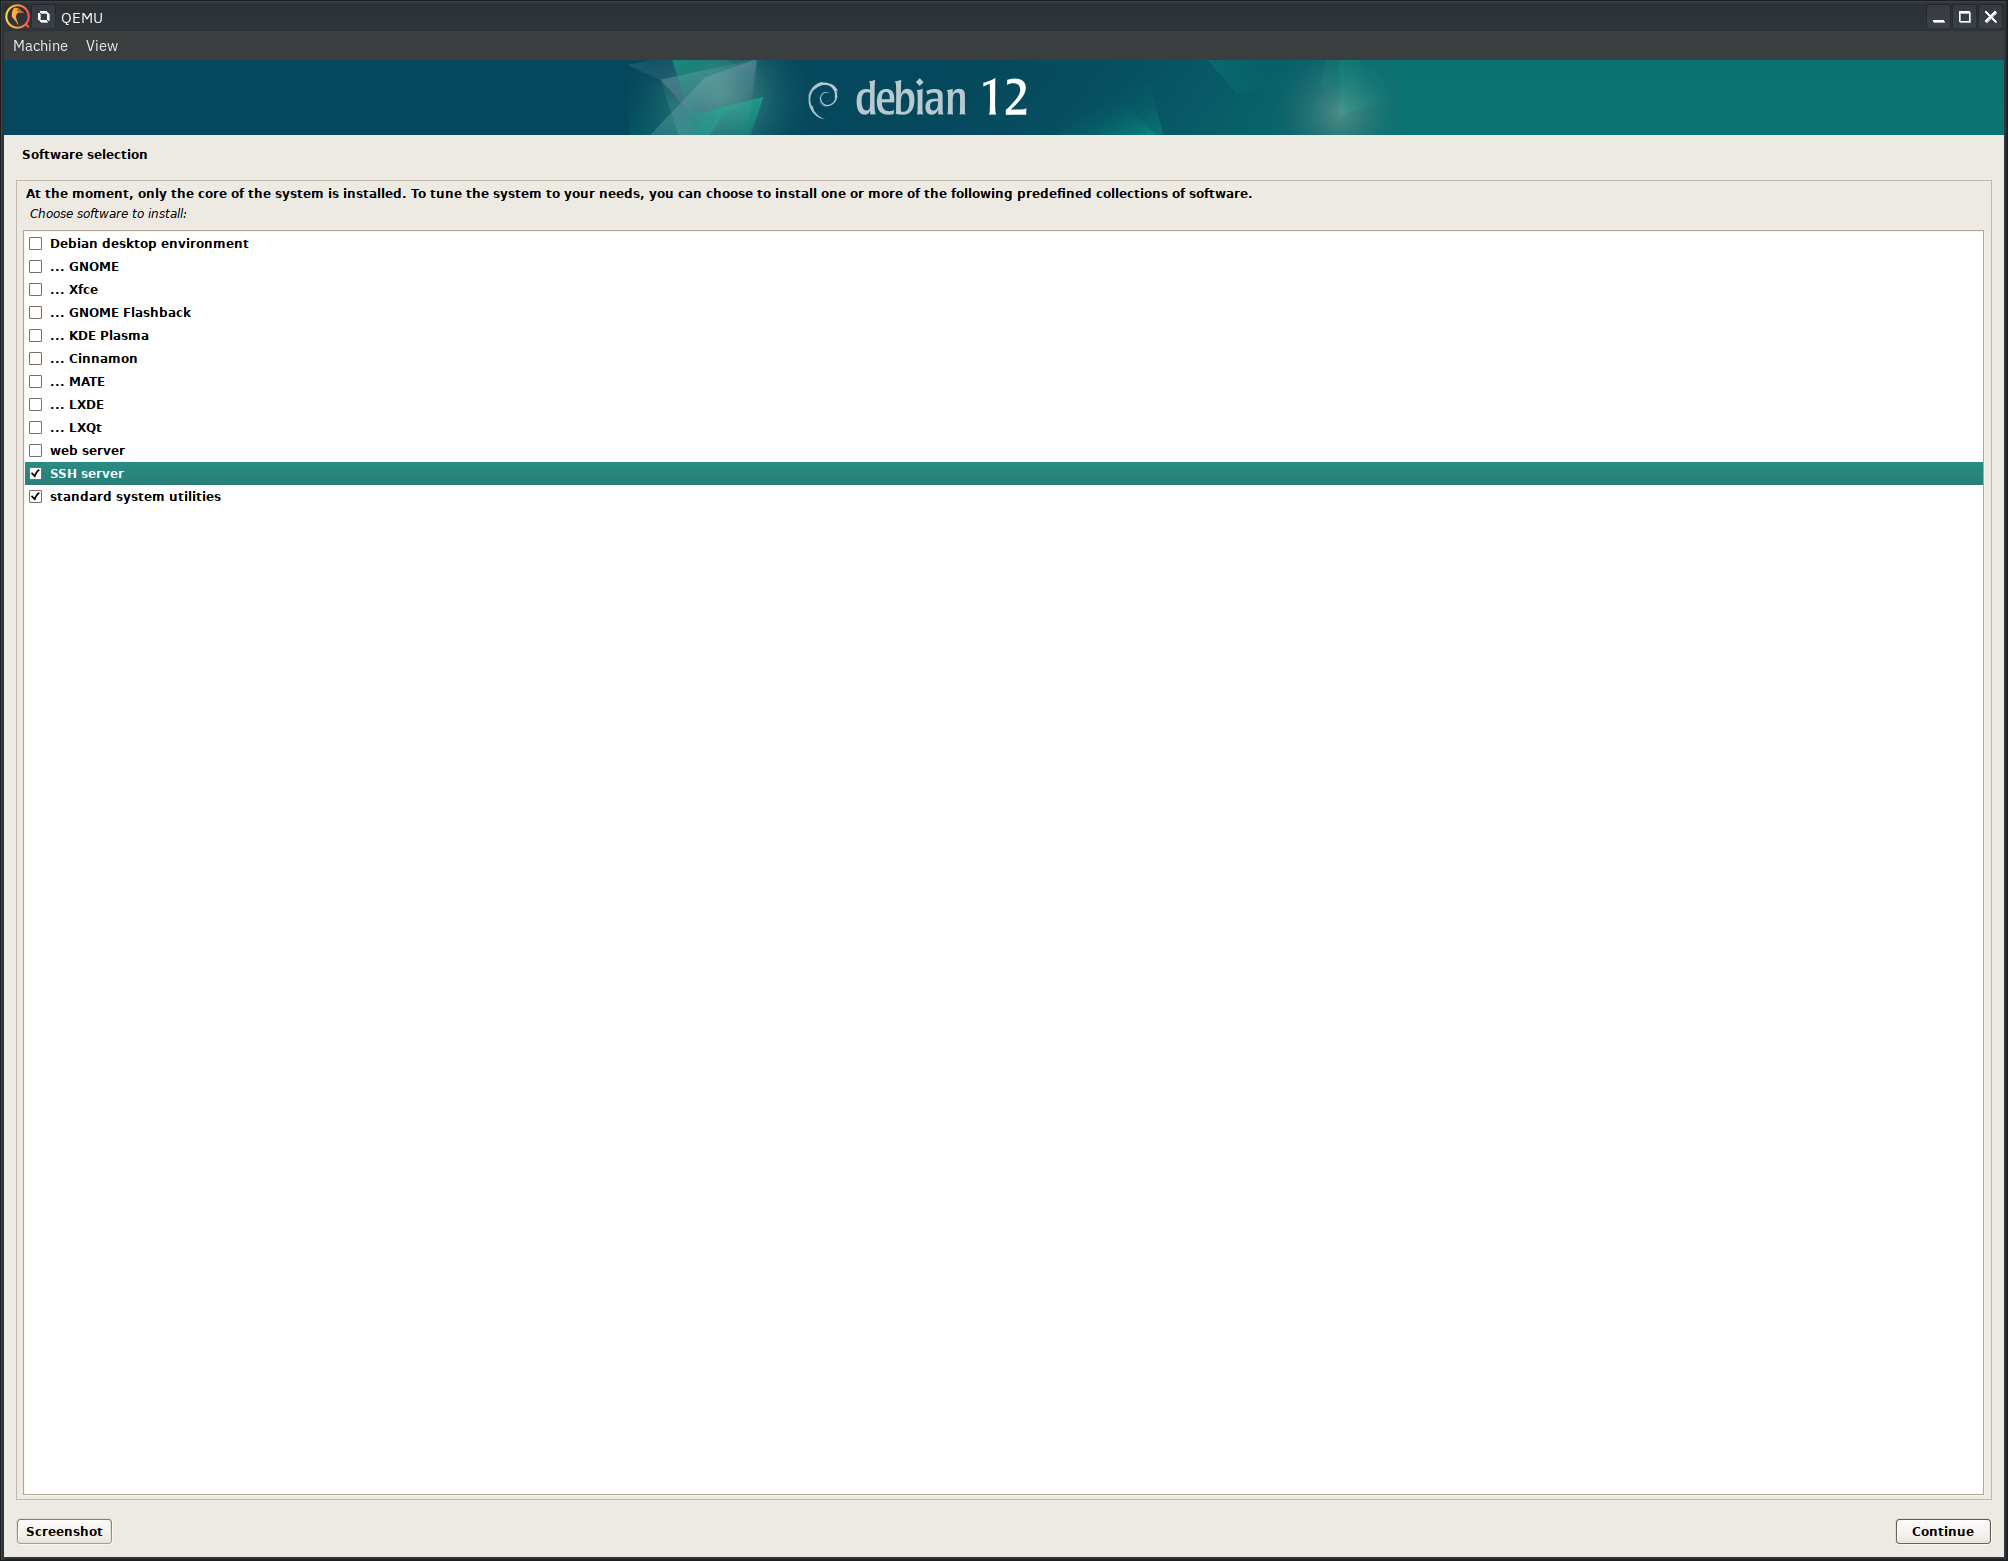
Here, you should just do the base system and the SSH server. Everything else can be done later.
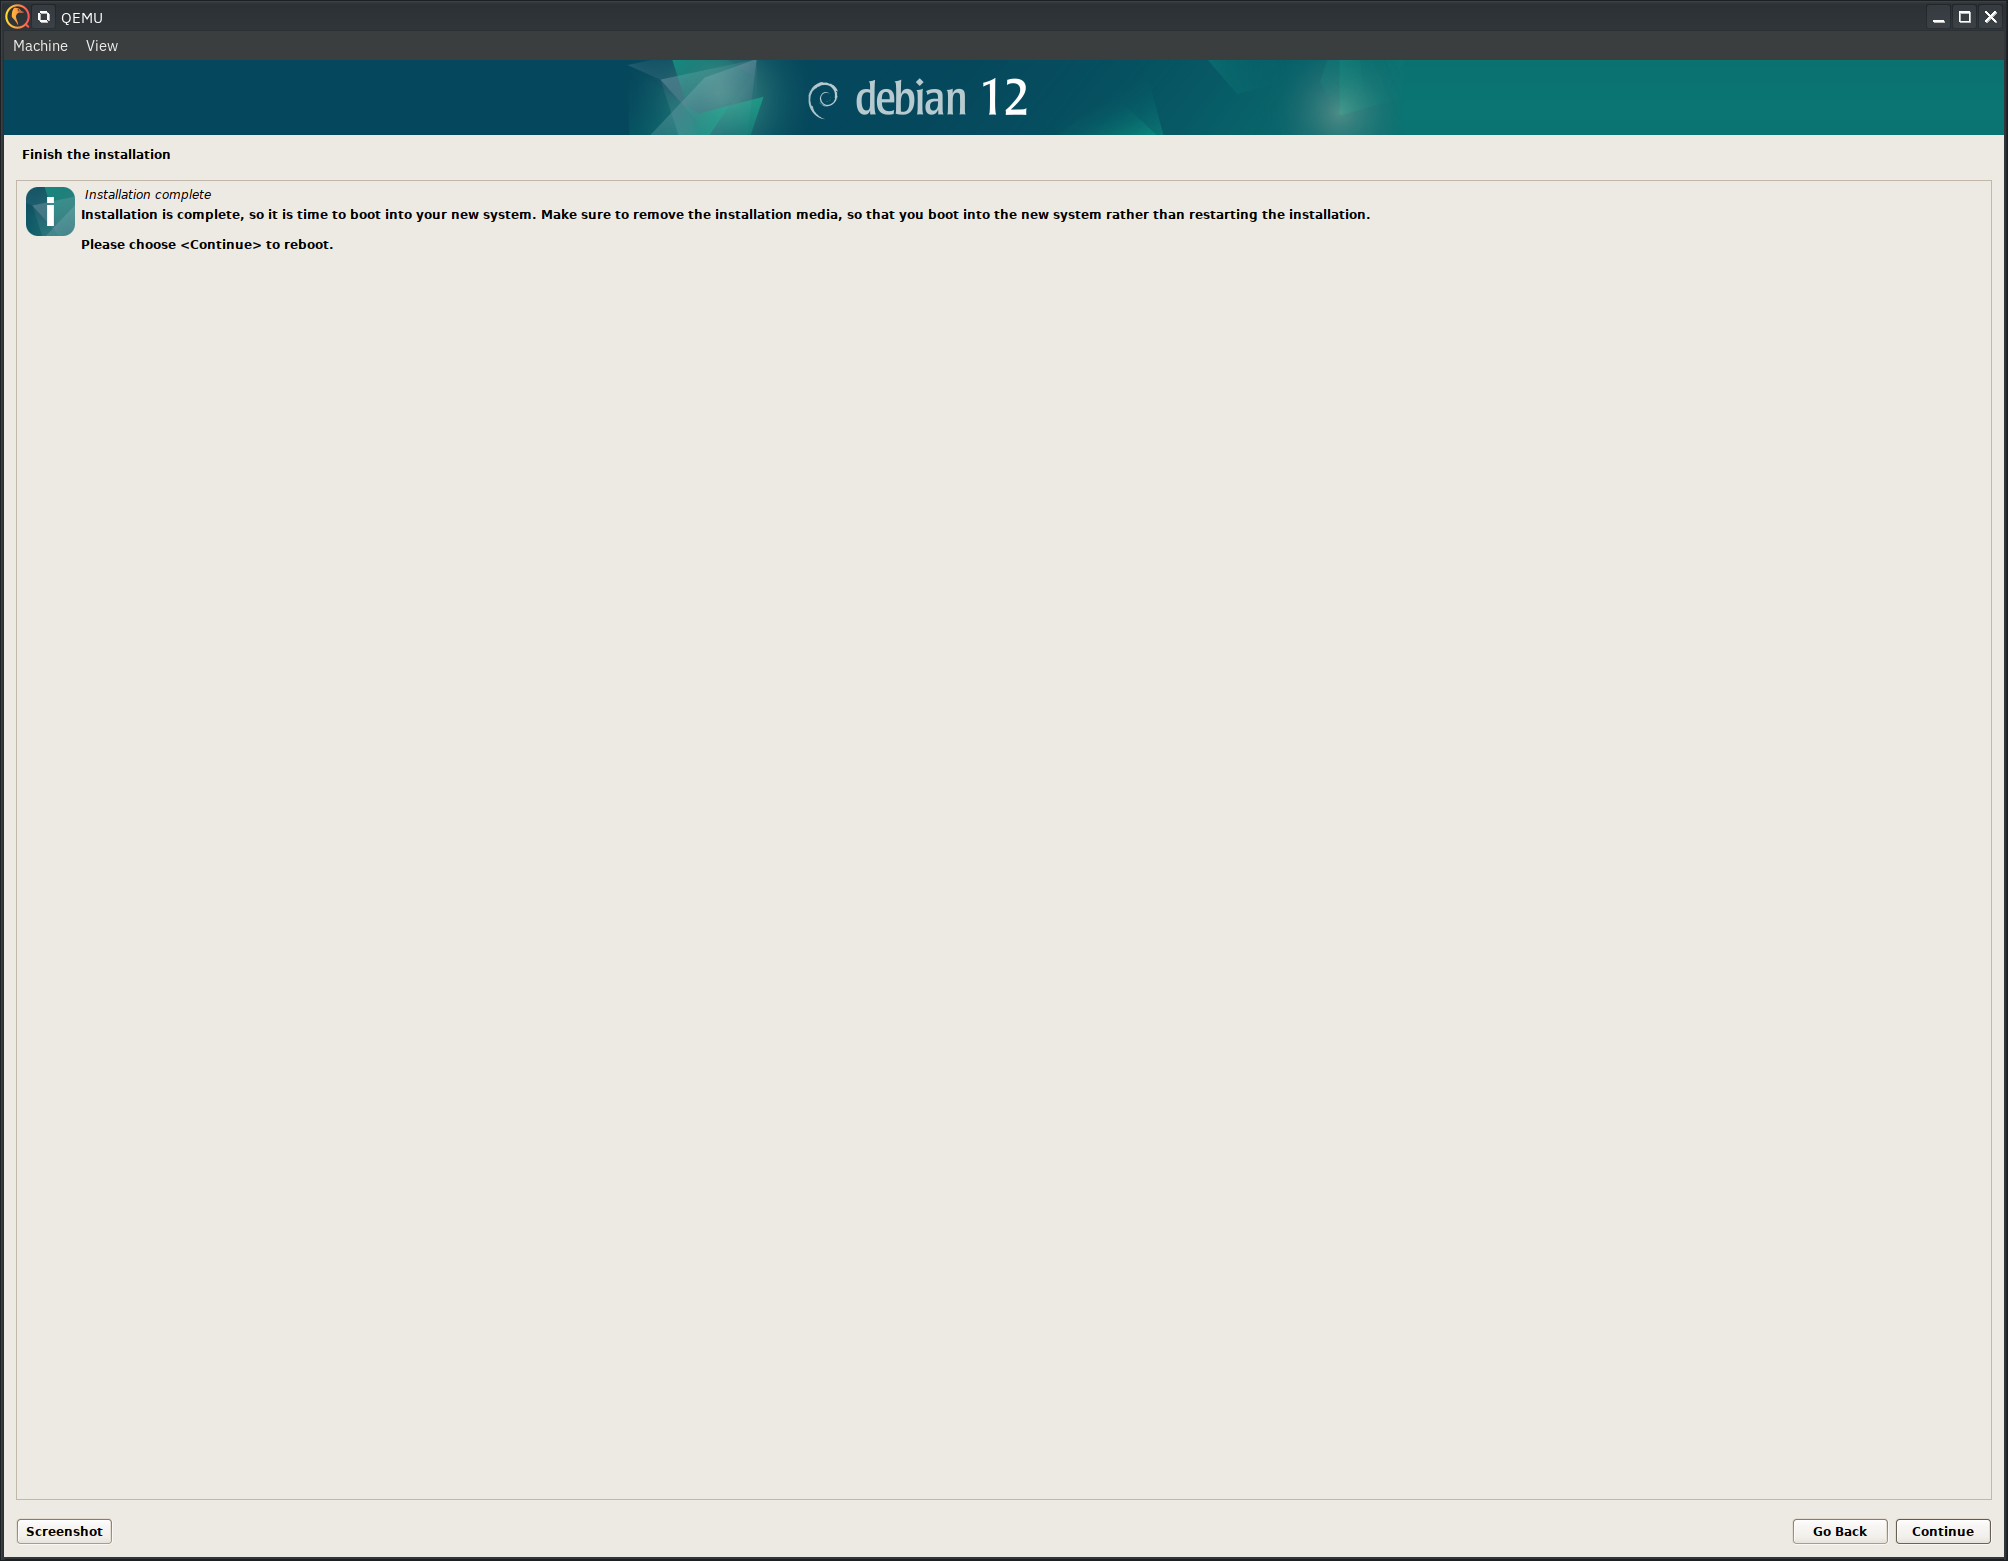
Let's reboot into our system!
There is no method for installing Debian 12 directly to a BTRFS RAID. If you want to do such a thing, you can do it after the main installation is completed. If you installed to /dev/nvme0n1p2 and you want to duplicate to /dev/nvme1n1p2 then you would do something like:
btrfs device add /dev/nvme1n1p2 /
btrfs balance start -dconvert=raid1 -mconvert=raid1 /
You should then run lsblk to get the UUIDs for the filesystems.
lsblk -oNAME,UUID,MOUNTPOINTS
The next thing you need to do is add that UUID to /etc/fstab.
UUID=766bcb39-0f9d-4f17-9904-e5cbee3b8507 / btrfs defaults,device=/dev/nvme0n1p2,device=/dev/nvme1n1p2,subvol=@rootfs,ssd 0 0
You have to install docker first.
apt install docker.io
systemctl enable docker --now
docker run -d -p 8000:8000 -p 9000:9000 -p 9443:9443 --name=portainer --restart=always -v /var/run/docker.sock:/var/run/docker.sock -v portainer_data:/data portainer/portainer-ce:latest
You should now be able to access your intance via your web browser.
http://[WORKSTATION_IP_ADDRESS]:9000
You need to think about whether or not you want things to be accessible from the outside world. If you do, you will need to handle DNS for each application. This would mean hitting the server at some port. You can automate this would API capable DNS providers, or you could handle it through Cloudflare tunnels. Alternatively, you can use traditional DNS in combination with nginx. Nginx could then route each domain name to your IP at the given port with proxy_pass.
© MMIX - MMXXVI,
Bradford Morgan White
Licentiam Absurdum